How to ask for a taper fade: a five-part barber brief
A taper fade request works best when it covers five decisions the name leaves open: where the taper may reach, how short the base finishes, how much side weight stays, what happens on top and at the edges, and which photos show it. Here is how to ask for a taper fade, and what to check before cutting.
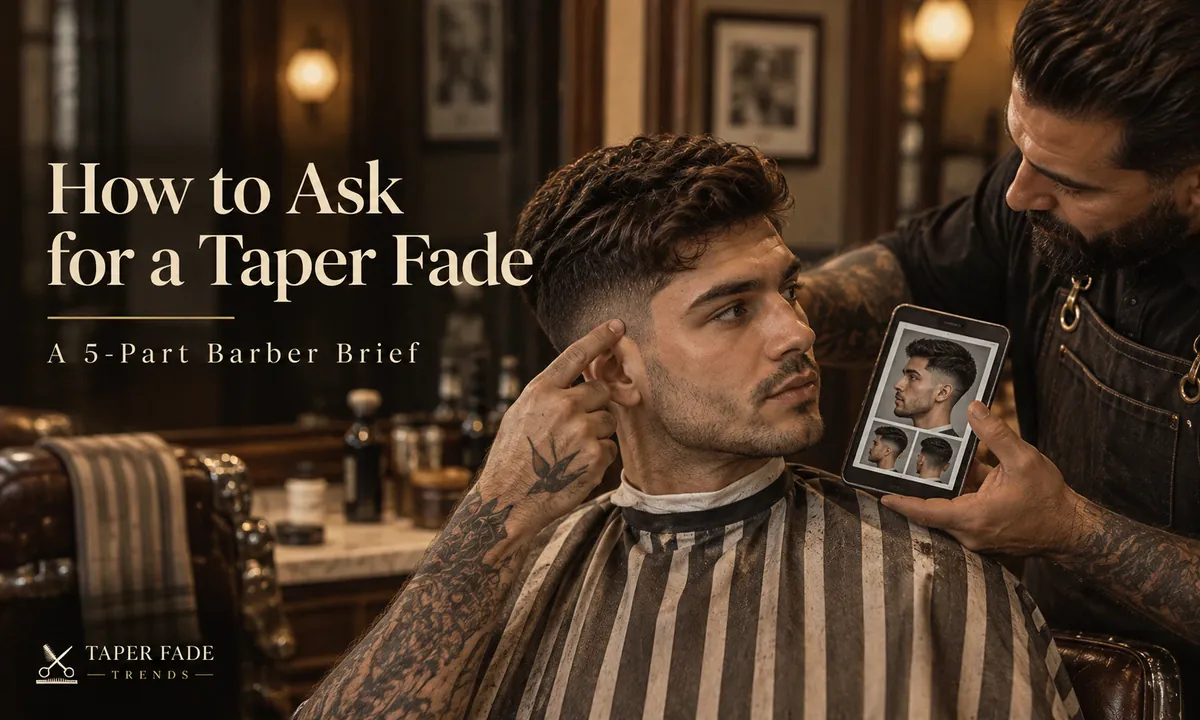
The taper fade barber brief
Tell your barber where the taper fade may reach, how short the base should finish, how much side weight to keep, what length and direction you want on top, and how the neckline, sideburns and any beard should look. Show front, side and back reference photos, then have the barber repeat the plan before cutting starts.
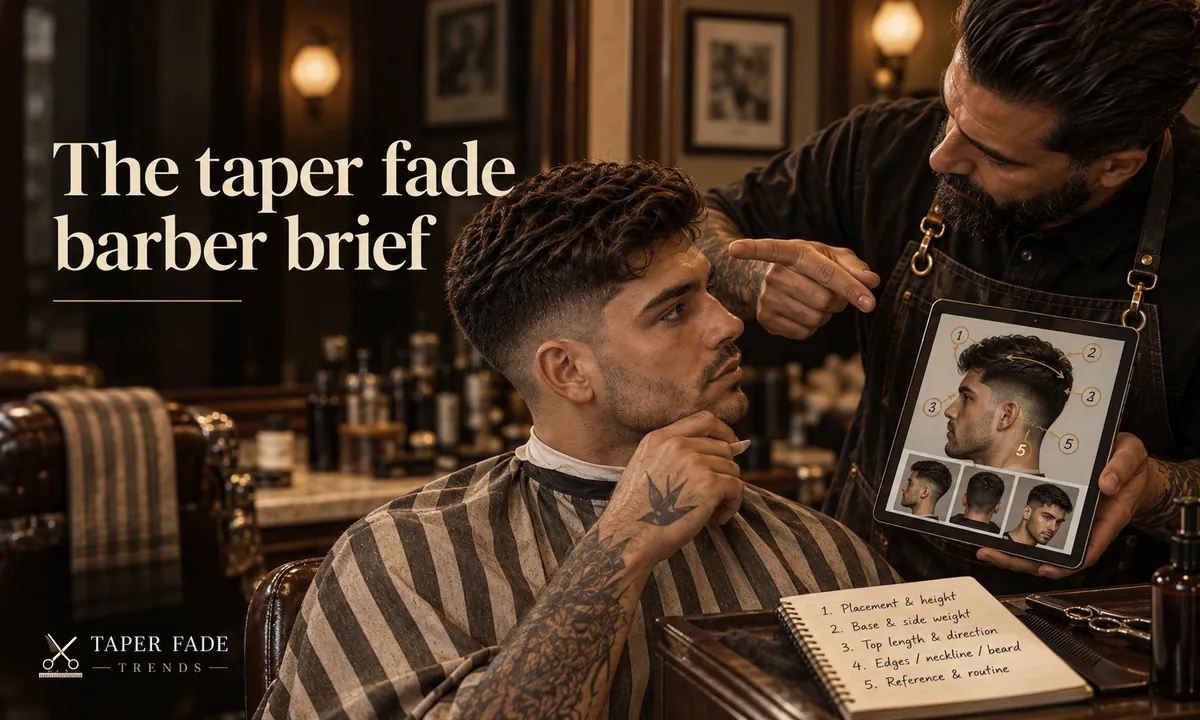
The name alone settles none of this. A Henderson, Nevada barber describes a taper as a shortening that may or may not reach the skin, and StyleSeat calls “taper fade” a term born from people mixing up tapers and fades. The taper fade guide covers the cut itself; this page covers the conversation.
| Brief part | What you decide | Say it like this |
|---|---|---|
| 1. Placement and maximum height | Low, mid or high, and the highest point the blend may reach | “Keep it low, and don’t go above here.” |
| 2. Base finish and side weight | Visible hair, stubble or skin at the bottom; how full the sides stay | “Leave a shadow at the bottom and keep the sides full.” |
| 3. Top length and direction | Length kept or removed, which way you wear it, anything you’re growing | “Just take the ends off the top. I push it back.” |
| 4. Edges, neckline and beard | Sideburns, the line around the ears, neckline shape, beard connection | “Tapered neckline, and stop short of the beard.” |
| 5. Reference photos and routine | Front, side and back photos; styling time; weeks since your last cut | “Here’s the side and back I want. I style it in five minutes.” |
Copy these five lines into your phone notes and fill them in before the appointment:
- Placement and maximum height:
- Base finish and side weight:
- Top length and direction:
- Edges, neckline and beard:
- Reference photos and routine:
1. Set placement and a maximum height
Low, mid and high describe where a taper fade’s shortest blending sits on your head, not how short the base gets. The labels are relative, and shops draw the landmarks differently. So point to the highest spot the taper may reach, on your own head or on a side-view photo, and say it as a limit.
Published guides don’t agree on the landmarks. Ready Sleek tells readers a taper fade shouldn’t go above the top of the sideburns, while former barber Nick Hall at Man of Many describes mid and high taper fades that climb toward the temples. A finger on your head settles what the labels can’t.
If you’re torn, start lower. Hall’s reasoning is blunt: a barber can always take the fade higher, but can’t put the hair back. If you already know you want the blend near the temples, the high taper fade guide covers that placement.
2. Choose the base finish and side weight
Base finish and side weight are separate from placement. Base finish is what’s left at the lowest point: visible hair, close stubble or bare skin. Side weight is how much fullness stays through the sides above the blend. Name both, because a low taper can still end in skin and a high one can stop at visible hair.
You don’t need a guard number to ask for a taper fade. A guard sets one cutting length, not where the taper sits or how it blends, and the same number can land at different lengths depending on the clipper and its taper lever. If you know a length you like, quote it as one reference and name the brand.
Wahl guide-comb chart; other brands and lever settings vary
That figure comes from Wahl’s guide-comb chart, which also explains that its taper lever moves the cut closer or longer between guard sizes.
3. State the top length and direction
“Taper fade” describes the edges of the haircut, not the top, so the top needs its own instructions. Say how much length to keep or remove, which way you wear it, and whether a part, fringe, curl pattern or texture should stay. If you’re growing the top out, say so before any cutting starts.
4. Confirm edges, neckline and beard
The edges are the sideburns, the line around the ears, the neckline and, if you have one, the point where the fade meets your beard. Say how each should look: sideburn length, a natural or cleaned-up line around the ear, a tapered, rounded or squared neckline, and whether the fade blends into the beard or stops short of it.
Hall has views worth hearing. The back should usually match the sides, he says, so a low taper at the sideburns gets a low taper at the nape. He prefers a tapered neckline because it grows out more naturally, and finds a low taper connects into a beard more easily than a high one. Treat those as one barber’s judgment, not rules.
5. Show the reference and explain your routine
Bring reference photos of the same cut from the front, side and back, ideally on hair with a texture and density close to yours. Point to the feature you want in each photo and say what you don’t want. A photo shows the target, but you still need to state the height, finish and top length out loud.
Hall tells readers to bring a side profile and a back shot as well as the front, because a good taper fade and a regrettable one usually differ around the ears and neckline. Then cover your routine: how you style the top at home, as OnPointFresh advises, how often you can get back in, and when you last had a cut. Barbers ask that last one to judge how fast your hair grows.
How to ask for a taper fade out loud
Say the five parts in order, then hand over the photos. This version takes about 20 seconds; swap in your own answers.
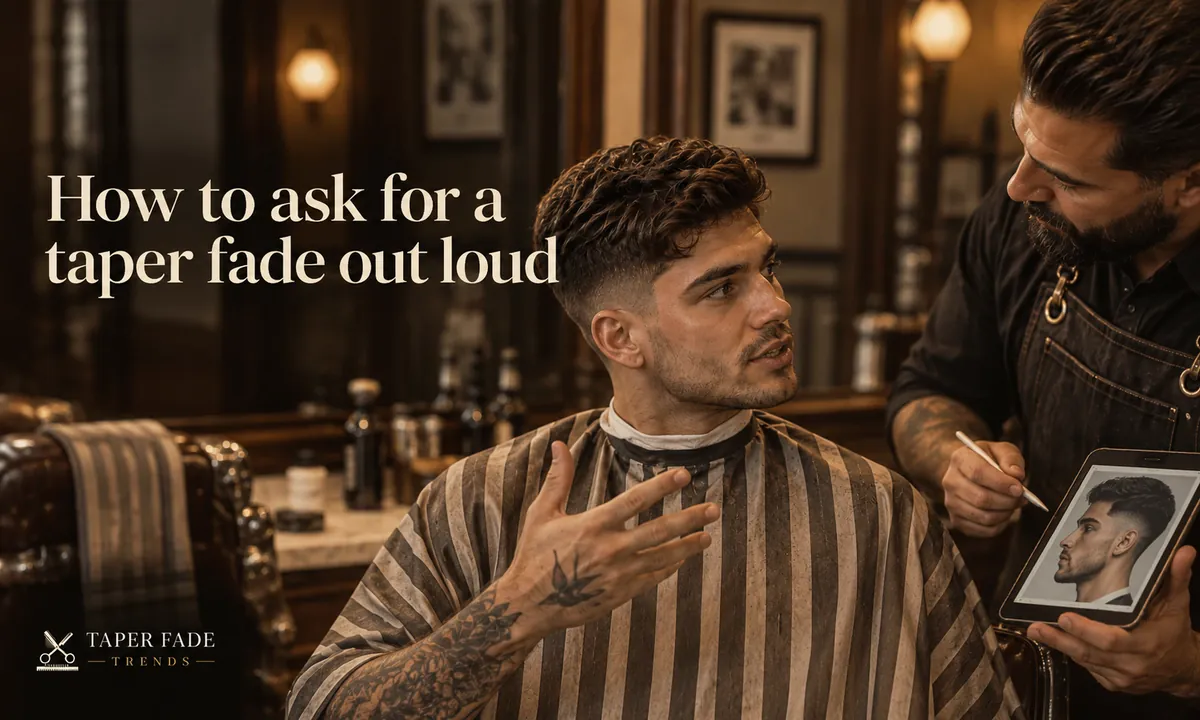
“I’d like a low taper fade, and please don’t take it above here. Leave a shadow at the bottom and keep the sides full. On top, just take the ends off; I push it back. Tapered neckline, and stop short of my beard. Here’s the side and the back I’m after.”
There are no guard numbers in it on purpose. You describe the result and the barber picks the tools, the same way Hall’s sample requests are worded.
Check the plan before the clippers start
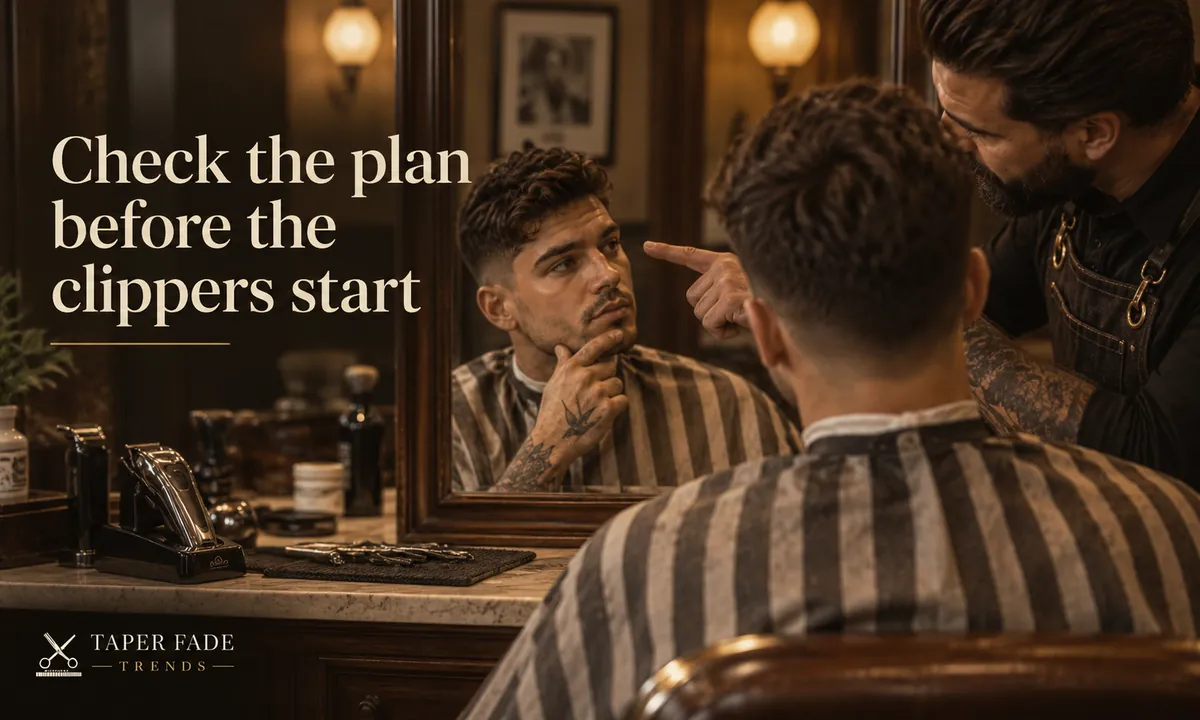
To stop a taper fade going higher than you want, point to the highest spot it may reach before any cutting, then ask the barber to point to where they plan to start the blend. If the two spots don’t match, sort it out there. Hall says he checks the desired outcome repeatedly during the pre-cut consultation.
- Ask the barber to say the plan back: placement, base finish, side weight and top.
- Point to your limit on the side, and ask them to point to theirs.
- Look at the back reference together and agree where the nape blend stops.
- Before the cape comes off, check both sides and the back in a hand mirror and ask for small adjustments while you’re still in the chair.
If you’re unsure which taper fade you want, describe limits instead of a label: clean sideburns and nape, no bare skin, full sides, and a height you won’t go past. Then ask for the lower, longer version first. More can come off in the same appointment; nothing goes back on until it grows.
Common failures and fixes
Most mismatches come from letting a photo or a label do the talking. These four are worth planning for.
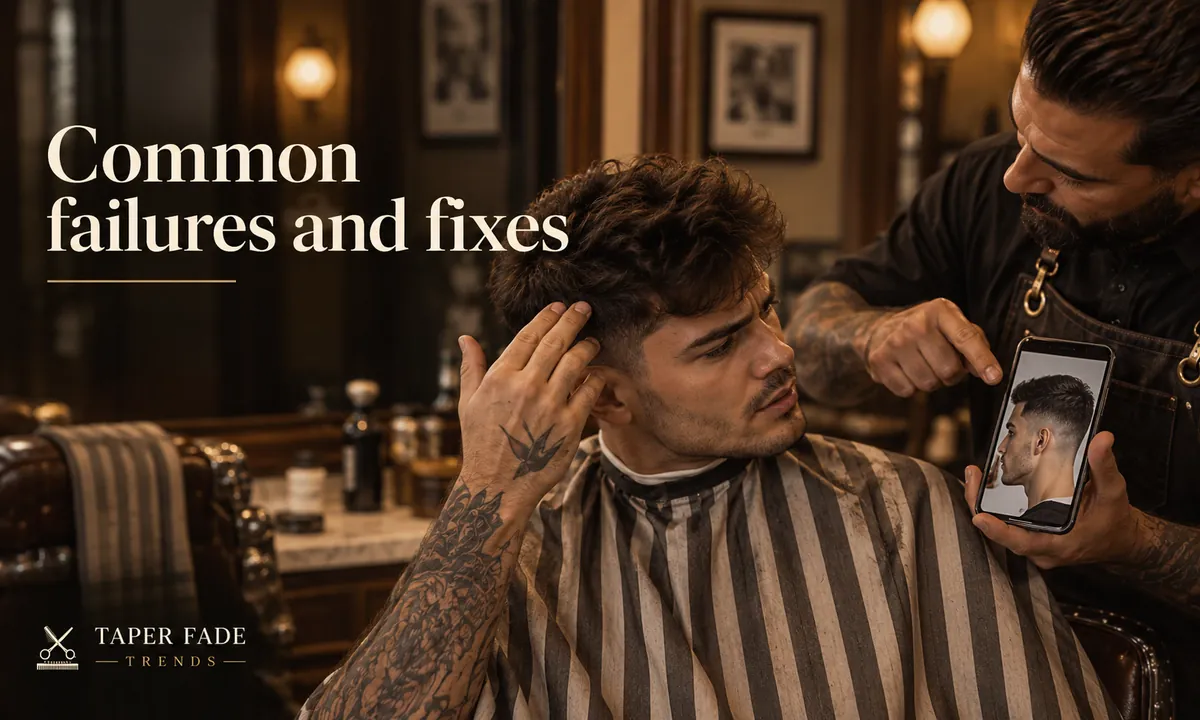
The barber still has questions after seeing your photo
A photo shows the target but hides what a barber needs: the exact shortest length, how high the back goes, and how the model’s hair differs from yours in density and growth direction. Questions after a photo are the barber turning that image into decisions for your head. Answer in outcomes, not tool settings.
The sides stick out after the cut
If your sides stick out or look bulky, describe the problem instead of asking for a higher fade. Show where they flare and how much fullness you want kept. The fix may be taking weight out of the side panel rather than moving the taper up, and the barber can judge which one your hair needs.
The reference photo isn’t realistic for your hair
Some hair inspiration photos online are AI-generated, and hairstylists interviewed by InStyle say clients bring them in often. Those images can show hair no real head has, and one stylist says they turn tight coils into looser curls. Use real photos, ideally of hair like yours, or a photo of your own hair when you liked it best.
One of them, New York stylist Renée Gadar, finds a client’s “don’t likes” more useful than a single “make it look like this” picture.
You and your barber mean different things by “taper fade”
If you and your barber seem to be picturing different haircuts, drop the label and describe the parts: where the short work sits, how far around the head it goes, and what’s left at the bottom. Depending on the shop, “taper fade” can mean a subtle cleanup at the edges or a fade taken down to skin.
Record a cut you want repeated
When a taper fade comes out right, take front, left, right and back photos before it grows, and ask the barber what they actually did: placement, the shortest finish, any guard, blade or lever setting worth noting, top length and neckline. Add the date. Next time you hand over a record instead of a memory.
The Modest Man gives the same advice: when a barber nails your cut, ask what they did so you can ask for it again. Don’t guess the settings from a photo. Because a taper lever changes the length between guard sizes, only the barber who cut it knows what was used.
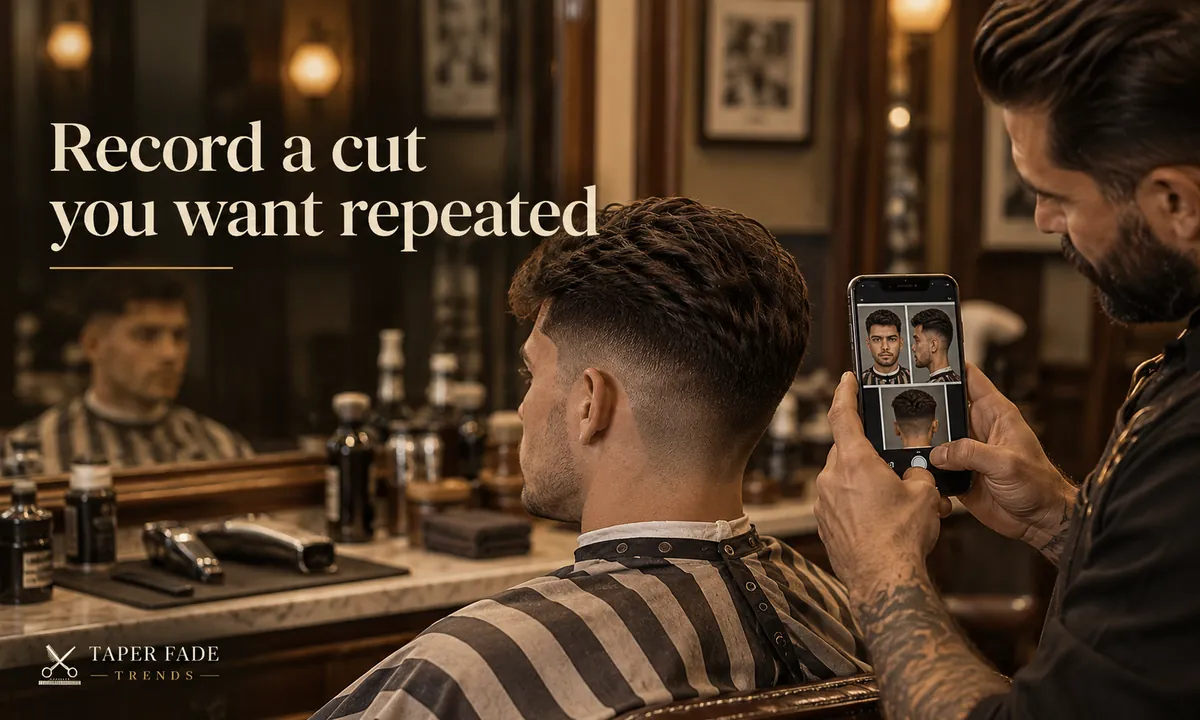
Keep the record short:
- Date and barber:
- Placement and limit:
- Base finish and side weight:
- Settings the barber named:
- Top length and neckline:
- Photos taken (front, left, right, back):
What this brief cannot guarantee
A brief narrows the gap between what you picture and what you get. Density, growth direction, a cowlick, curl pattern and hairline shape all change how the same words turn out, and terminology varies between shops. The technique is the barber’s call, and how soon the edges need a cleanup depends on how close the finish is and how fast your hair grows.
Method and sources
Taper Fade Trends Editorial built this guide from a former barber’s published advice, a working barbershop, a booking platform, grooming publishers, a magazine report quoting hairstylists, and a clipper maker’s guard chart. The five-part brief has not been usability-tested, and no barber has reviewed this version; when one does, their name, role and review date will go here. The images are illustrations, not photographs of documented cuts.
Sources: Man of Many (Nick Hall), FadeByFame, StyleSeat, Ready Sleek, OnPointFresh, Hudson/Hawk, The Modest Man, InStyle via AOL and Wahl USA. Found an error? The editorial policy explains how corrections are made and dated.
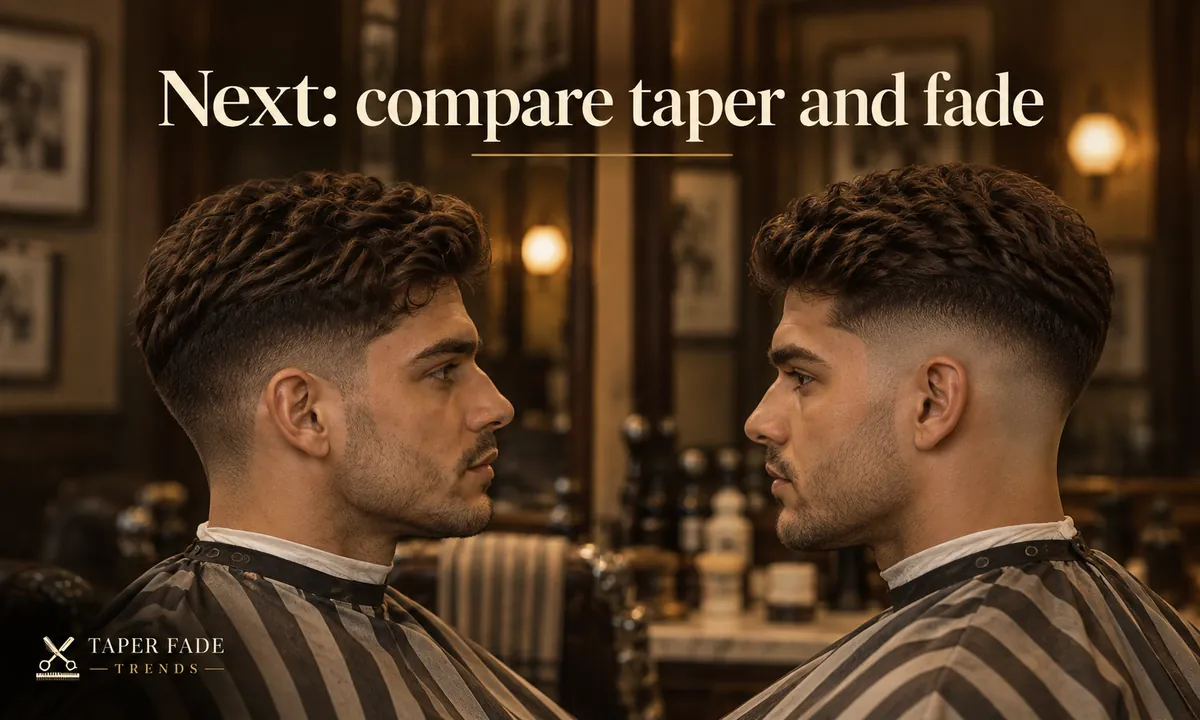
Next: compare taper and fade
If the word itself is the sticking point, the taper vs. fade comparison shows how coverage, height and finish differ between the two cuts, with a barber script for each.
Keep reading
All guides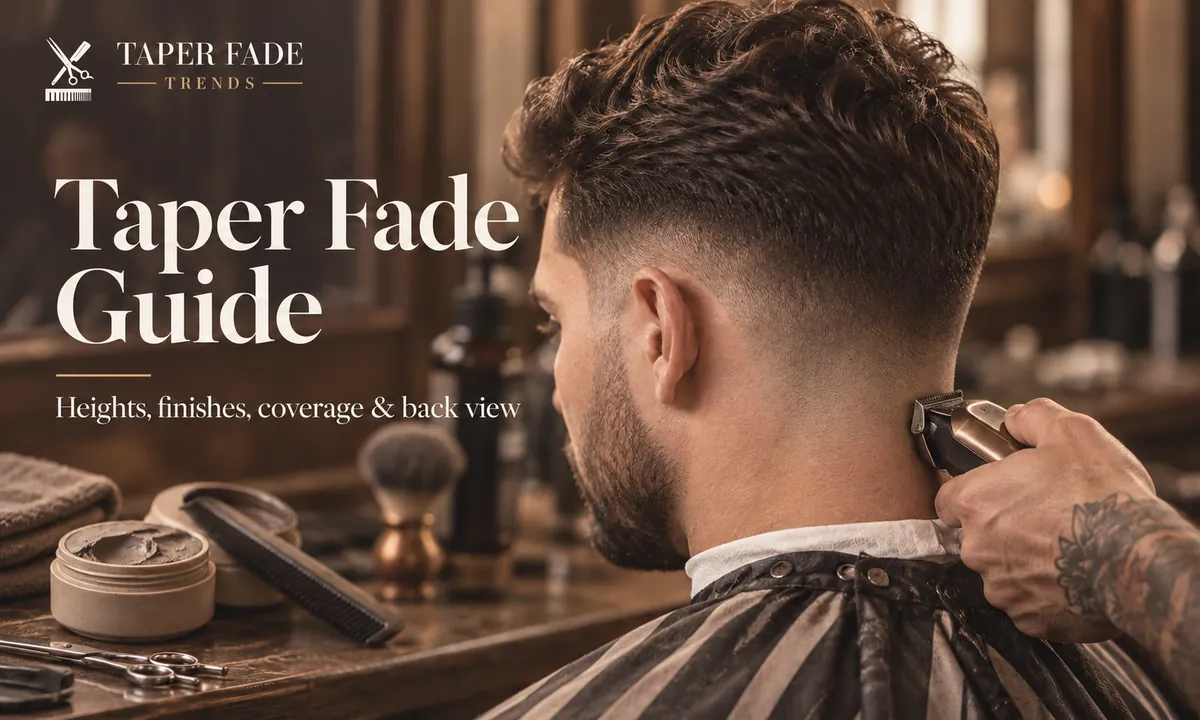
Taper fade: a visual guide to heights, finishes and top styles
Where a taper fade sits from the front, side and back, how low, mid and high differ, and how to ask for side coverage and a finish with or without skin.
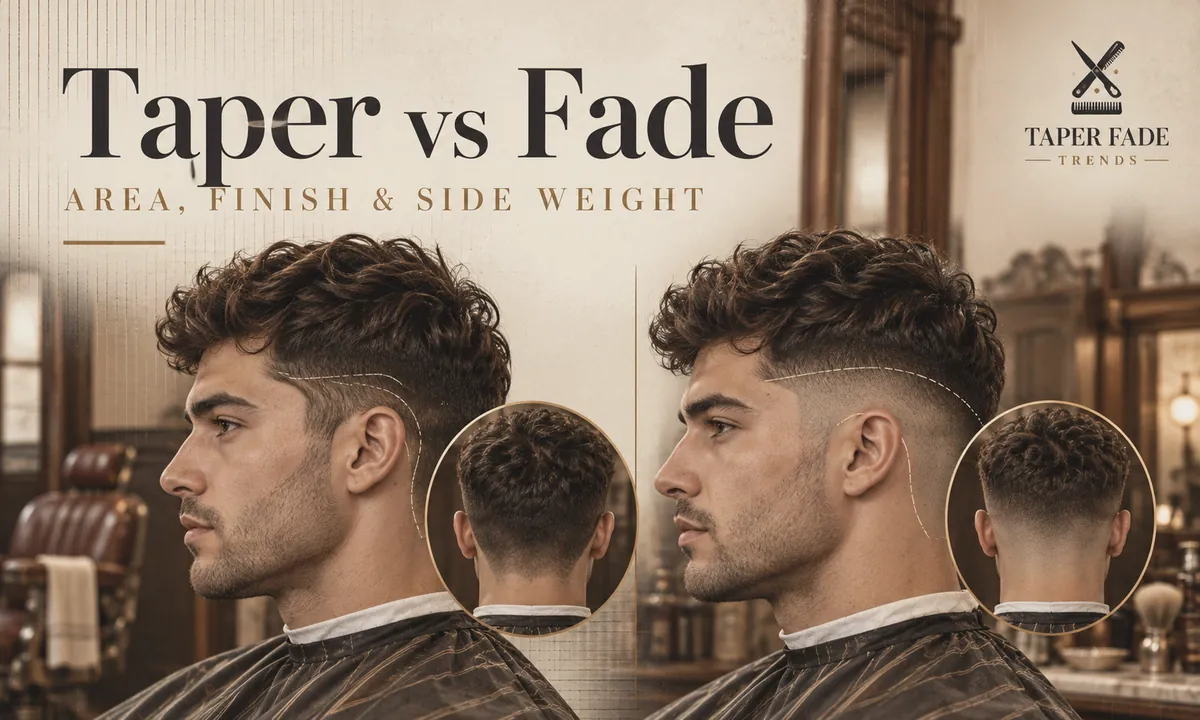
Taper vs fade: what changes in area, finish and side weight
Taper vs fade compared by coverage, height, shortest finish and side weight, with a back-view check and word-for-word barber scripts for either cut.
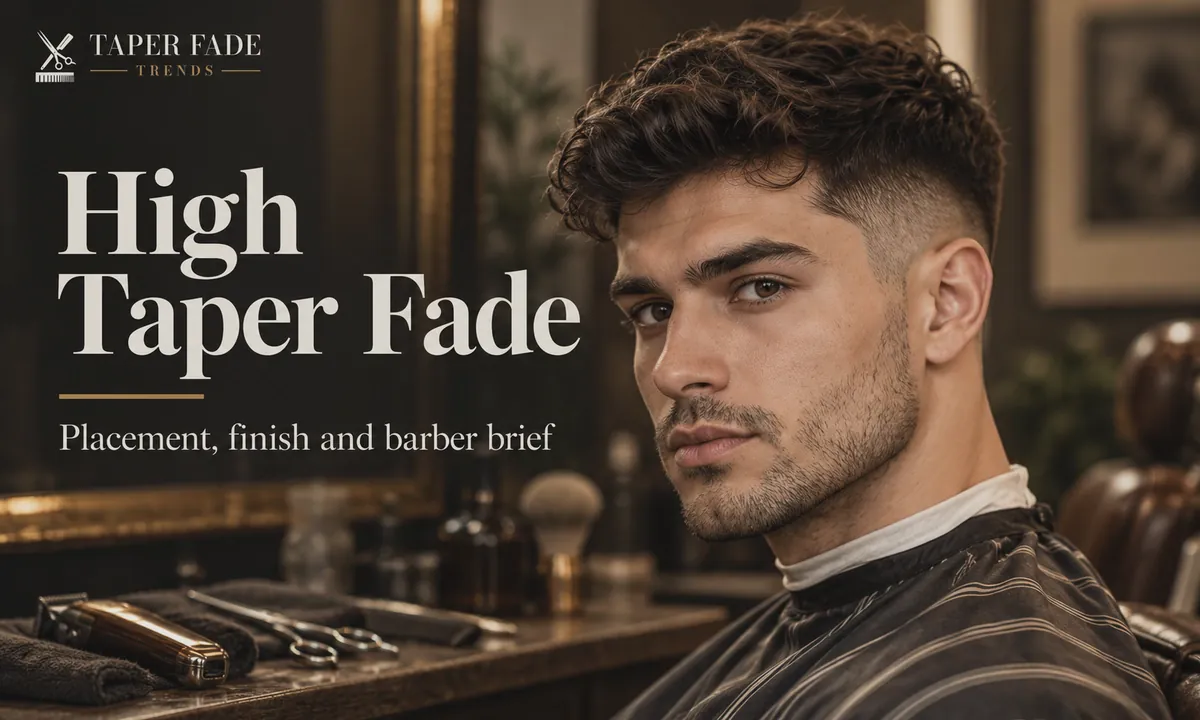
High taper fade: placement, finish and barber brief
Where a high taper fade sits, how much side weight stays, skin vs shadow finishes, what the back should look like, and exactly what to tell your barber.
More in barber brief and upkeep
Barber brief and upkeep: all 4- How to ask for a taper fade: a five-part barber briefYou are here
- Haircut numbers: clipper guard sizes in millimeters and inches10 min
- How to maintain a taper fade between haircuts11 min
- How long does a taper fade last? Fresh, tidy and grown-out stages13 min