Burst fade mullet: map the ear arc and keep the back
A burst fade mullet curves the shortest hair around each ear and keeps a longer section from the crown to the nape. The choice that decides it is where that curve stops behind the ear. Settle the arc height, shortest finish, rear width and crown join, then show your barber a side and back photo.
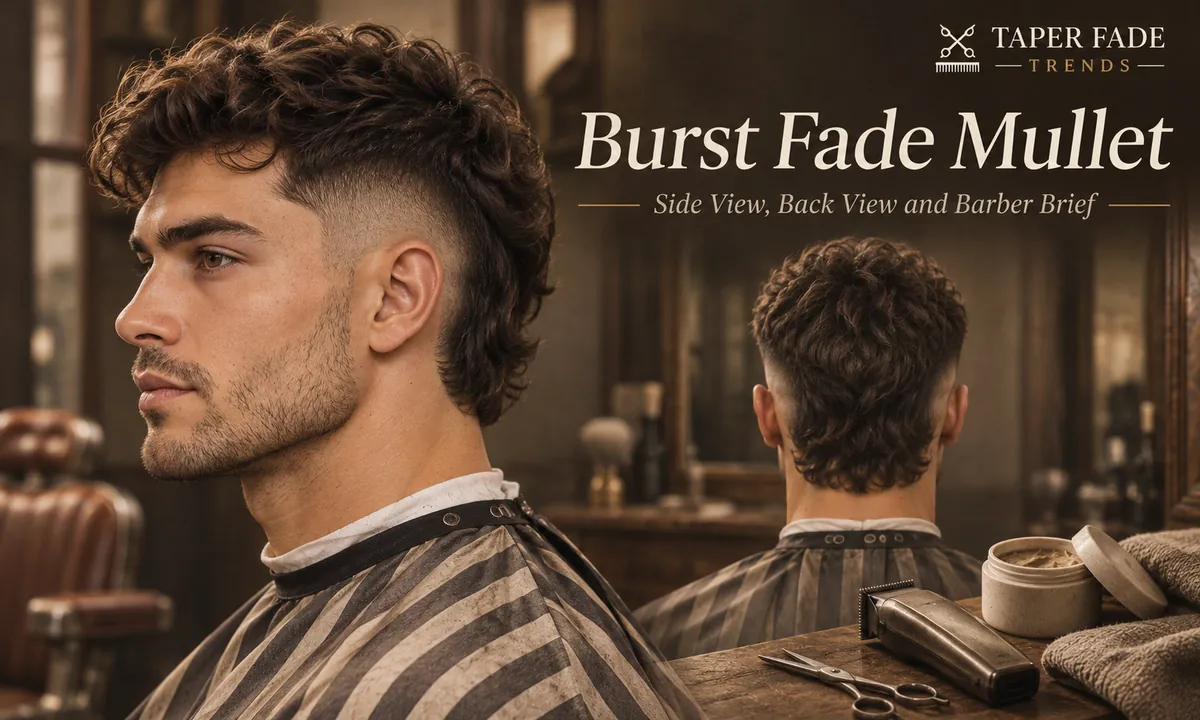
Six choices define the cut. Settle each one before the first clipper pass.
| Choice | What you decide | How far the evidence goes |
|---|---|---|
| Burst arc | A rounded fade centered on each ear, with a marked point where it stops behind the ear | Barber training describes the curve; the exact line is set on your head |
| Arc height | Low, middle or higher, judged against the ear | Shops draw the boundaries differently; no standard measurement exists |
| Shortest finish | Skin, shadow or visible hair | Skin is optional; one barber school teaches skin at the apex |
| Rear width and length | Wide and long enough to read as a mullet from behind | No source gives a minimum in inches |
| Crown join | A gradual blend or a deliberate weight line | Both are intentional styles |
| Reference photos | Side, three-quarter and back views of one cut | A photo can’t show guard or blade settings |
What makes a burst fade mullet?
A burst fade mullet combines a rounded fade around each ear with more length through the crown and back. The curve shapes the side profile; the retained back makes it a mullet. The name doesn’t set fade height, the shortest length or how wide the back stays, so each needs its own request.
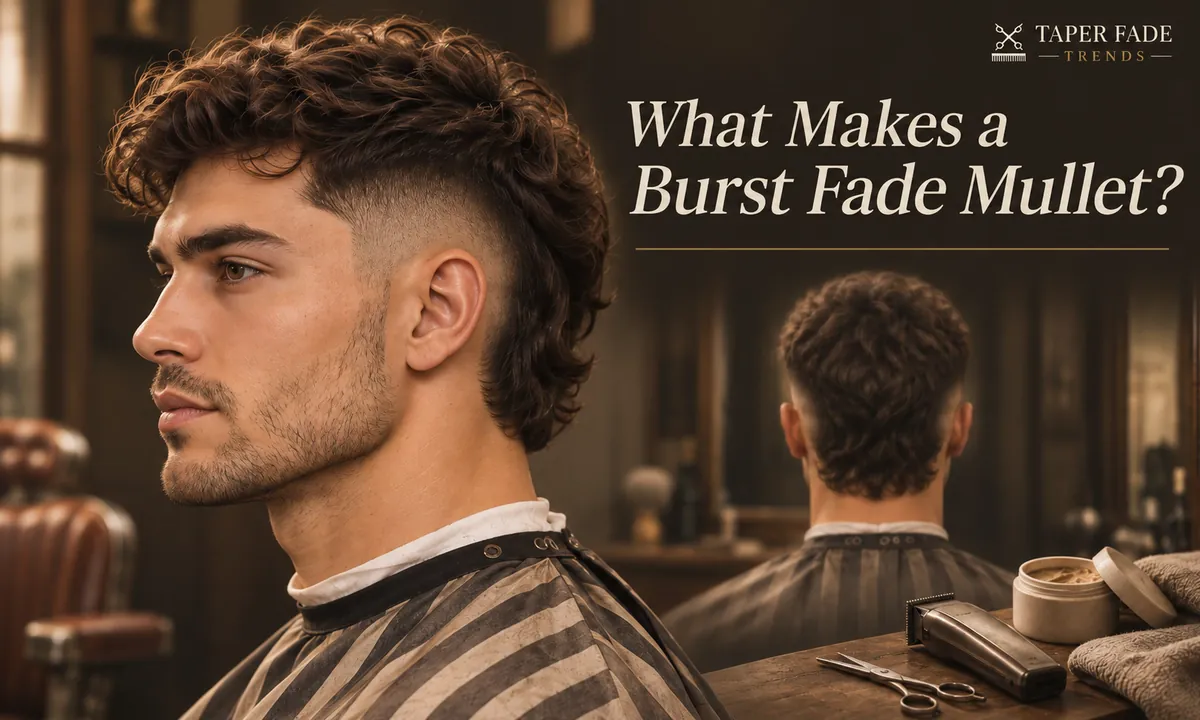
A burst fade is a graduated cut whose short area forms a curved arc around the ear. In the method CADMEN Barber Academy teaches, the arc peaks just behind and slightly above the ear, then curves down in front of it and toward the neckline. A standard fade runs in a roughly level line from temple to back. The burst bends instead, so hair low at the back can keep its length.
A mullet is a silhouette with visibly more length at the back than at the sides. CADMEN describes the burst as giving a clean break between the faded side and a mullet’s longer back. The burst fade guide covers the arc on its own; this page covers what happens behind it.
Where should the fade stop behind the ear?
On a burst fade mullet, the burst arc should finish beside and behind the ear, not run through the center of the nape. Agree the exact rear boundary before cutting. Photos show the idea, but only the barber, looking at your head, can place the stop line, and a narrower back changes the whole silhouette.
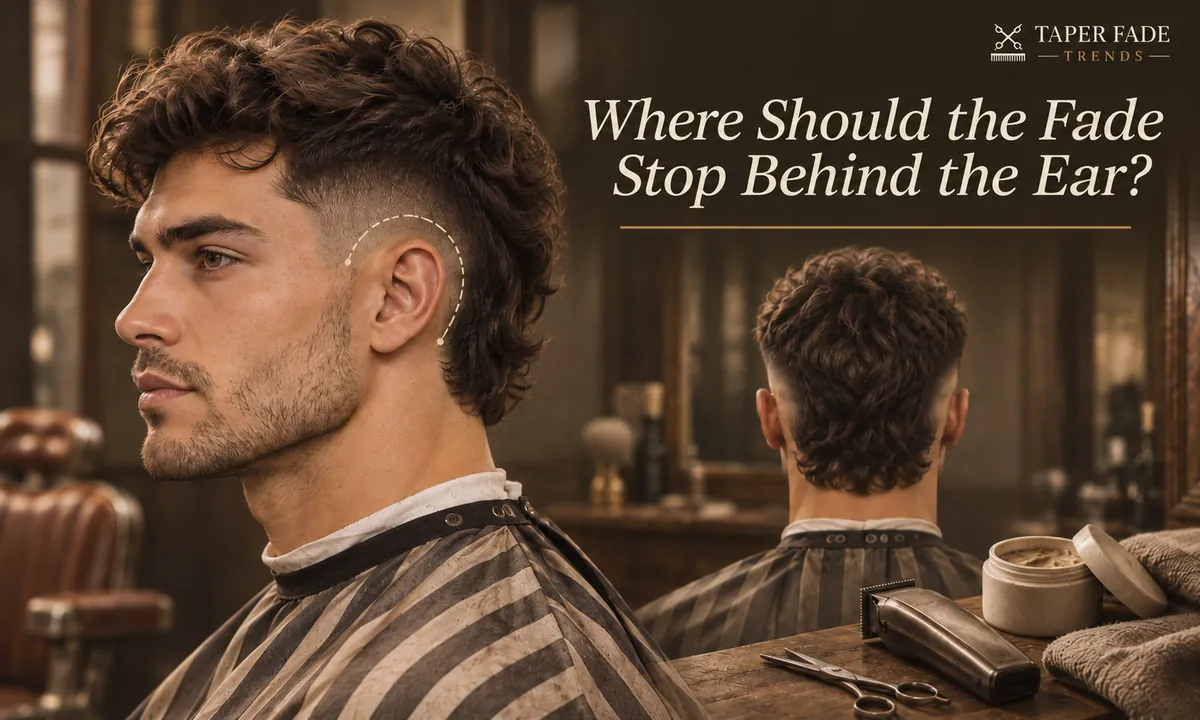
The strip that must survive is the crown-to-nape panel: the retained hair running from the crown (the swirl point at the top back of the head) down to the nape hairline. Keep it long and wide enough to read as a mullet from the side and from behind. No source gives a minimum in inches, because texture, shrinkage, crown weight and the outline you want all change the answer.
New York Master Barbers names the usual failure: once the nape is faded, a mullet turns into a faux-hawk. Bring a back-view photo and point to the part that must not be shortened.
Shops also differ on the neckline. CADMEN says a burst’s neckline typically stays natural or slightly squared; New York Master Barbers says a squared nape isn’t compatible with a burst. If you want the edge shaped, show a photo of exactly that.
Check the same cut from the side and rear
A reference settles the stop line only when its side and back views come from the same cut. A plain side profile can hide the shape, and New York Master Barbers says a burst reads best in three-quarter view. Check three things:
- The whole arc is visible, including its top edge.
- The point where the arc ends behind the ear shows in both the side and back views.
- Both photos show the same person and cut, in a similar dry state.
An illustration, including every image on this page, can show where a stop line could sit. It can’t show how a real cut looks from behind.
Connected or deliberately disconnected?
A connected burst fade mullet steps down gradually from the crown into the longer back. A deliberately disconnected version leaves a weight line, a visible edge where the long hair ends. Neither label tells the barber how wide the crown-to-nape panel stays, so choose the side and back outline first, then agree how the top edge is blended.
Choose the arc height and shortest finish
A burst fade mullet doesn’t have to reach bare skin. The curve around the ear makes it a burst; skin, shadow or a guard length only changes how much contrast it shows. Say whether you want scalp visible at the shortest point, because labels such as zero and burst taper mean different things in different shops.
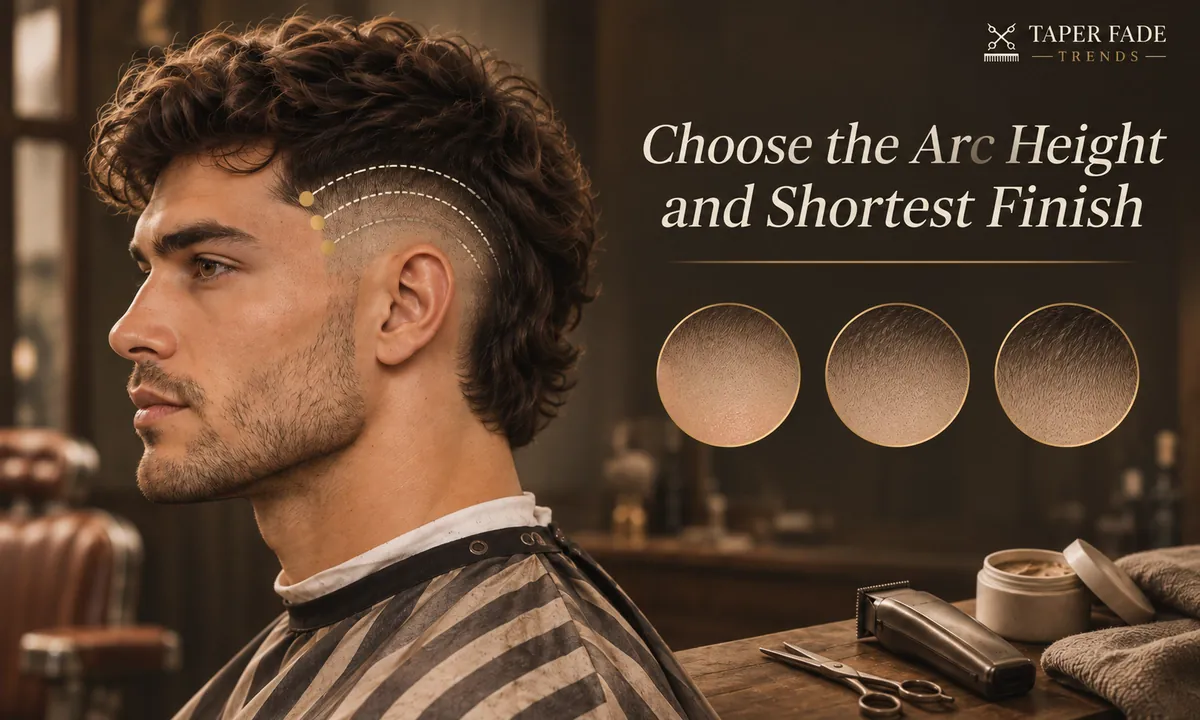
Sources split here. CADMEN teaches the burst with skin at the apex behind the ear, while Mullet Style and other style guides treat skin as one option. This guide treats the shortest finish, the closest length the arc reaches, as your choice.
| Shortest finish | What shows at the shortest point | Contrast with the long back |
|---|---|---|
| Skin | Bare scalp | Highest |
| Shadow | Close stubble, scalp showing as a shade | Medium |
| Visible guard length | Hair left at a clipper guard length | Lowest |
Arc height is judged against the ear: low, middle or higher. No standard measurement separates them, so point to where the top of the arc should sit. A guard number belongs to one brand’s clipper system, so a number alone doesn’t describe a finish; the clipper guard sizes guide explains why.
Four useful versions to compare
A higher burst fade mullet exposes more of the side and leaves less hair supporting the crown-to-nape panel. Contrast goes up, but a broad mullet can start to look like a narrow mohawk. Set the top and rear boundaries with photos, not with the word high alone. Each version below changes one deciding variable.
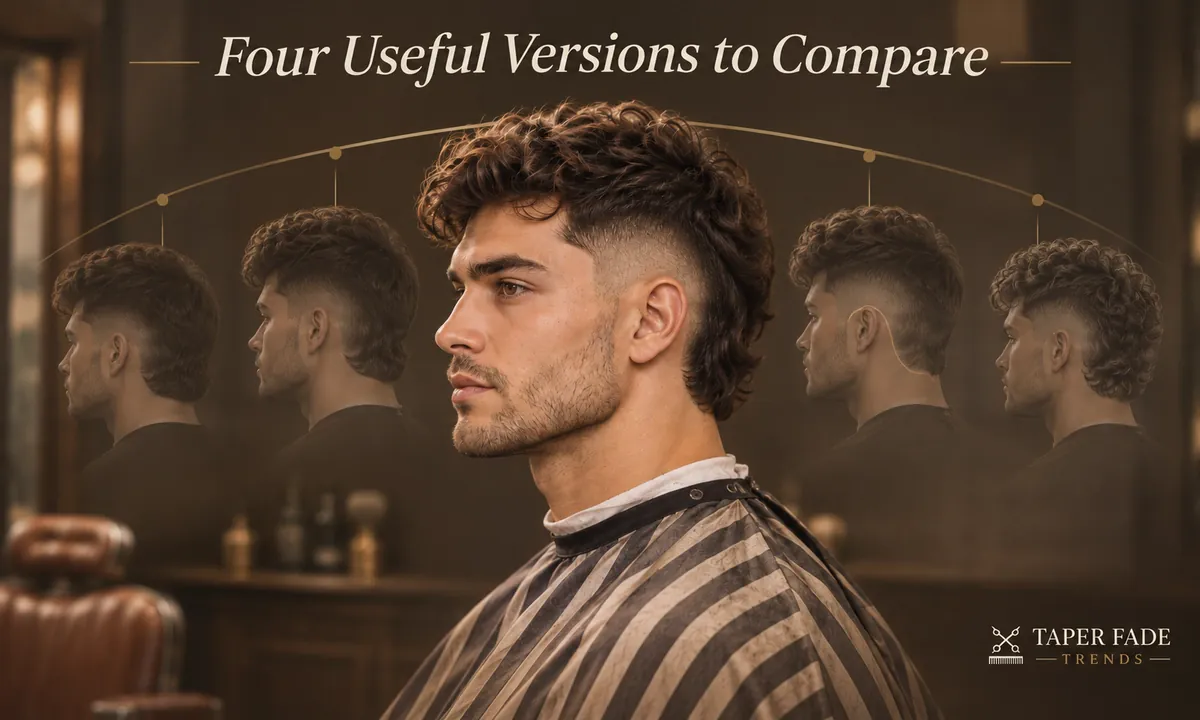
| Version | What changes | Trade-off | Pick it if |
|---|---|---|---|
| 1. Low arc, shadow finish, broad back | Least side hair removed; the back leads | Subtle arc in profile | You want side weight and a strong mullet from behind |
| 2. Middle arc, shadow or skin, medium back | Clear ear curve from the side | The panel must be protected at every visit | You want the curve visible and will confirm the back first |
| 3. Higher arc, skin, narrower back | Most side exposed; sharpest contrast | Can drift toward a mohawk shape | You prefer contrast over side weight |
| 4. Any height, back judged dry | Back length set from the dry outline | Needs the barber to check after drying | Your hair is curly or coily |
A closer finish shows regrowth sooner, so version 3 usually needs the ear area tidied before version 1 does. The low burst fade guide covers the lowest setting on its own.
Which hair characteristics matter?
A curly burst fade mullet keeps the same curved ear fade, but the crown and back look shorter once curls dry and contract. Ask the barber to judge the rear outline dry before taking length off. Shrinkage varies from person to person, so a fixed extra-length rule is unreliable.
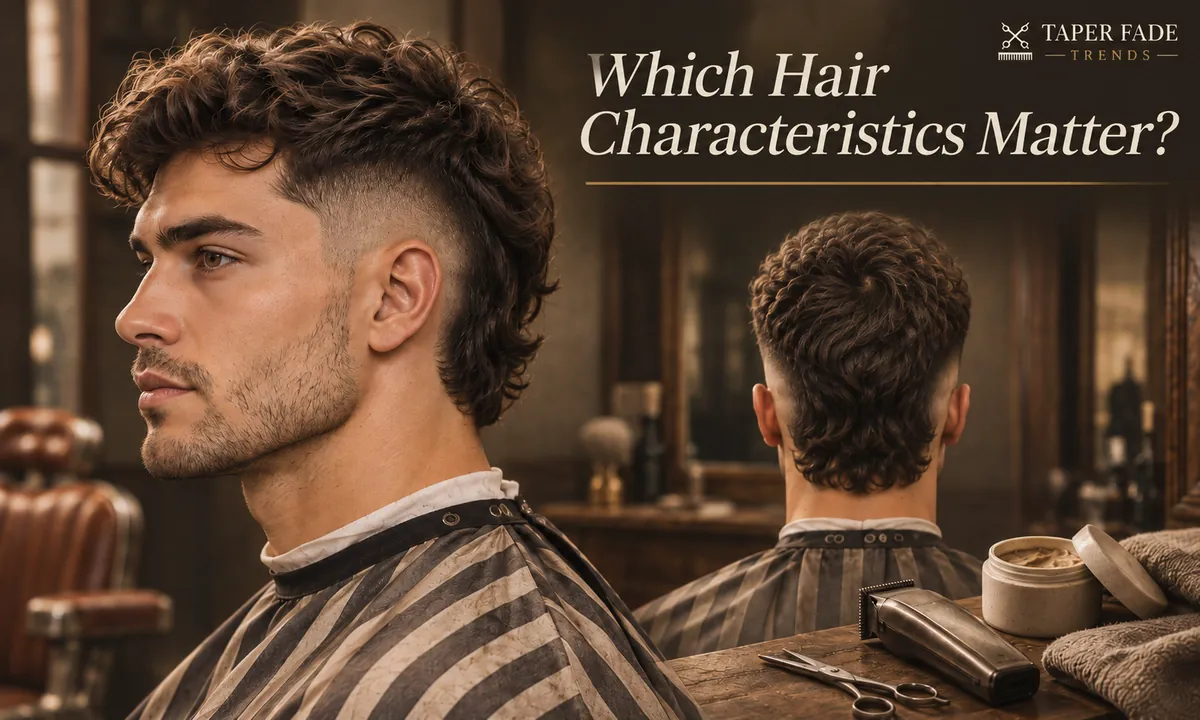
| Hair | What changes | What to say or show |
|---|---|---|
| Straight | Layer lines and rear weight are easy to see | A back photo, and where the weight line will sit |
| Wavy, curly or coily | Dry length differs from wet length | The hair dry, before the back is shortened |
| Density | Thick hair holds more visible weight at the same length | Whether your hair is fine, medium or thick |
| Crown whorl | Hair swirls there, so the panel’s top edge may sit differently from a photo | Ask for the crown to be checked before the top edge is blended |
If the barber cuts wet, ask for the back to be checked dry before it’s finished. Face shape isn’t on this list: the sources reviewed disagree about which faces suit the cut, and none shows evidence.
What to tell your barber
Ask for a burst fade mullet with the arc centered on each ear, then name the arc’s highest point, the shortest finish, how much hair stays behind the ear and how long the back stays. Show side and back photos. Ask the barber to explain the crown connection before any hair comes off.
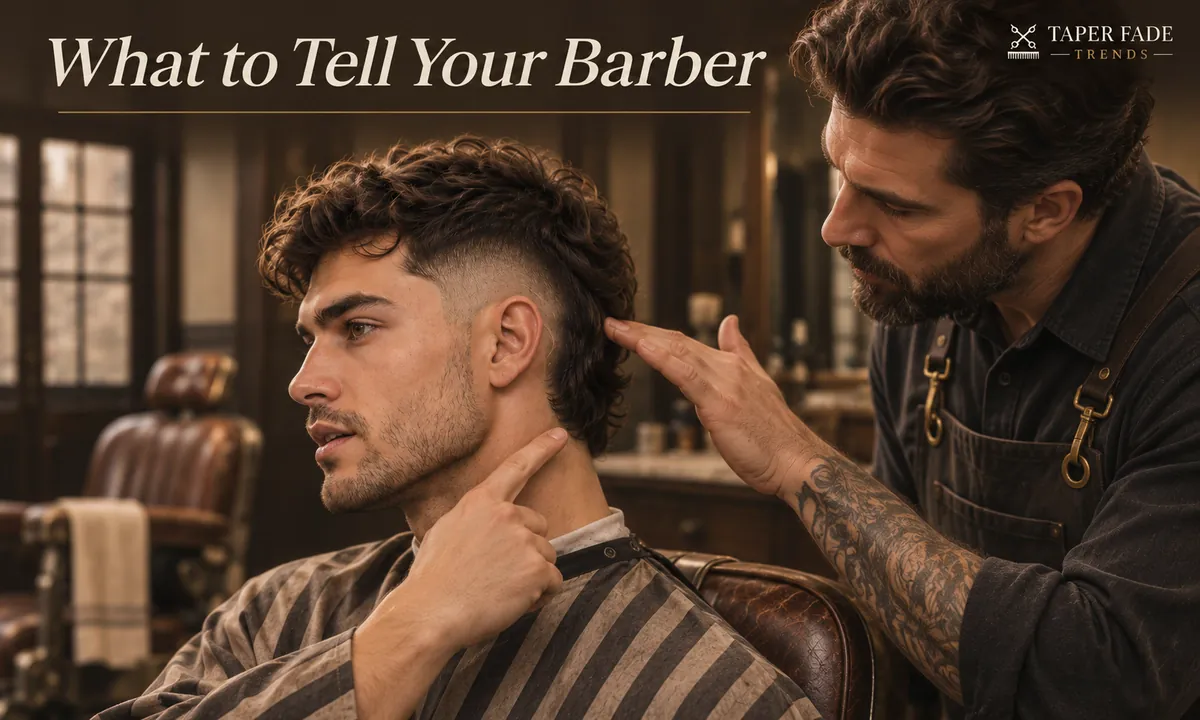
| Field | What you say | What only the barber can confirm |
|---|---|---|
| 1. Arc limit | Where the top of the arc sits against the ear | Where that line lands on your head |
| 2. Shortest finish | Skin, shadow or visible hair | The tool and setting that produce it |
| 3. Back to keep | Panel width and length; natural or shaped neckline | Where the panel edge falls with your growth |
| 4. Crown join | Gradual blend or weight line | How the top edge is blended |
| 5. Top | Length and how you wear it | Whether your hair lies like the reference |
Said out loud, with your own choices in the brackets:
“I’d like a burst fade mullet. Keep the arc around each ear and stop it behind the ear, with the top of it about here. Finish it at [skin / shadow / a guard]. Keep this much width from the crown to the nape, with a [natural / shaped] neckline. Don’t fade the nape. Blend the crown [gradually / with a weight line] and leave the top [length].”
New York Master Barbers suggests saying “don’t fade the nape” as a separate sentence, because it’s the part that gets missed.
Bring these photos, each marked with what to copy and what to ignore:
- Back view, with the panel and neckline in frame.
- Left and right side views, with the whole arc in frame.
- A three-quarter view, which shows the arc and back together.
Before the clippers start, ask the barber to repeat back the arc’s top edge, the finish and the panel. If any of it differs from your brief, sort it out first. The general process is in the barber consultation brief.
Burst mullet versus nearby cuts
A burst fade mullet and a drop fade mullet can both keep a longer back. The burst concentrates a rounded fade around the ear; a drop fade’s line dips behind the ear and generally carries farther across the back. Shops use the names loosely, so the reliable test is a matched side and back reference.
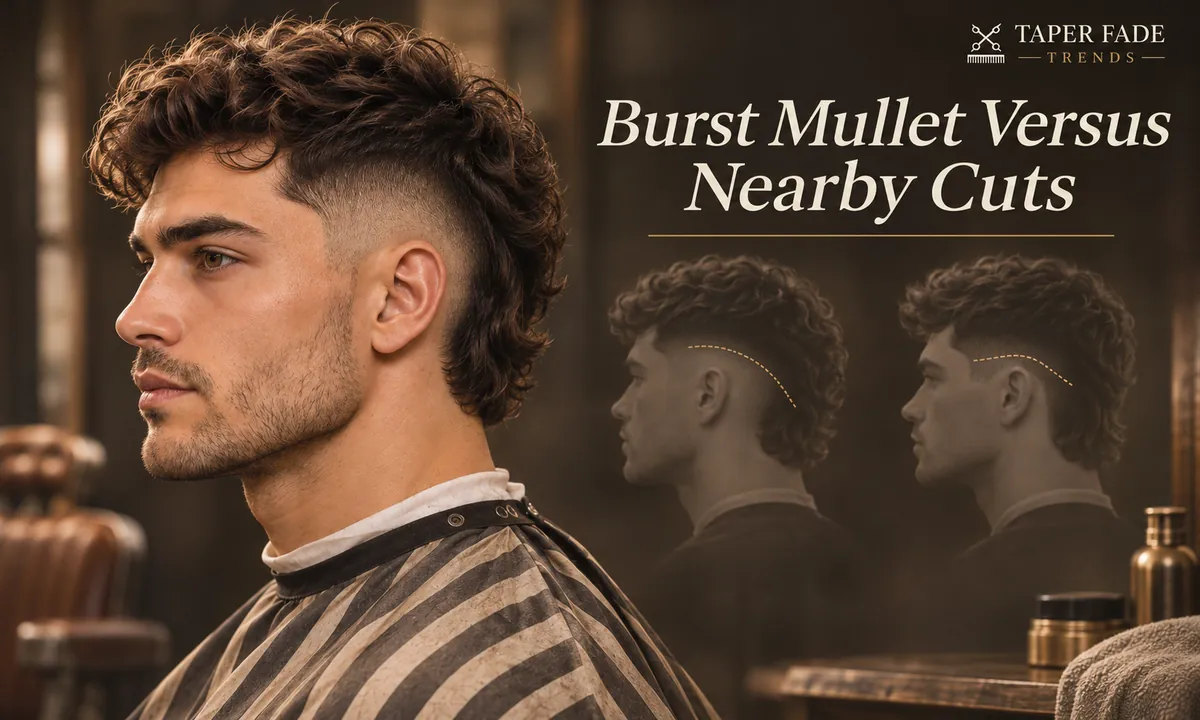
| Cut | Short area | Nape and back | Confirm with the barber |
|---|---|---|---|
| Burst fade mullet | Rounded area around each ear | Panel stays long | Where the arc stops behind the ear |
| Drop fade mullet | Line dipping behind the ear | Line often continues across the back | Where the line ends at the back |
| Taper mullet | Short work at the sideburns and nape edges, no distinct arc | Back and most side weight stay | Whether the edges finish at skin or hair |
| Narrow mohawk | Large side areas cleared | A narrow strip runs to the back | Strip width at the neckline |
New York Master Barbers uses a one-line test: a faded nape means a drop fade, a long one means a burst. The same arc can sit under a mullet or a mohawk; the width left at the back decides which. For fuller sides and softer edges, see the low taper mullet, and for the two fades side by side, burst fade vs taper.
Style the length without flattening the arc
Styling a burst fade mullet works on the crown and back, because the short area around the ear has too little length to set. Aim for the length to fall near the arc without covering it. Styling changes how the length lies; only a cut keeps the arc sharp.
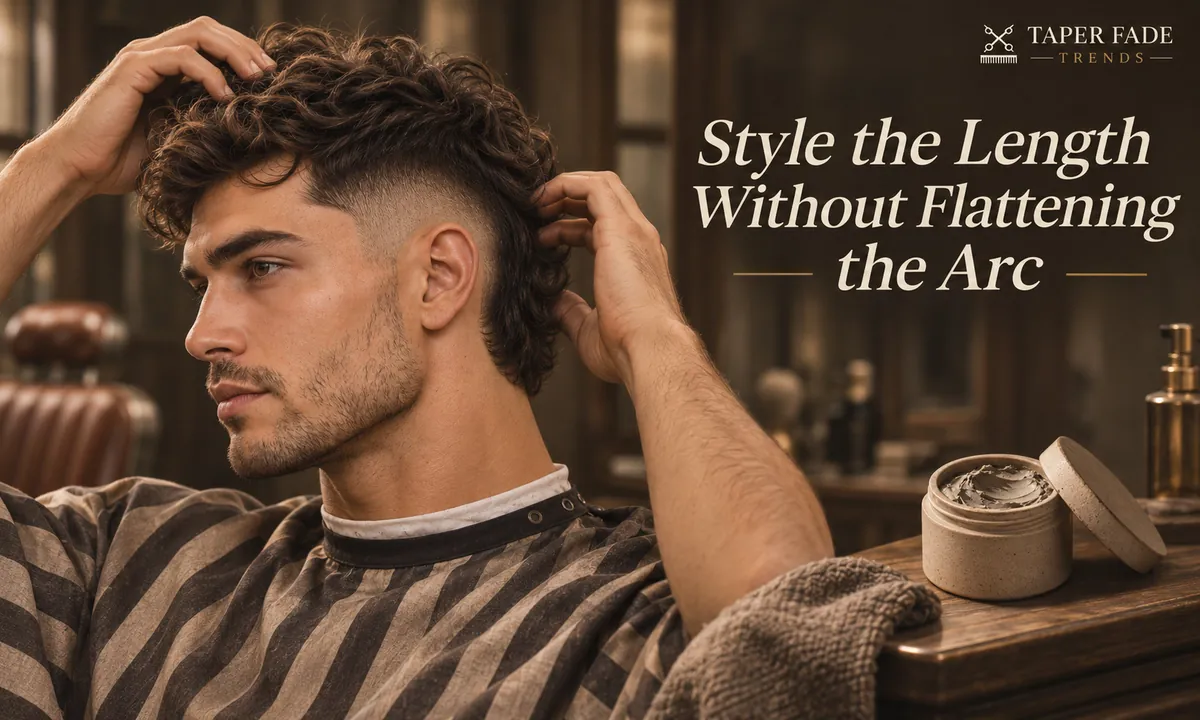
Straight hair dries in the direction it’s pushed, so drying the back straight down tends to press it flat against the neck. Wavy hair keeps more pattern if you stop brushing once the wave has formed. Curly and coily hair clumps better when product goes in while it’s damp, then air-dries or gets diffused. Taper Trends and Mullet Style give versions of this routine. Pick a product by the hold your hair needs; this guide gives no amounts.
Refresh the arc without losing the back
The burst arc usually loses its crisp edge long before the mullet needs reshaping, so the two have separate upkeep. For a close or skin finish, CADMEN and New York Master Barbers both put the arc at about two to three weeks; a shadow or visible-hair finish usually lasts longer. While growing the back, ask for an ear-area cleanup only.
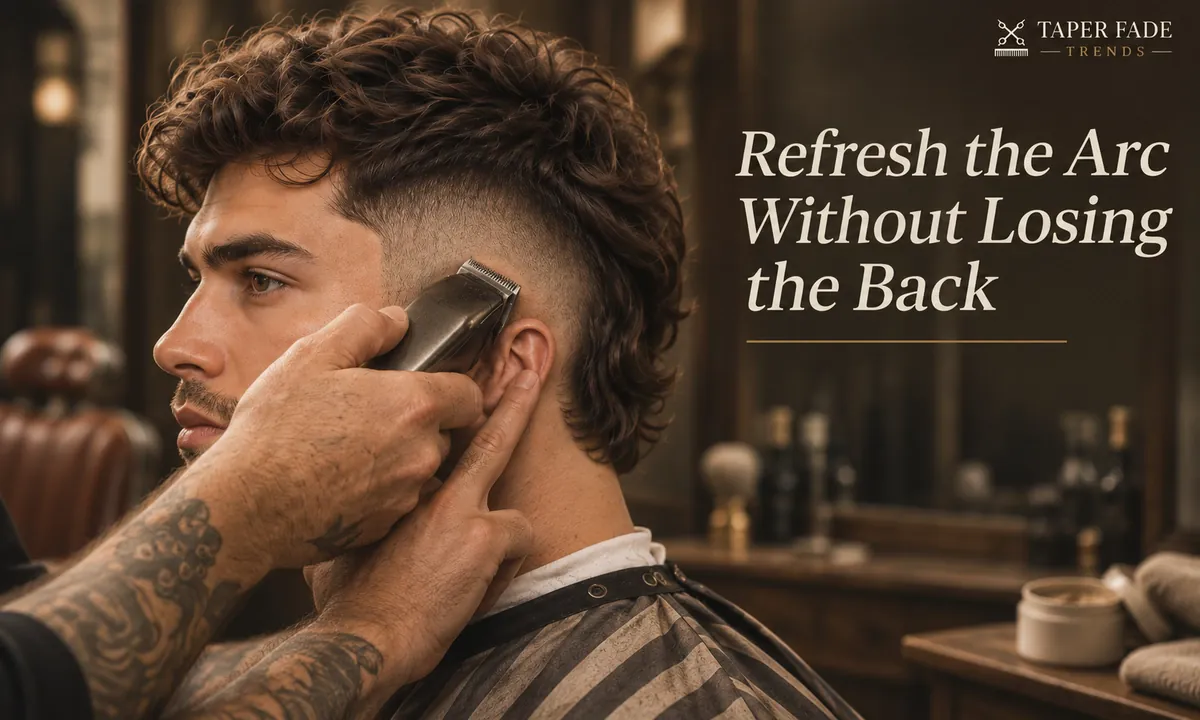
An ear-area cleanup trims the arc and leaves the crown-to-nape panel alone. New York Master Barbers adds that the long back hides some regrowth, so an overdue burst looks scruffy before it looks unkempt.
| Variable | How it changes the timing |
|---|---|
| Shortest finish | Skin shows regrowth first; shadow and visible hair tolerate more |
| Arc height | A higher arc exposes more scalp, so regrowth shows over more of the head |
| Neckline | A shaped edge loses its line sooner than a natural one |
| Hair and scalp contrast | The stronger the color difference, the sooner regrowth shows |
For between-visit care, the maintain your fade between visits guide applies to the arc; leave the back out of it.
Mistakes and limits to check before cutting
Check these at the mirror before the cut goes further. Hair that comes off returns only by regrowth.
| Mistake | Check before cutting | If it has happened |
|---|---|---|
| Arc set too high | Ask the barber to point to the arc’s top edge against your ear | Ask whether the edge can be softened; side hair grows back slowly |
| Arc wrapping through the nape | Watch where the fade stops before the second side is cut | Ask the barber to pause and agree the boundary |
| Back too narrow | Compare the panel with your back photo | Stop any further narrowing and let the width grow back |
| Reference isn’t a real cut | Check whether the photo is a haircut, an illustration or an AI render | Bring a real side and back photo, or rely on your five fields |
Don’t expect perfectly matched arcs. CADMEN notes that ear position and head shape change how each curve sits, so close is the target. A photo also can’t tell you the guard, blade or how much hair was removed, so don’t copy a number from a picture.
If you want the back short and even, choose a different cut: a burst fade mullet depends on the length behind the arc. The taper fade visual guide shows how a taper sits at the back.
Method and sources
Taper Fade Trends prepared this guide by comparing a barber school’s technique page, a working barbershop’s style guide and two grooming publishers, checked on November 4, 2026. Where they disagree, on skin at the apex and on the neckline, the page says so. Every image is an AI-generated illustration, not a photo of a documented cut, and the guide contains no client results or measurements.
No barber has reviewed this page yet; when one does, their name, role and review date will be added here. Found an error? The editorial policy explains how corrections are made and dated, or you can contact us.
Sources:
- Burst Fade Haircut: The Technique for Executing the Curved Fade Around the Ear, CADMEN Barber Academy
- Burst Fade: What It Is and What to Ask For, New York Master Barbers
- 6 razor bump prevention tips from dermatologists, American Academy of Dermatology
Style guides compared for terminology, not as evidence of results:
- Burst Fade Mullet: 25 Styles, Mullet Style
- Burst fade mullet: styles, hair types, barber guide and maintenance, Taper Trends
Next: plan the cut with your barber
Write down your five fields, save a side, three-quarter and back photo of one real cut, and take both to the appointment. Rehearse with the barber consultation brief, and keep the clipper guard sizes chart handy if the barber asks which number you mean.
Keep reading
All guides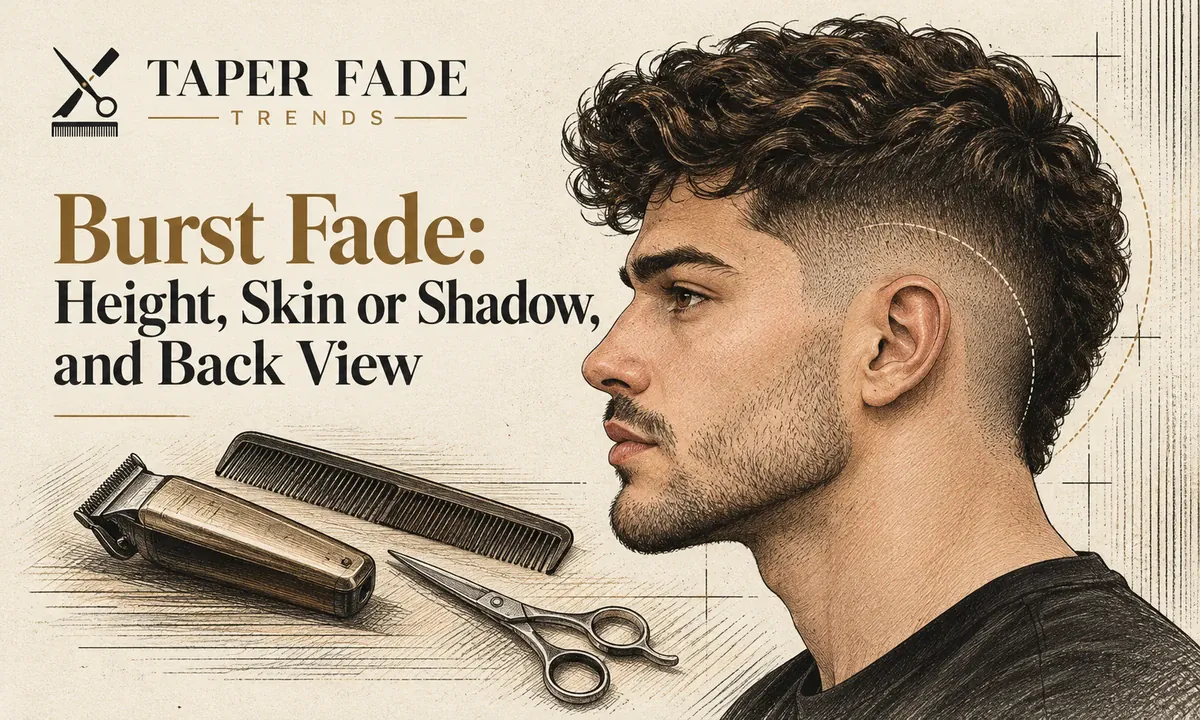
Burst fade: arc height, shortest finish and back view
A burst fade curves around the ear. It doesn’t have to reach skin, and the back is a separate choice. See the three controls and what to tell your barber.
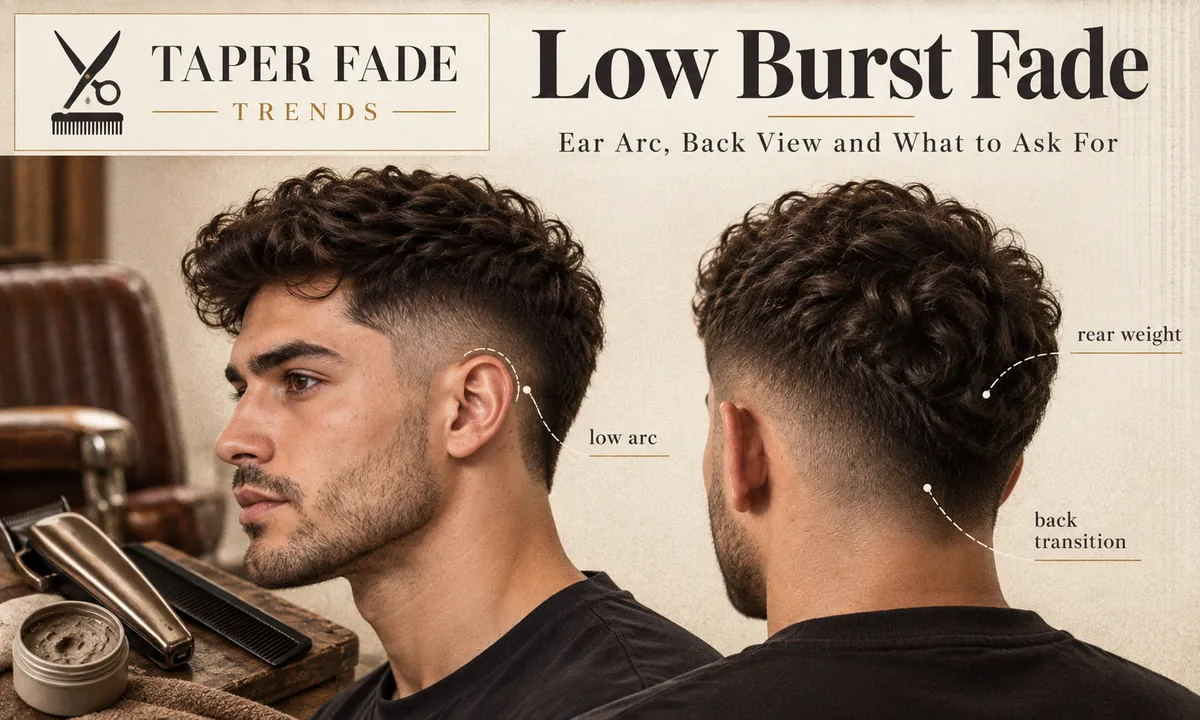
Low burst fade: the low ear arc and back transition
A low burst fade curves low around the ear and can keep length at the back. Compare skin vs shadow, burst vs drop fade, and what to tell your barber.
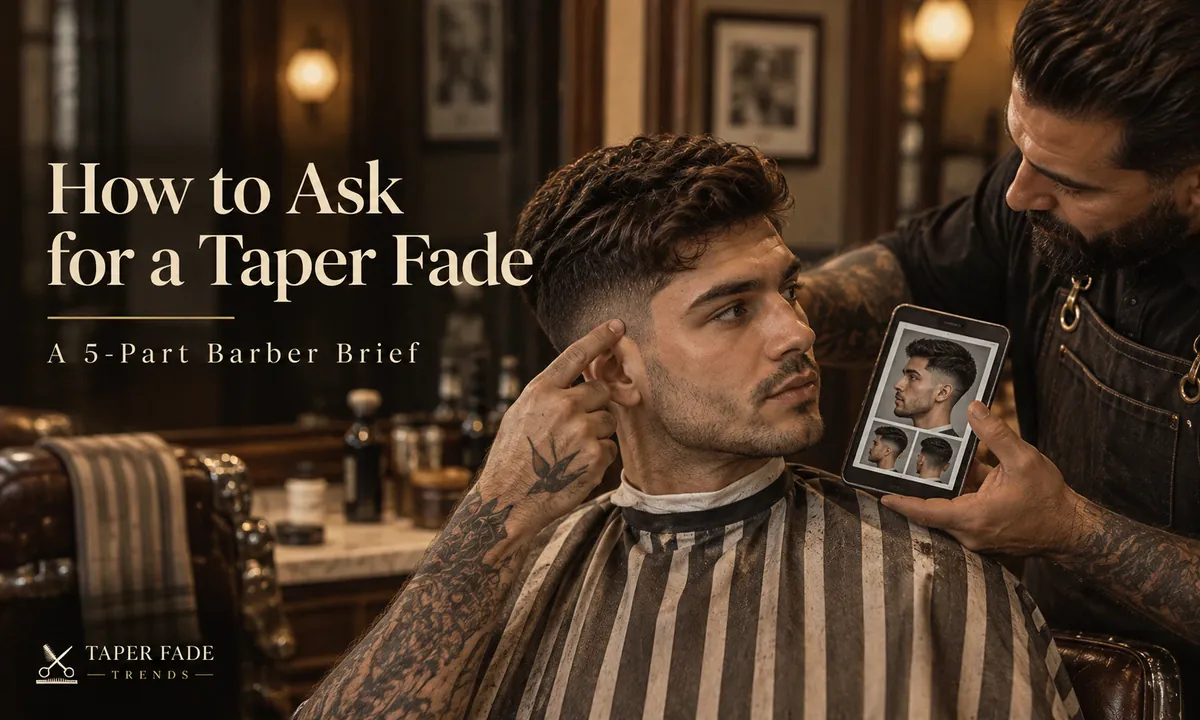
How to ask for a taper fade: a five-part barber brief
How to ask for a taper fade: say where it may reach, how short the base goes, how much side weight stays and what to do on top, then check the plan first.
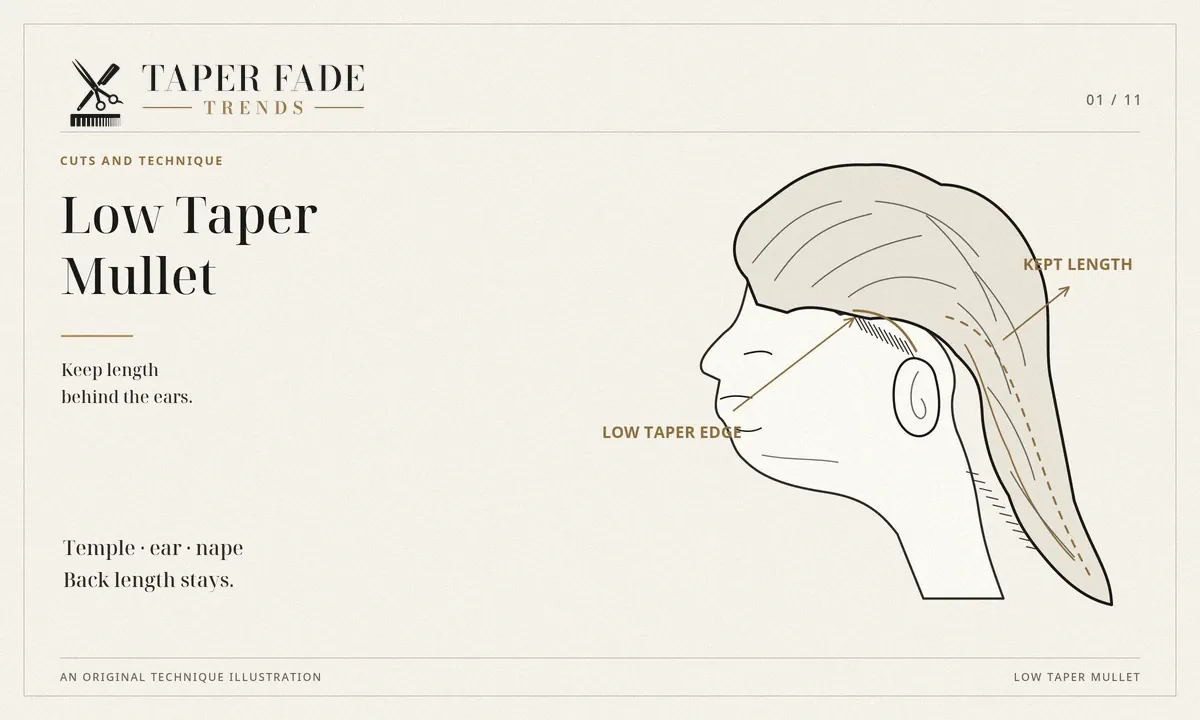
Low taper mullet: keep length behind the ears
A low taper mullet keeps length behind the ears and through the back. See what to tell your barber, how texture changes it, and how to grow it out.
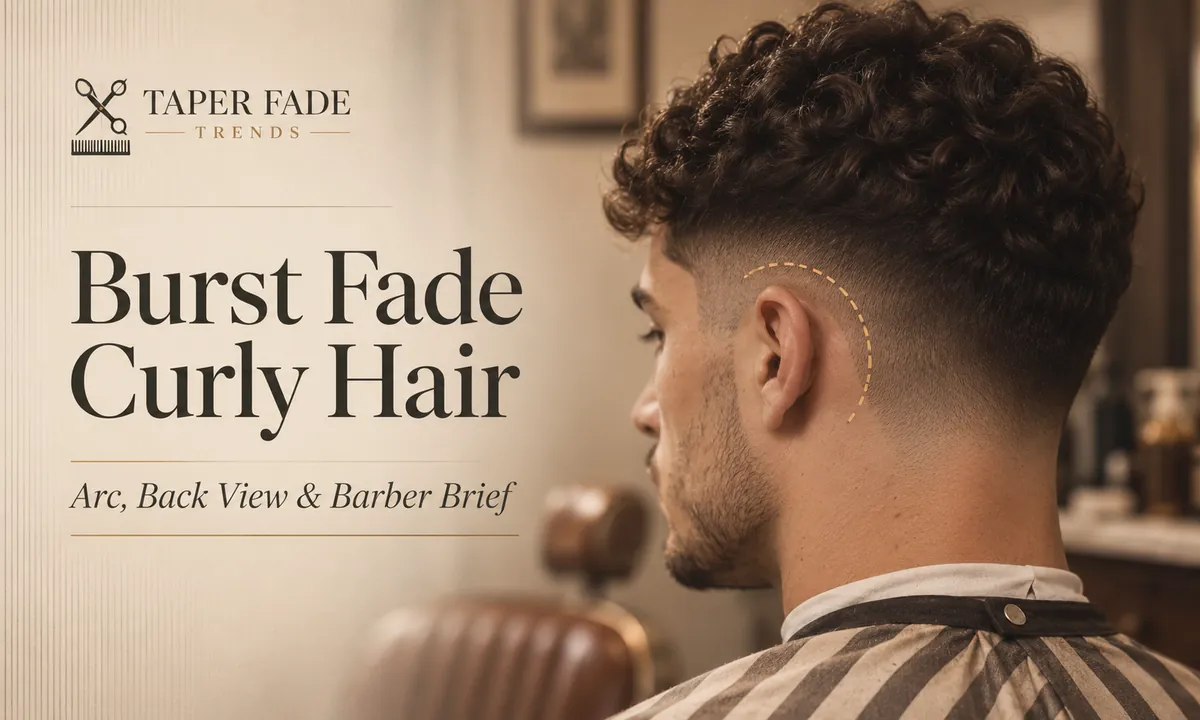
Burst fade curly hair: keep the curl shape around the ear
A burst fade on curly hair curves around the ear. Set the arc, skin or shadow finish and nape on dry curls, then take a six-point brief to your barber.
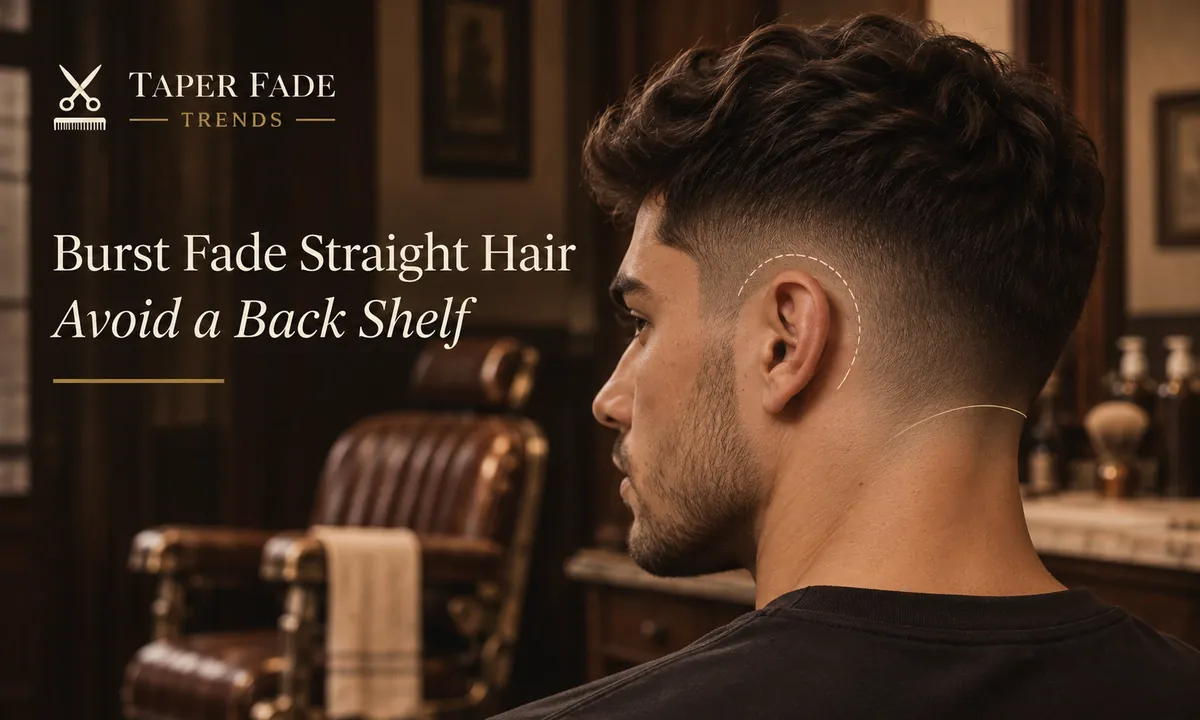
Burst fade straight hair: avoid a disconnected-looking back
A burst fade on straight hair shows every step. See where the ear arc should stop, how the crown connects, and what to tell your barber to avoid a shelf.
Burst fade black men: waves, coils and longer tops
Burst fade black men guide: see how the arc frames waves, coils, twists and locs. Compare ear arc, back length and skin or shadow finish before you book.
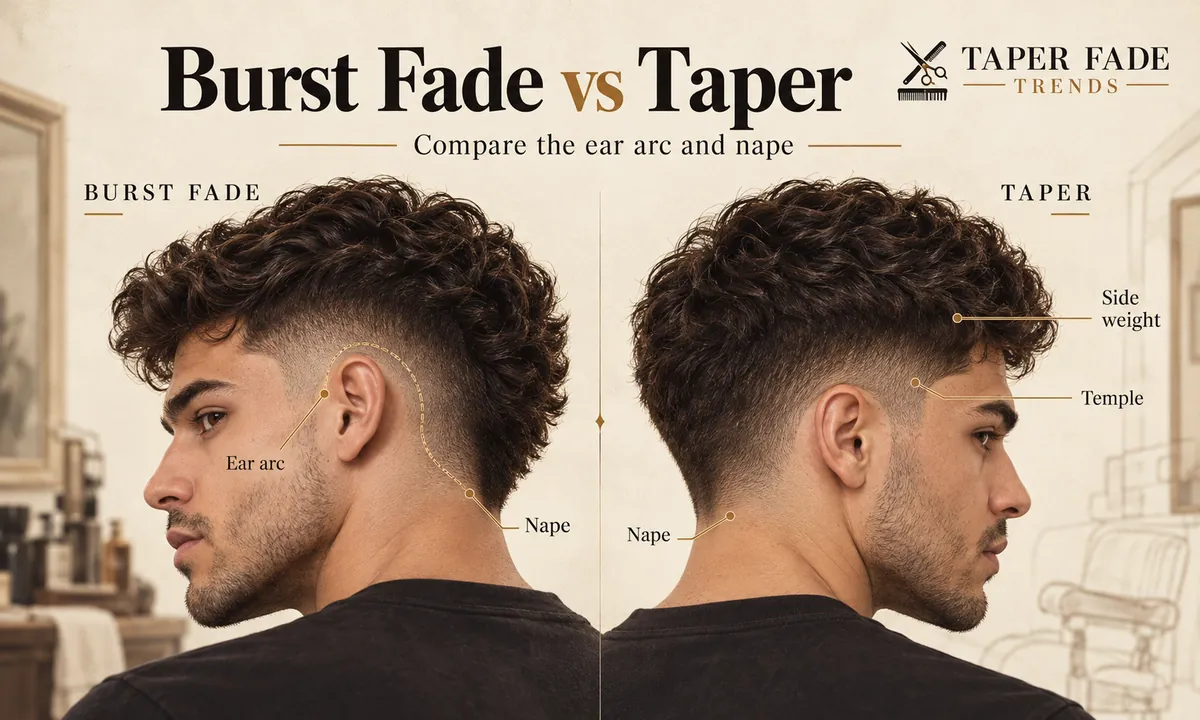
Burst fade vs taper: compare the ear arc and nape
Burst fade vs taper compared by ear arc, side coverage, nape treatment and shortest finish, plus a five-part barber brief and the photos to bring.
Burst taper fade: what the side and back should show
A burst taper fade curves around the ear and tapers the edges. See what the side and back should show, and the five-part brief to give your barber.
More in burst fades
Burst fades: all 8- Burst fade: arc height, shortest finish and back view15 min
- Low burst fade: the low ear arc and back transition12 min
- Burst taper fade: what the side and back should show9 min
- Burst fade curly hair: keep the curl shape around the ear12 min
- Burst fade straight hair: avoid a disconnected-looking back10 min
- Burst fade black men: waves, coils and longer tops13 min
- Burst fade mullet: map the ear arc and keep the backYou are here
- Burst fade vs taper: compare the ear arc and nape10 min