Burst fade straight hair: avoid a disconnected-looking back
A burst fade on straight hair curves the short hair around each ear and keeps a chosen amount of length at the back. Straight hair can show a shelf where the longer hair above the arc isn’t blended in. Before the cut, agree where the arc stops, how long the nape stays and how the crown connects.
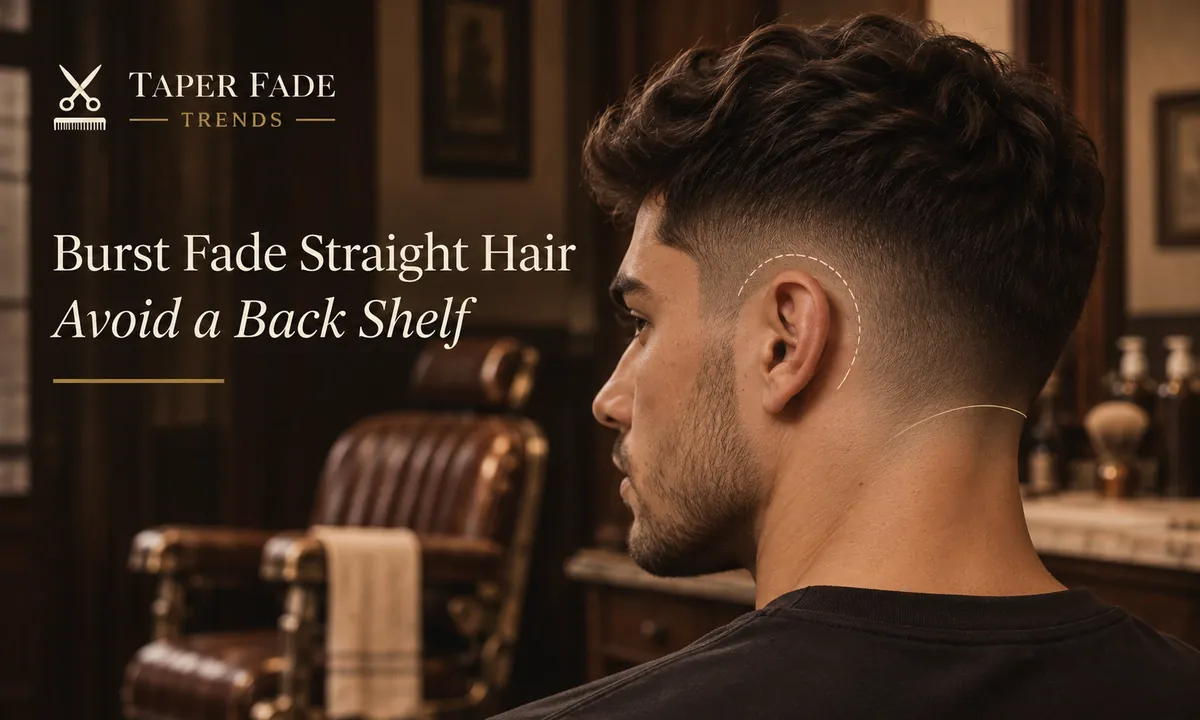
Settle these before the clippers start. Each one is a choice, not a default.
| Decision | What to settle | Note |
|---|---|---|
| Arc height | Low, mid or high, measured against your own ear | Shops draw these lines differently, so point to it |
| Rear endpoint | The spot behind each ear where the fade stops | Mark it on a rear photo |
| Shortest finish | Skin, shadow or a short guard | Skin is optional |
| Nape | Left long, natural, or tidied shorter | You name the length |
| Rear connection | A gradual join, or a deliberate disconnect | Say which, out loud |
| Your hair | Fine or coarse strands, low or high density, crown cowlick | The barber should check it dry |
| Reference photos | Both sides plus a rear view, ideally of one cut | A side photo can’t show the back |
Burst fade on straight hair: what changes at the back
A burst fade on straight hair is a localized graduated cut around the ear, worn with naturally straight top and side hair and an explicitly chosen rear connection. The fade curves around each ear and usually leaves the back and nape longer, so the back is a decision you make, not something the fade decides.
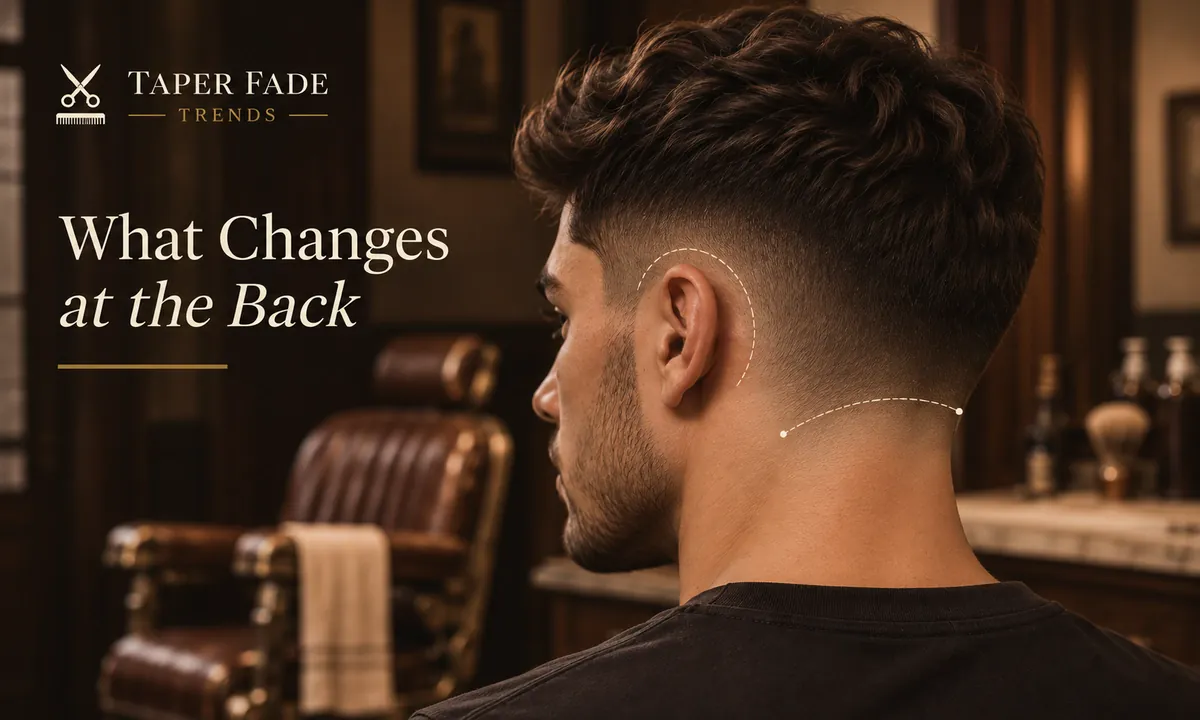
That definition matches how two working barbershops describe the shape: Cutters Yard in London calls it a semicircle around the ear, and Republic of Barbers in Adelaide says the back and nape stay longer.
The rear connection is how the longer hair above or behind the burst arc meets the crown and nape without an unrequested shelf. A shelf is a visible ledge where two lengths meet without a blend. Straight hair falls in one direction and holds its outline, so it shows that ledge where curls would blur it. Mullet Style points to two causes: too much weight left right above the fade, and a high arc sitting under a long, heavy top.
Barbers also disagree about the back itself. Republic of Barbers says a burst leaves the back untouched, while Cutters Yard describes blending close around the ears and the nape. Our burst fade guide lays out that split. On straight hair it matters more, because whatever happens at the back stays visible.
Choose the curve, finish and connection
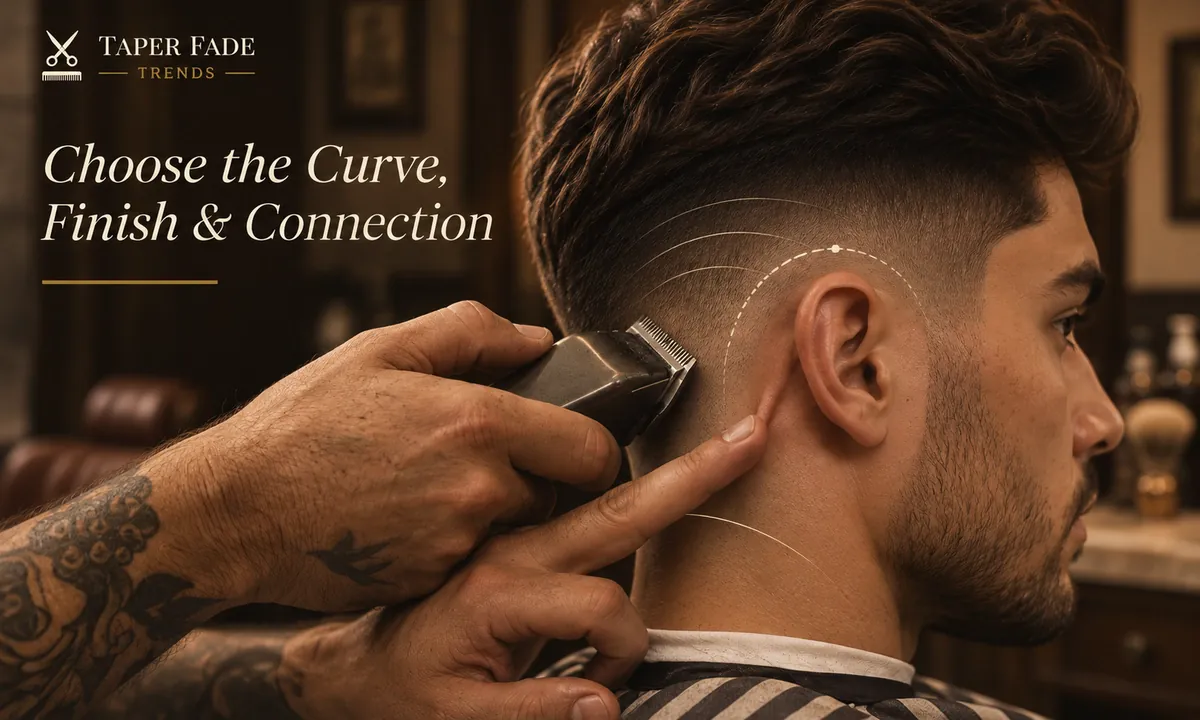
Three choices shape a burst fade on straight hair, and none of them sets another: where the arc stops behind the ear, how short its lowest point goes, and how the hair above the arc joins the crown and back. Name each one out loud. A photo shows the result, not which of the three the barber should copy.
Where the arc stops
The burst arc should stop at the point you agreed using side and rear reference photos, not sweep automatically across the back. Keep enough hair behind that point to hold the silhouette you want. No height or millimeter figure fits every head, because the right stop depends on your crown, growth direction and current cut.
Low, mid and high describe how far up the side the arc climbs, relative to your own ear. A low arc keeps more side weight and leaves more room to blend, which is why the low burst fade is the gentler version on straight hair.
Skin, shadow or visible hair
A burst fade does not have to reach skin. “Burst” names the curved placement around the ear; skin, shadow or a short guard is a separate choice for the lowest point. Shadow means hair cut very short but still visible, so the area reads darker instead of bare. Pick the finish you want, then let the barber choose the tools.
On straight hair, two trade-offs follow. Skin gives the strongest contrast and shows regrowth first. On lower-density hair, it also shows more scalp around the arc, which a shadow softens (Mullet Style). Guard numbers differ between brands, as haircut numbers shows, so describe the finish rather than quoting a number.
Three back shapes to compare
A back looks unintentionally disconnected when the hair above or behind a burst fade leaves a ledge you didn’t ask for. On a burst fade mullet, a visible boundary can be the design. Judge the back from a side view and a rear view together, because one ear-side photo can’t show whether the rear transition is right.
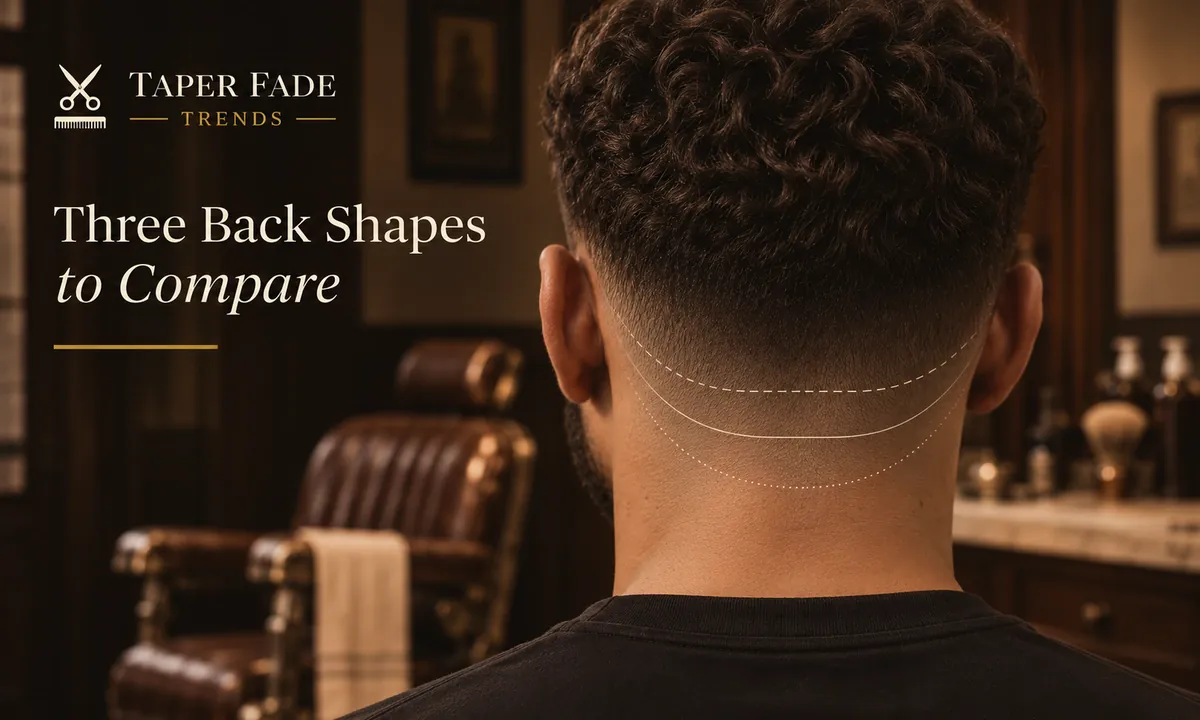
| Shape | Rear connection | Nape | From behind | Pick it when |
|---|---|---|---|---|
| Connected crop | Gradual join | A length you name | Crown weight kept, no ledge | You want the burst to read as one gradient |
| Short nape, softer edge | Gradual join | Tidied shorter, edge specified | Cleaner nape, fade still around the ear | You want a tidy back without fading it |
| Long back for a mullet | Deliberate disconnect | Kept long | A visible boundary, on purpose | You want that boundary |
Connected doesn’t mean every length is identical. It means no ledge appears that you didn’t request. “Tidied” has no standard length either, so give the barber yours.
With a long back the risk flips. Mullet Style warns that a fade carried too far into the back, or a crown cut too short, can strip the length a mullet needs. Say “keep the back long” before the first pass and bring a rear photo. If you want a longer back blended rather than disconnected, ask for a connected crop, not a mullet.
Pick the cut for your straight hair
Straight hair isn’t one type. Fine strands and low density are different things, and each changes a burst fade differently: low density shows scalp sooner around the arc, while dense or coarse straight hair can push outward above it. Ask the barber to check density, side growth and the crown before setting the upper transition.
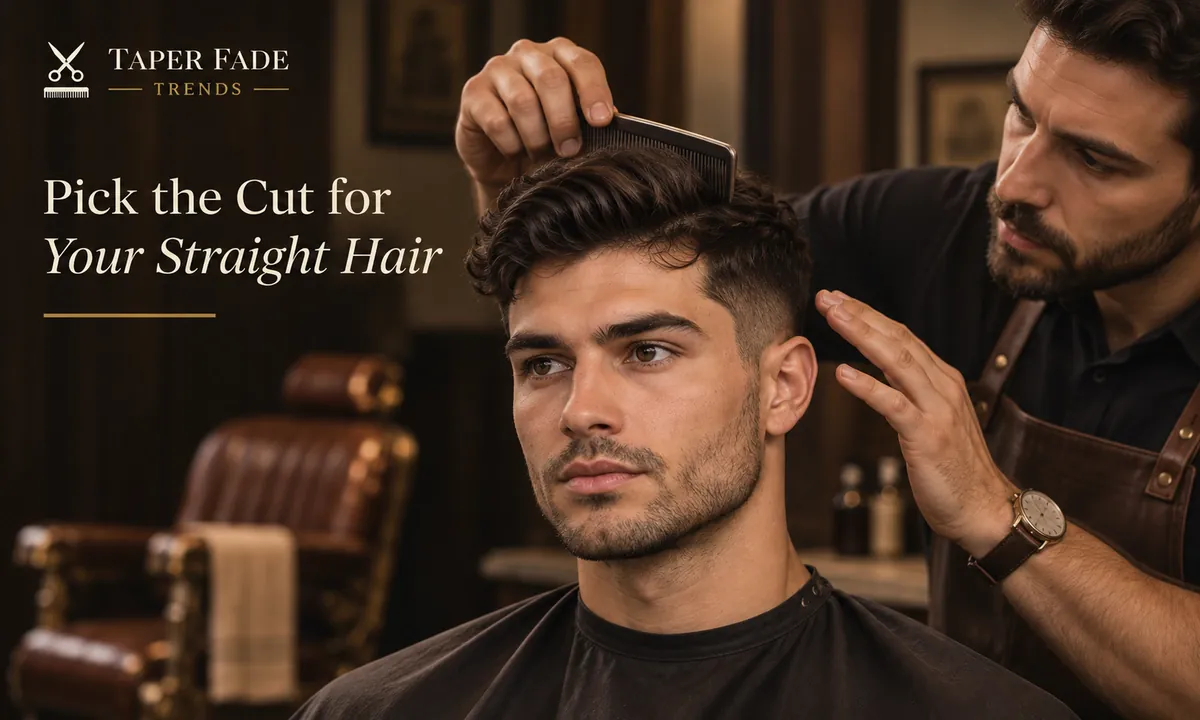
Fine describes how thick each strand is; density describes how many strands grow. Fine hair can still be dense (Mullet Style).
| Your hair | What can happen | What to ask for |
|---|---|---|
| Fine strands | The top falls flat under heavy product | Keep useful weight on top; use less product |
| Low density | More scalp shows near the short area | A lower arc or a shadow finish |
| Dense | Bulk sits above the fade and the sides bulge | Controlled weight removal, not heavy thinning |
| Coarse or stiff | Short hair just above the arc stands out | A slightly longer transition above the arc |
| Crown cowlick or whorl | The top-to-back connection shifts | Point it out; keep enough length there |
A reference photo shows a shape, not the guard or lever setting behind it. Pick one with straight hair that behaves like yours.
What to tell the barber
Tell your barber you want a burst fade on naturally straight hair, with the shortest section curving around your ear and the back kept at a length you name. Point to where the arc should stop on a rear photo, and say whether the crown should blend into the back or disconnect on purpose.
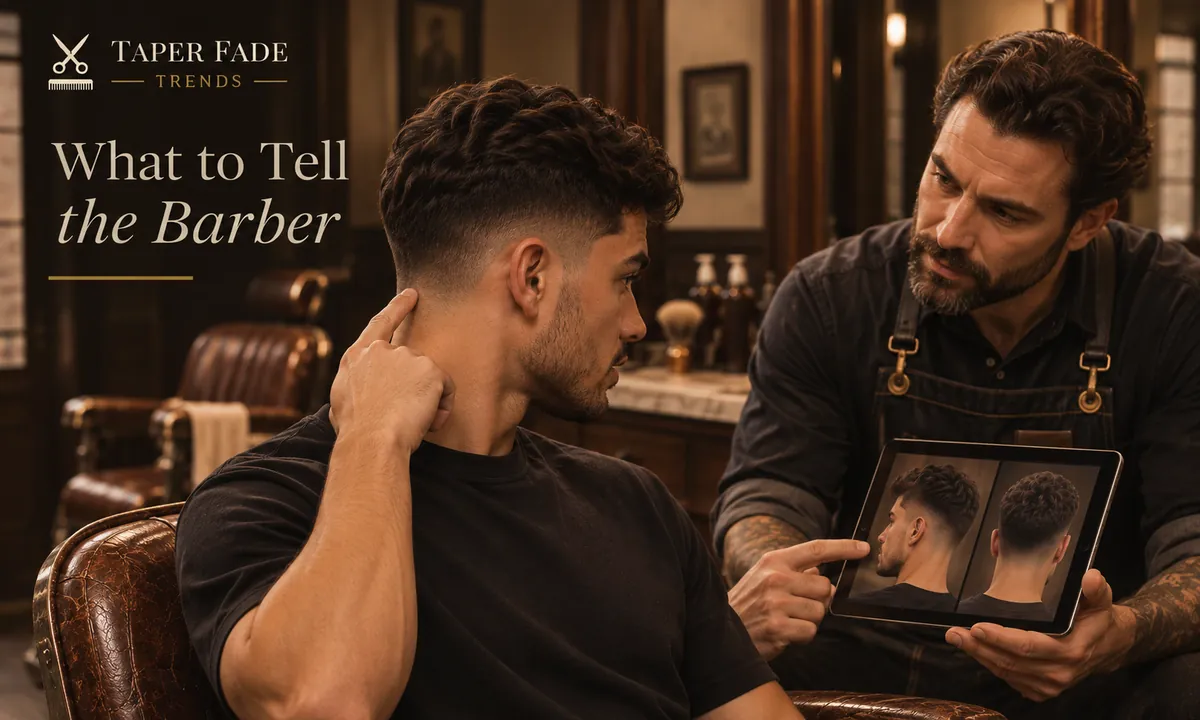
Edit this to fit: “I want a burst fade on naturally straight hair, not a straight back line. Curve the shortest part around my ear and stop it here [point on the rear photo]. Take the lowest point to [skin / shadow / a short guard]. Keep the nape [long / natural / tidied shorter]. Blend the crown into the back [smoothly / with a deliberate disconnect]. Please choose the guards after checking my density and growth.”
You decide the arc, the endpoint, the finish, the nape and the connection. The barber decides guards, blade, lever and how to get there. Bring:
- A rear view, showing the endpoint, the nape and the crown.
- A left and a right side view, since the two ears rarely match exactly.
- A front view, showing which way the top sits.
The general version of this request is in how to ask for a taper fade.
Check the rear blend before leaving
Before you leave, ask to see both sides and the back in a hand mirror or a photo. Check that the two arcs end at similar points, that no line sits under the crown unless you asked for one, and that the nape matches your request. Ears and growth often differ, so close is the target.
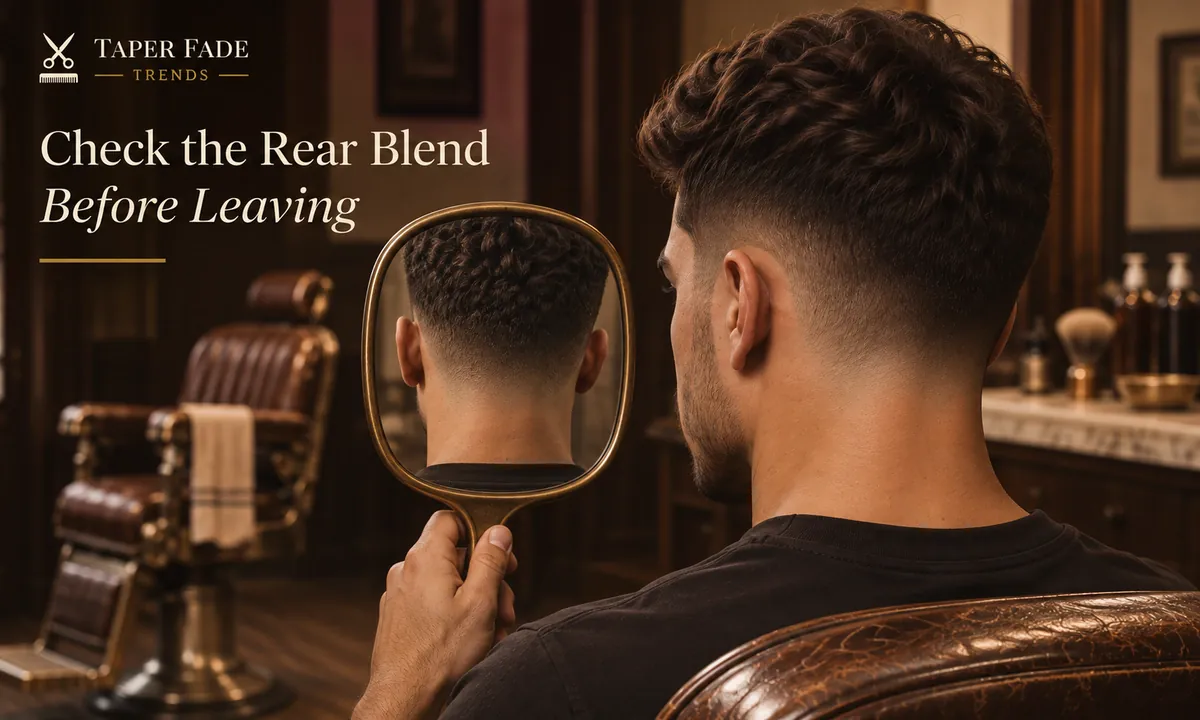
- Compare the arcs. They should stop at roughly the same spot behind each ear.
- Look under the crown. A line there is a shelf unless you asked for a disconnect.
- Check the nape against what you asked for, both its length and its edge.
If something is off, name the spot: “the left arc stops lower than the right” gets a quicker fix than “it looks off.” These are practical questions, not a tested checklist.
Style and grow out without losing the shape
Style the straight top and side panel in the direction you actually wear them, then check the back once your hair is dry. Heavy product can flatten fine hair or expose a step. Rebook when the arc edge, the nape or the contrast no longer matches what you asked for, rather than on a fixed date.
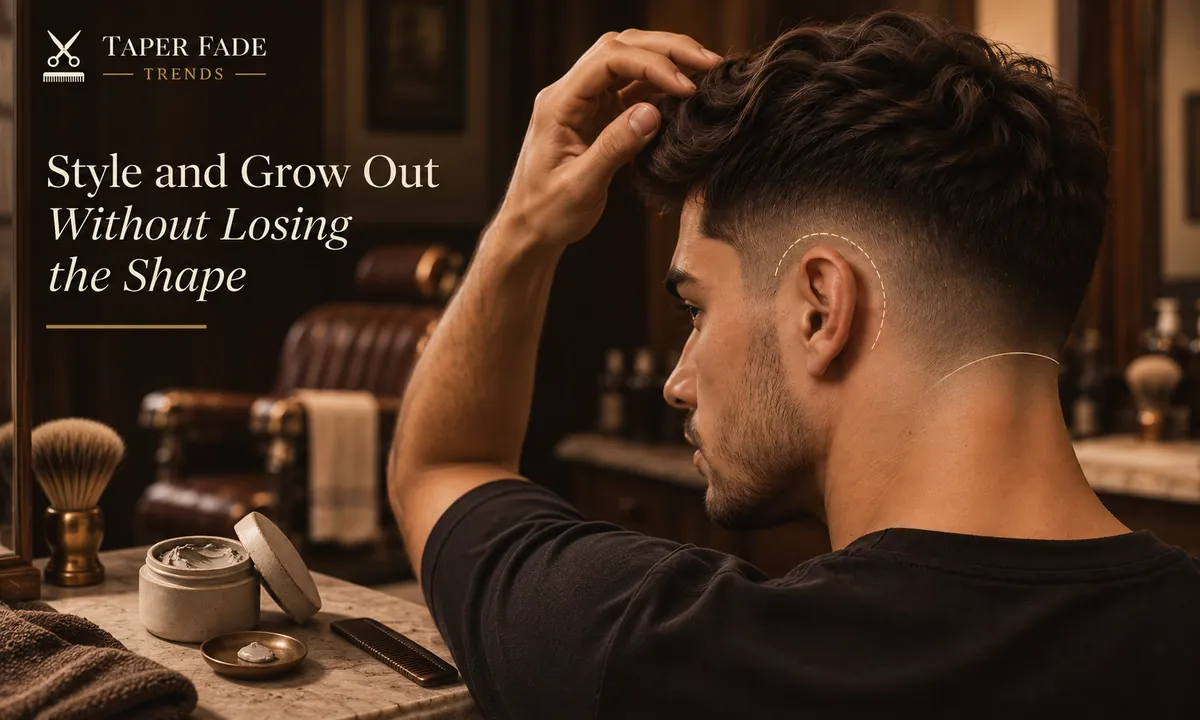
Most guides reviewed for our burst fade guide put that point at two to three weeks, but that is common advice, not a rule. A skin finish and a high arc blur sooner; a shadow finish and a low arc soften more gradually. If you’re growing a long back, ask for the burst to be cleaned up without touching the back length. For between-visit trims, how to maintain a taper fade covers the home routine, though its cut has a different shape.
When to choose a drop fade or taper instead
A drop fade curves down behind the ear and continues around the back, so the nape gets faded too. A burst fade stays around the ear and generally leaves the back longer. If you want the nape faded with the sides, a drop fade may fit better. Confirm with a rear photo, because shop names vary.
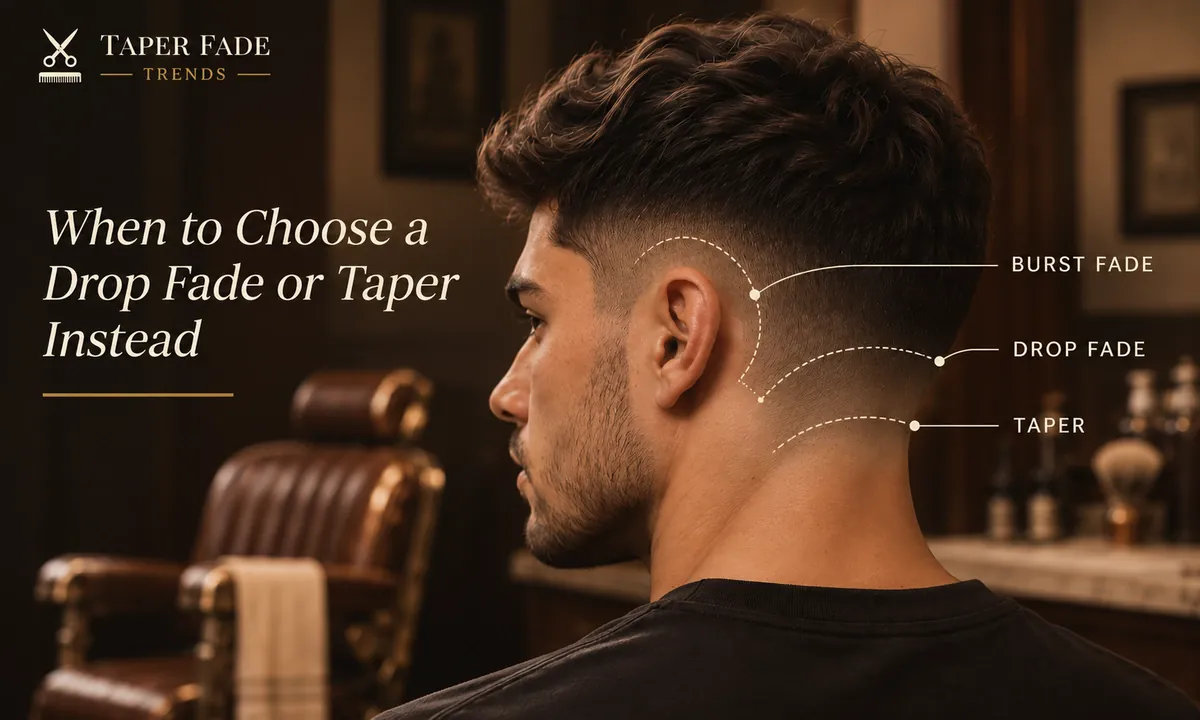
| Cut | Behind the ear | Nape | Pick it when |
|---|---|---|---|
| Burst fade | Stops at the rear endpoint | Generally kept longer | You want the fade around the ear and the back handled separately |
| Drop fade | Dips lower and carries on around the back | Faded | You want the whole back faded with the sides |
| Taper | Short work only at the sideburns and nape | Neckline tapered, back fuller | You want a tidy edge, not a fade |
Advice on which suits straight hair splits. Republic of Barbers steers straight or fine hair toward a drop fade; Cutters Yard says burst fades work on poker-straight hair and suggests drop fades for finer hair. Neither offers evidence, so decide by what you want at the back.
For the taper side of the choice, see burst fade vs taper and taper vs fade. To keep more side weight on straight hair, compare the low taper fade on straight hair, the mid taper fade on straight hair and the high taper fade on straight hair.
Method, evidence and limits
Taper Fade Trends Editorial prepared this guide from public sources read between October 17 and November 4, 2026: two working barbershops and several grooming publishers that describe the burst fade on straight hair. Where they disagree, mainly on the back and on which fade suits straight hair, the page says so.
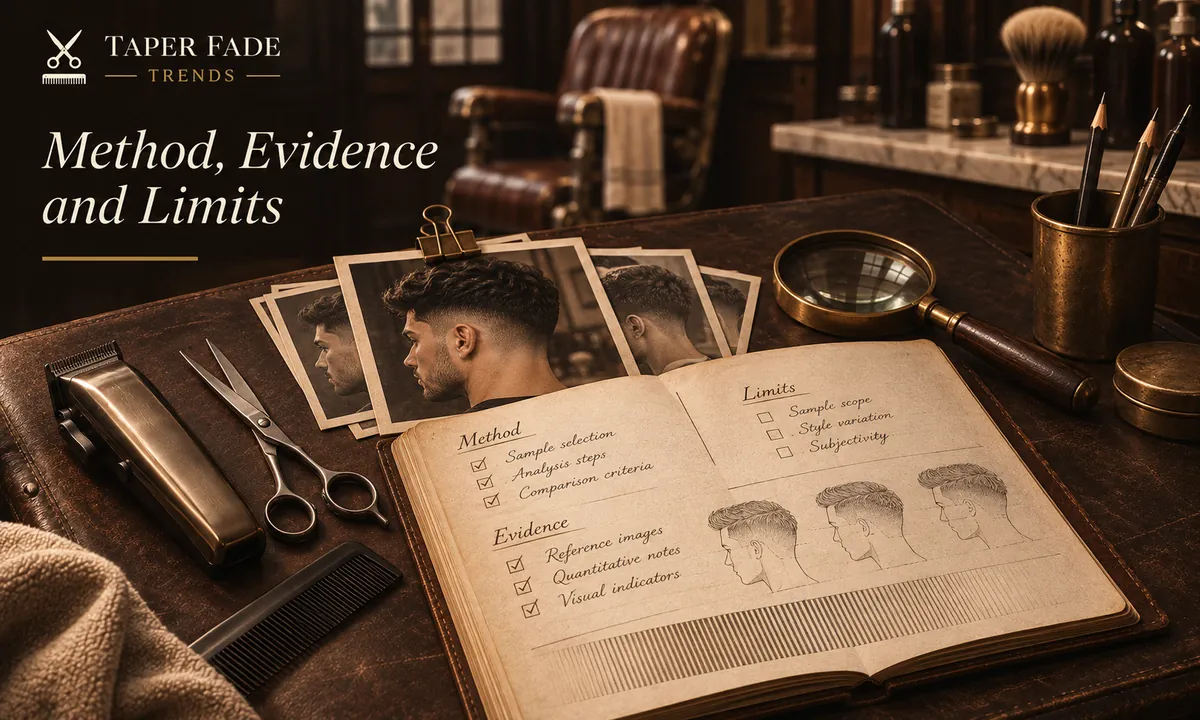
Both images are illustrations of geometry, not photos of documented cuts. The guide gives no guard number, millimeter length, top length or fixed rebooking interval, because no verified figure fits every head. No barber has reviewed this version yet; when one does, their name, role and review date will be added here. Found an error? Our editorial policy explains how corrections are made and dated, or you can contact us.
Sources:
- Drop Fade vs Burst Fade: Trending Cuts Explained, Republic of Barbers, August 26, 2026
- Burst Fade vs Drop Fade: Which Is Right For You?, Cutters Yard, July 18, 2025
- Straight Burst Fade Haircuts: 25 Styles, Mullet Style, August 30, 2026
- Burst Fade Straight Hair, Burstfades.net, updated November 3, 2026
Before your appointment, save a side view and a matching back view, and write down three things: where the arc stops, how long the nape stays and how the crown connects. Take them to the chair with the brief from how to ask for a taper fade.
Keep reading
All guides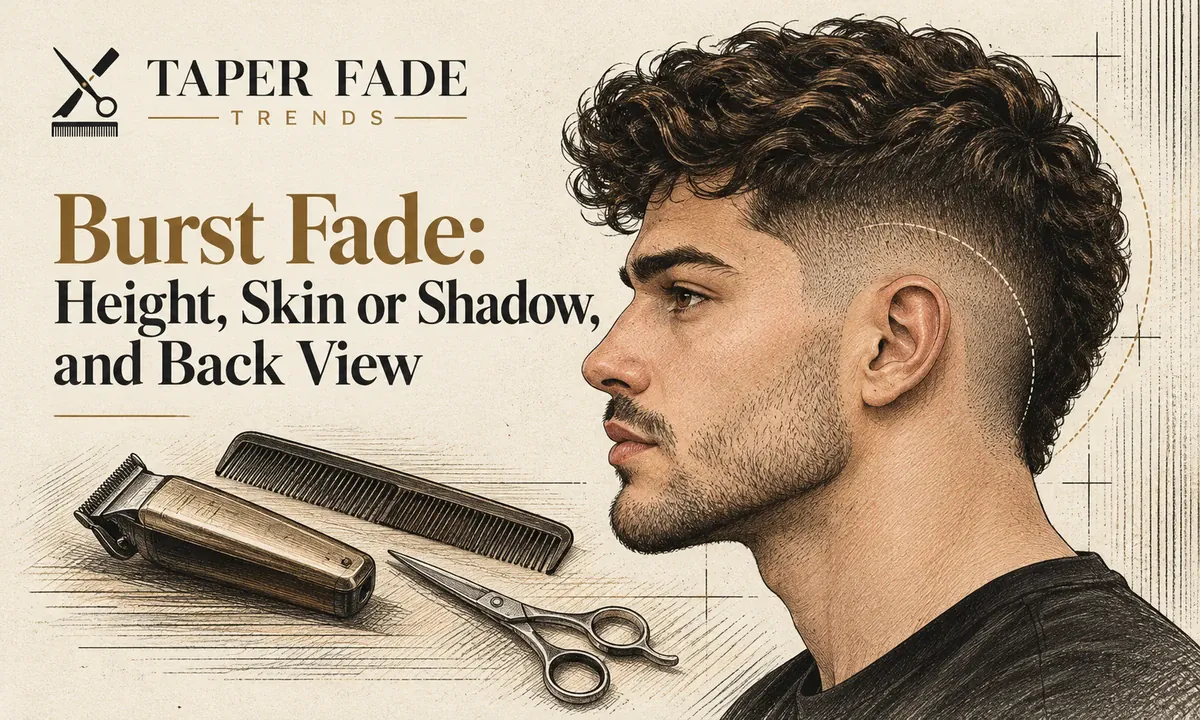
Burst fade: arc height, shortest finish and back view
A burst fade curves around the ear. It doesn’t have to reach skin, and the back is a separate choice. See the three controls and what to tell your barber.
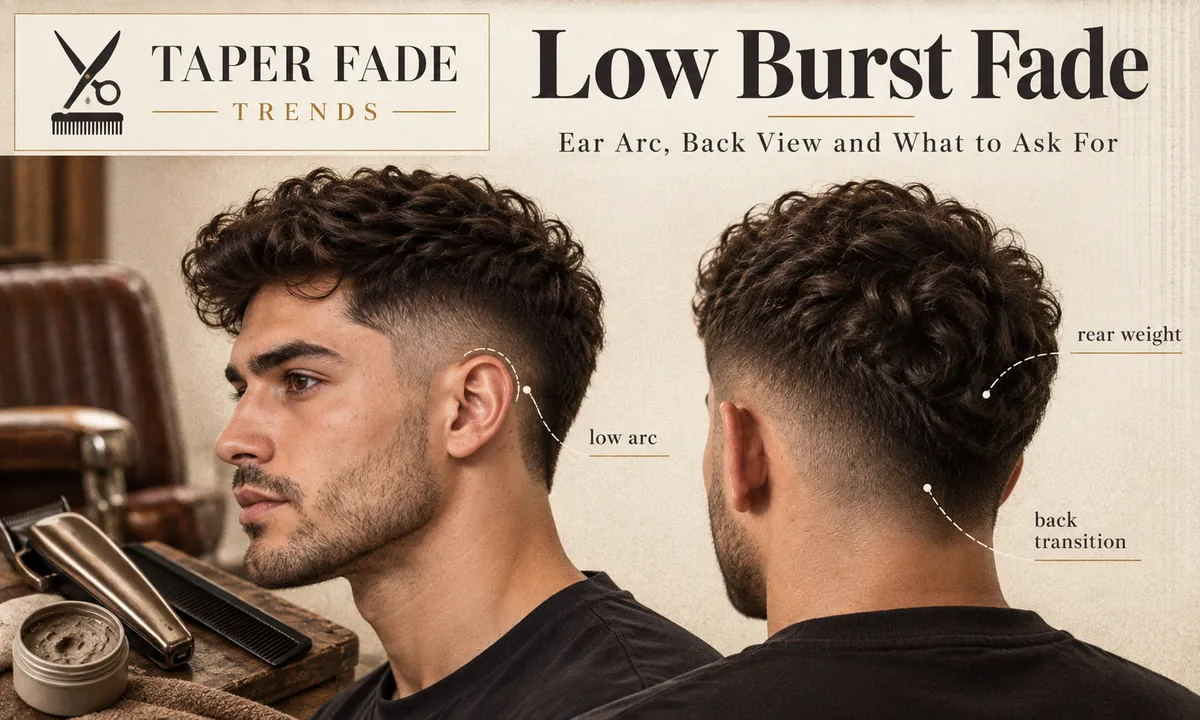
Low burst fade: the low ear arc and back transition
A low burst fade curves low around the ear and can keep length at the back. Compare skin vs shadow, burst vs drop fade, and what to tell your barber.
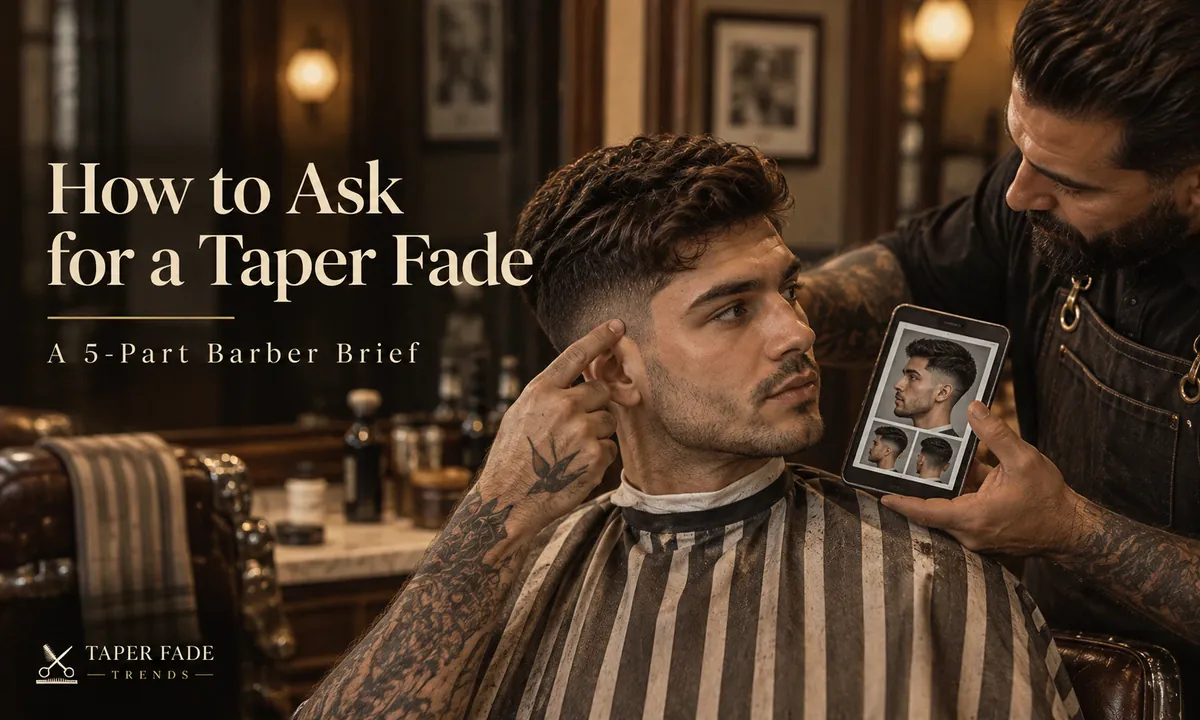
How to ask for a taper fade: a five-part barber brief
How to ask for a taper fade: say where it may reach, how short the base goes, how much side weight stays and what to do on top, then check the plan first.
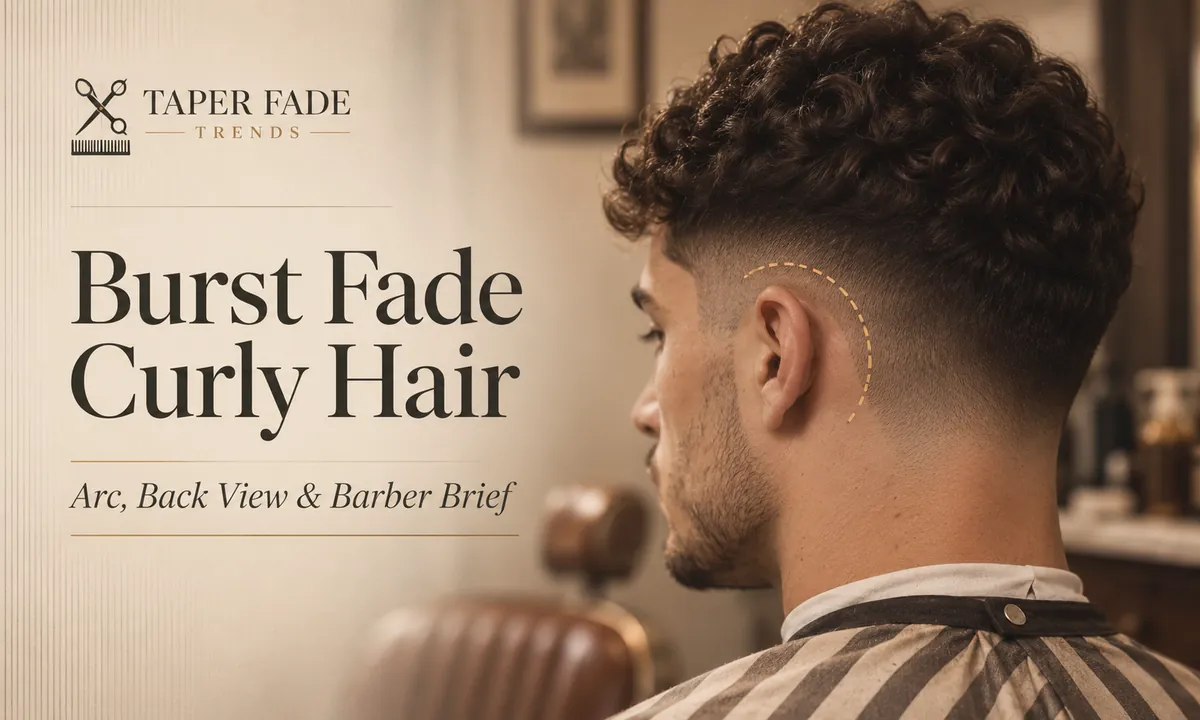
Burst fade curly hair: keep the curl shape around the ear
A burst fade on curly hair curves around the ear. Set the arc, skin or shadow finish and nape on dry curls, then take a six-point brief to your barber.
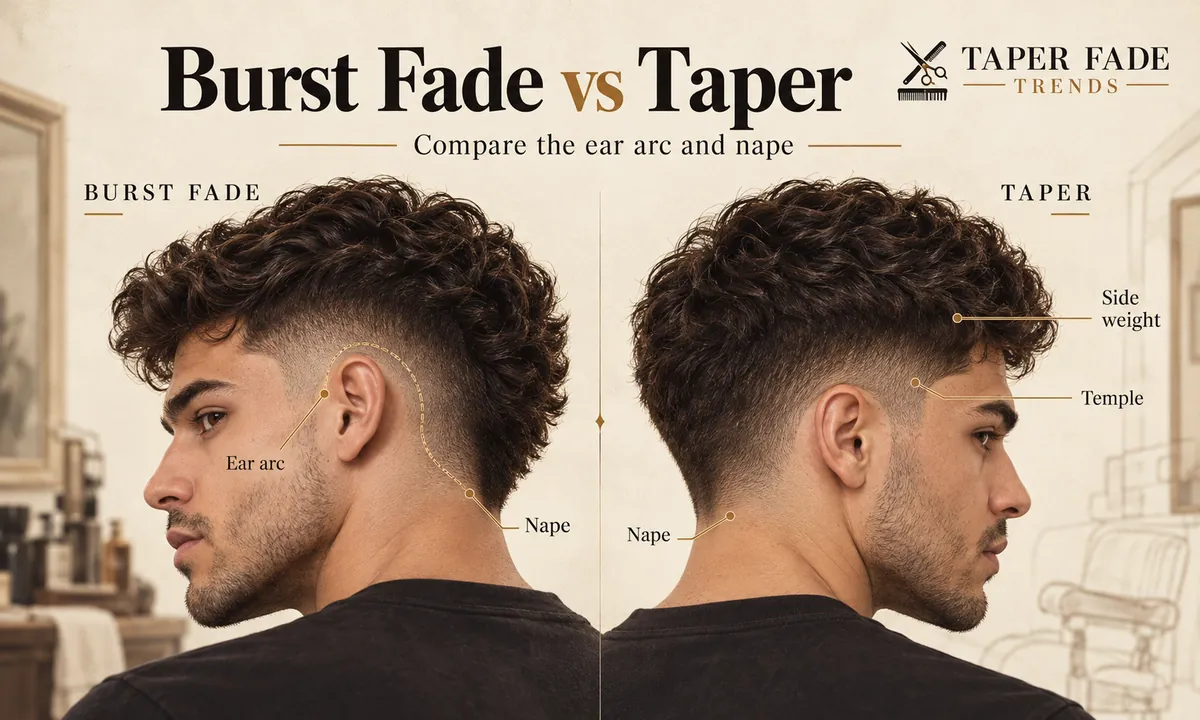
Burst fade vs taper: compare the ear arc and nape
Burst fade vs taper compared by ear arc, side coverage, nape treatment and shortest finish, plus a five-part barber brief and the photos to bring.
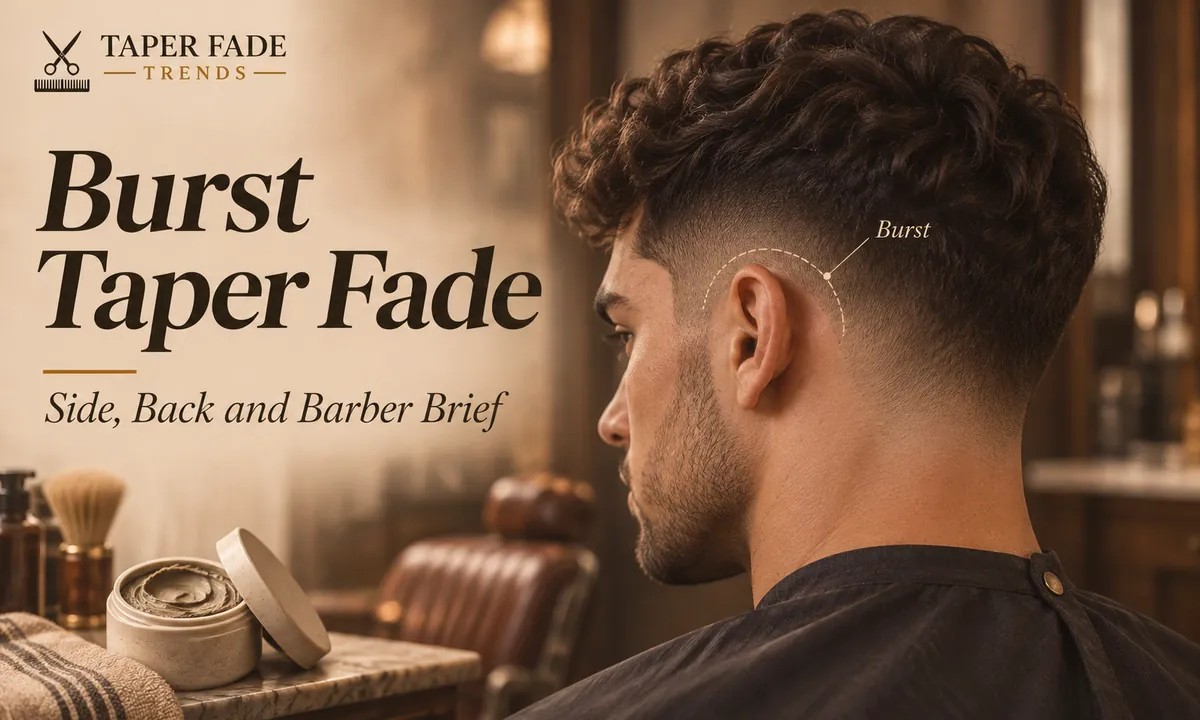
Burst taper fade: what the side and back should show
A burst taper fade curves around the ear and tapers the edges. See what the side and back should show, and the five-part brief to give your barber.
Burst fade black men: waves, coils and longer tops
Burst fade black men guide: see how the arc frames waves, coils, twists and locs. Compare ear arc, back length and skin or shadow finish before you book.
Haircut numbers: clipper guard sizes in millimeters and inches
Haircut numbers in mm and inches, checked against Wahl, Andis and Oster specs, plus why #0 isn’t always no guard and what to tell your barber.
How to maintain a taper fade between haircuts
How to maintain a taper fade between haircuts: what is safe at home, where to stop before the blend, and when to book a cleanup or a full cut.
More in burst fades
Burst fades: all 8- Burst fade: arc height, shortest finish and back view15 min
- Low burst fade: the low ear arc and back transition12 min
- Burst taper fade: what the side and back should show9 min
- Burst fade curly hair: keep the curl shape around the ear12 min
- Burst fade straight hair: avoid a disconnected-looking backYou are here
- Burst fade black men: waves, coils and longer tops13 min
- Burst fade mullet: map the ear arc and keep the back12 min
- Burst fade vs taper: compare the ear arc and nape10 min