Mid taper fade straight hair: fine, flat and outward-growing sides
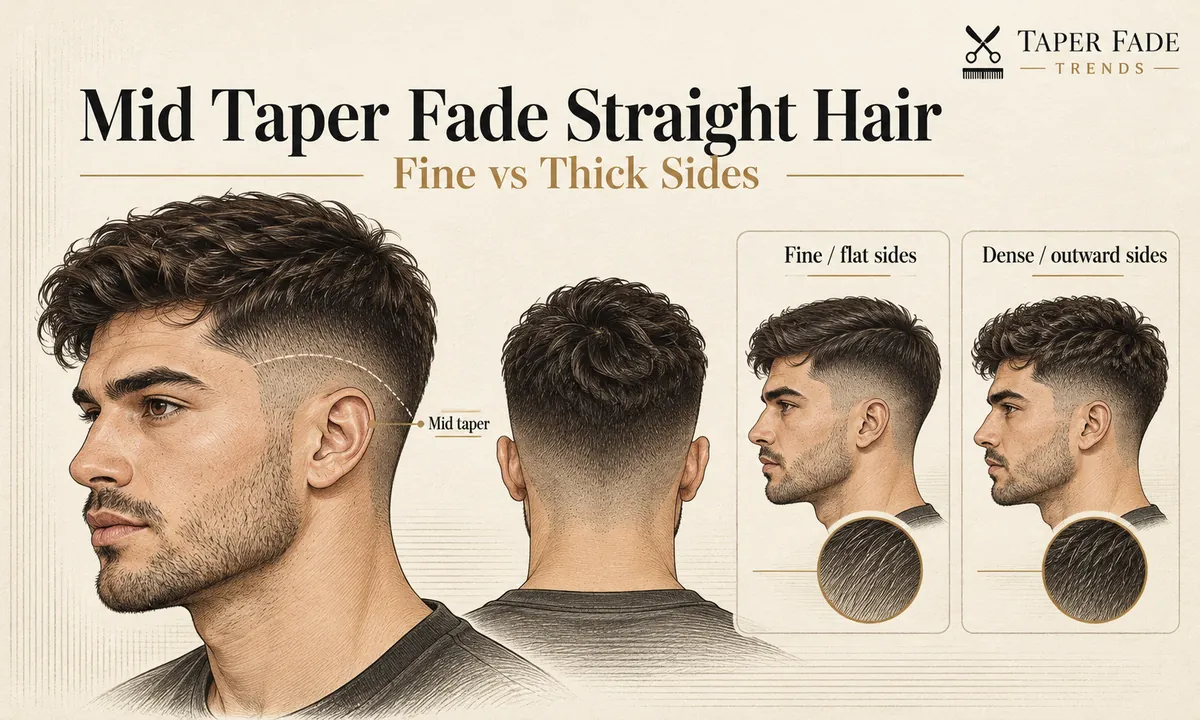
A mid taper fade on straight hair blends the sideburns, the hair around the ears and the nape short from about temple height, and keeps the side panel above it. How much side weight stays should follow your density and growth direction, because fine, flat sides and dense, outward-growing sides go wrong in different ways.
| Decision | What to settle |
|---|---|
| Placement | Where the blend may start. For a mid taper that is usually around the temple. Point to the spot on your own head. |
| Coverage | Short work kept to the sideburns, ear perimeter and nape, or carried across the whole side (a mid fade). |
| Shortest finish | Visible hair, a shadow of close stubble, or skin. Chosen separately from placement. |
| Side weight | How much length and density stay in the side panel above the taper. Set by density and growth direction. |
| Straight-hair check | Fine or flat, or dense and pushing outward. Judged on dry hair. |
| Top | Length, direction and finish. The taper does not set them. |
| References | Side and back at minimum; front and both profiles if you can. |
| Guard number | Optional. One clipper maker’s cutting length, never the taper’s height. |
What a mid taper fade changes on straight hair
A mid taper fade is a taper fade whose short blend starts at a mid placement, usually around the temple, and stays at the sideburns, ear perimeter and nape. On straight hair it leaves a fuller side panel than a full mid fade and a shorter one than a low taper. Placement, coverage and shortest finish are three separate choices.
Straight hair shows the blend plainly. There is no wave or curl to soften a transition, so a clean blend reads sharp and a weight line, the visible edge where one length meets the next, has nowhere to hide. On fine straight hair, scalp can show through a very short side, which is why a longer, more gradual blend helps there.
The name does not set a guard number or a skin finish, and shops don’t even agree on the landmarks. Some put a mid taper at temple level; one former barber describes it starting roughly an inch above the ears. The taper fade guide lays out those disagreements, and the mid taper fade guide covers placement and the difference from a mid fade on any hair type. This page covers what straight hair changes.
Two working terms. Side weight is the length and density kept in the side panel above and through the taper; it is a word for talking with a barber, not a measurement. Straight hair here means hair without a persistent wave or curl. It does not mean fine, flat or downward-growing. Waves, coils and locs on a mid taper are covered in mid taper fade for Black men.
Check density and growth direction before choosing side weight
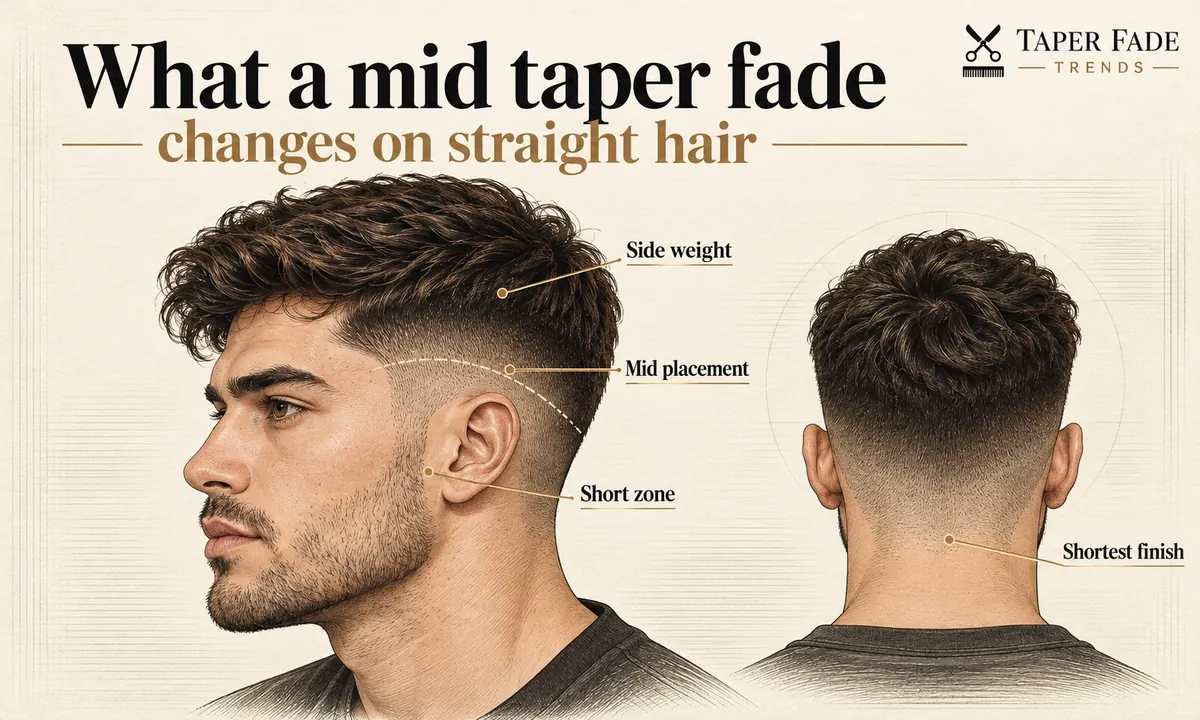
Before you settle on side weight, check two things on dry hair: how dense the side panel is and which way it grows. Fine or flat sides risk showing scalp and blend marks if the mid taper goes very short. Dense sides that grow outward risk puffing above the taper, or stray short pieces if weight comes out unevenly.
Density, for this guide, is how much hair covers the side panel, not how thick each strand is. Growth direction is the way hair leaves the scalp. One barber-educator’s check is simple: comb against the grain and watch which way the first inch of hair points as it comes out of the scalp.
| Check on dry hair | Fine or flat sides | Dense, outward-growing sides |
|---|---|---|
| What you see | Scalp shows through, or hair lies close to the head | A full side panel, with hair leaning away from the head |
| Risk at a mid taper | Scalp and blend marks show if the finish is very short | Puffing above the blend, or a step where short meets full |
| First decision | The shortest finish | How much side weight stays, and how it comes out |
Fine or flat straight hair
Fine or flat straight hair shows more scalp at the same length, so a skin finish can look more exposed than the reference photo suggested. Ask for visible hair or a shadow at the bottom and a gradual blend, and have the barber check where scalp shows on dry hair before setting the shortest length.
Flat is not always the whole story. Traditional Haircutting describes a client with fine, straight hair cut to the same length on both sides: one side lay down and the other puffed out, because the grain on that side ran a different direction. If one side of your head behaves differently, say so before the cut starts.
Dense straight hair that pushes outward
Dense straight hair that grows outward needs a decision about where and how weight comes out, not just a shorter guard. Montreal barber Youssef Ouda advises keeping enough length for the hair to lie down, or going short on purpose within a chosen area, and removing weight by section instead of thinning the whole side evenly.
His reason matters for a mid taper. Thinning shears used everywhere can leave short strands that push out as they grow, and a very short side under a heavy top leaves a step. Ask for weight taken out gradually above the blend, with no hard stop.
Why straight sides can stick out after a week
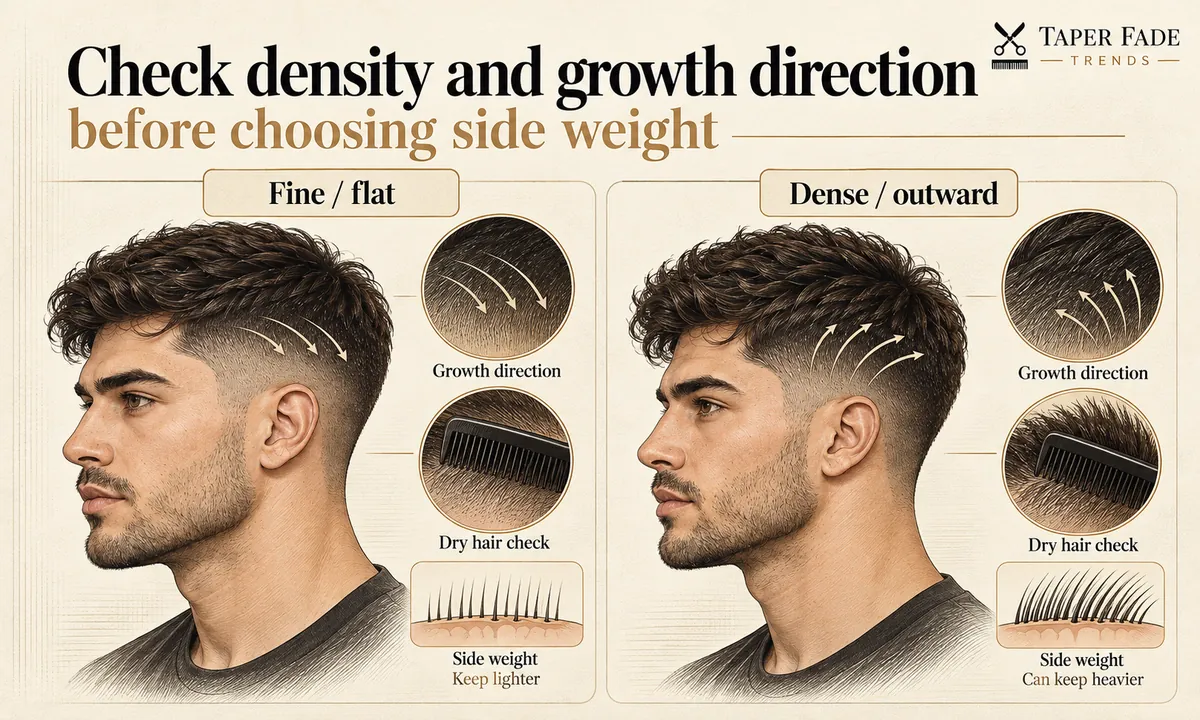
Straight sides that sat flat on the day of the cut often stick out in the following weeks because the hair grows into a middle length: long enough to stand away from the head, still too light to fall back down. Growth direction decides where it happens. Density, stiffness and how weight was removed change how much.
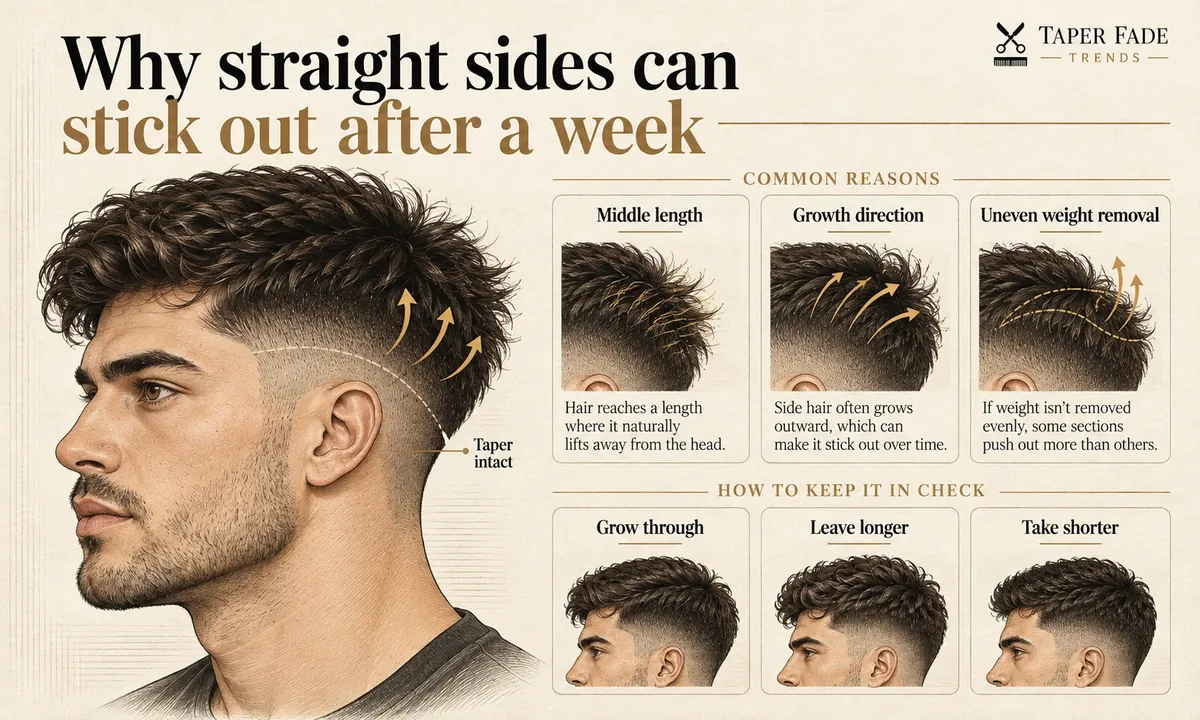
San Francisco hairdresser Marcy Hasegawa of Hair Caffe Lab explains it with three factors: the direction the hair grows, how hard it is to bend, and how much its own weight pulls it down. Only weight changes as the hair grows, so a spot can behave on the day of the cut, get worse for about a month, then settle once it is long enough. She calls this a working model from the salon, not measured science, and that is how to read it.
| What you notice on dry hair | What may be behind it | What to raise with the barber |
|---|---|---|
| The side flares now but lay flat on cut day | The hair has reached the middle length | Whether to grow through it or take that zone shorter |
| One side flares and the other lies down | Growth direction differs between the sides | Checking the grain on each side before cutting |
| The side looks heavy above the blend | Too much retained side weight | Weight removed by section, not an all-over thin-out |
| Short pieces stand up through the side | Weight removed unevenly last time | Leaving those pieces to grow before any more weight comes off |
There are three ways out, and each has a cost:
- Wear the side the way it grows. The puffing stops, but the two sides may not match.
- Leave it longer so its weight can pull it down. That means living through the in-between stage, often with a little product.
- Take that zone short on purpose. The problem goes, but you have changed the side coverage, which moves the cut toward a higher taper or a fade.
Cutting shorter is not an automatic fix. Youssef Ouda warns that cutting at the wrong point can make the sides wider instead of narrower. No day count applies to every head, so judge it by what the side does, dry and at rest.
What to tell your barber
Tell the barber where the mid taper may start, what the shortest point should show (visible hair, shadow or skin), how much side weight to keep and what your sides do as they grow, then what happens on top. Bring side and back references. Use a guard number only if it came from your own last cut.
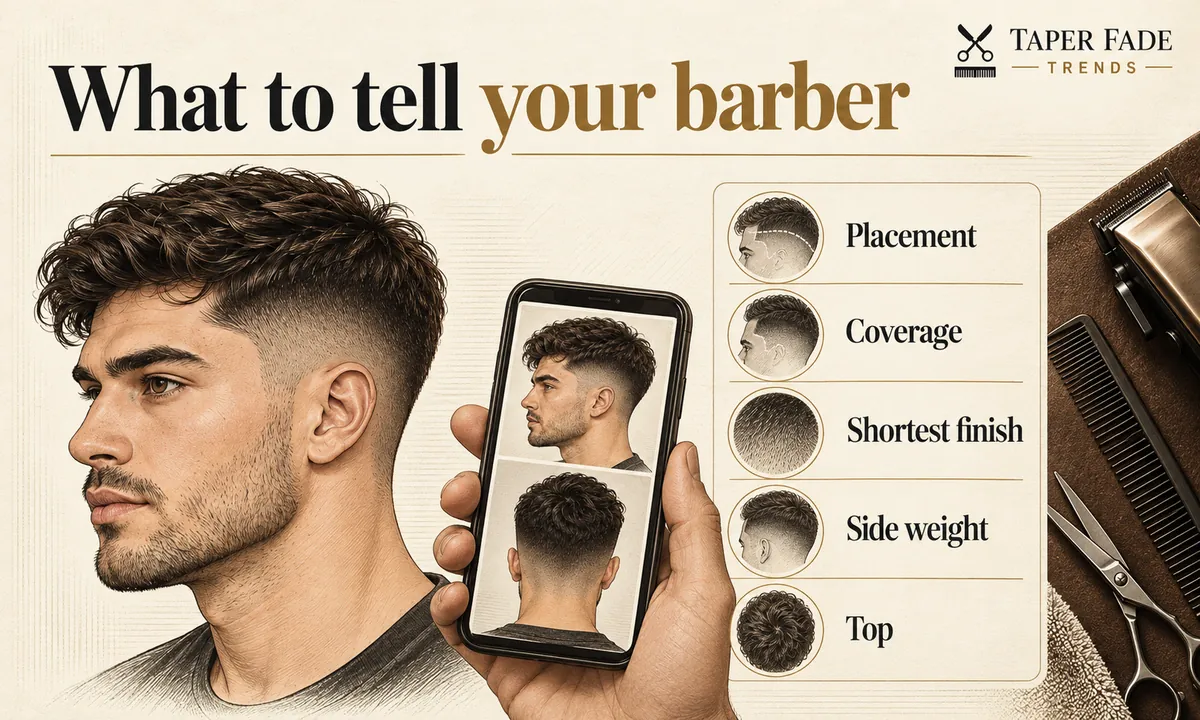
The how to ask for a taper fade guide covers the full five-part brief. For straight hair, fill in these lines:
- “Start the blend no higher than here.” Point to the spot near your temple.
- “Keep the short work to the sideburns, around the ears and the nape. Don’t carry it across the whole side.”
- “Take the shortest point to [visible hair / a shadow / skin].”
- “Leave the side [fuller / lighter] above the taper. My hair is [fine and lies flat / dense and pushes out], so please check it dry.”
- “On top, [length], worn [direction]. Neckline [natural / defined].”
Bring the front, both profiles and the back if you can, ideally of hair close to yours in density. With only two photos, bring one side and the back.
If you want the whole side shorter
You can keep the mid taper where it is and still shorten the side above it, but that changes side coverage and side weight, not the taper’s height. Show where the short blend should stop, then say how short the area above it should be, so the barber doesn’t raise the fade to get there.
A line to adapt: “Keep the blend where it is in this photo and take the rest of the side shorter, without moving the blend up.”
If the top stays flat
If the top of a mid taper fade stays flat, raising the taper is not automatically the fix, because taper placement and top shape are separate decisions. Check three things in order: whether the top has enough length to hold a shape, whether it was dried flat or lifted at the root, and whether product is weighing it down.
Product can hold a shape. It cannot add density the hair doesn’t have, so settle the cut first.
Styling and grow-out
A mid taper fade on straight hair has two upkeep jobs on two schedules. You style the top every day. The barber refreshes the taper and neckline, and a skin finish or a sharply defined neckline shows regrowth sooner than a shadow with a soft outline. A change to the top never moves the taper.
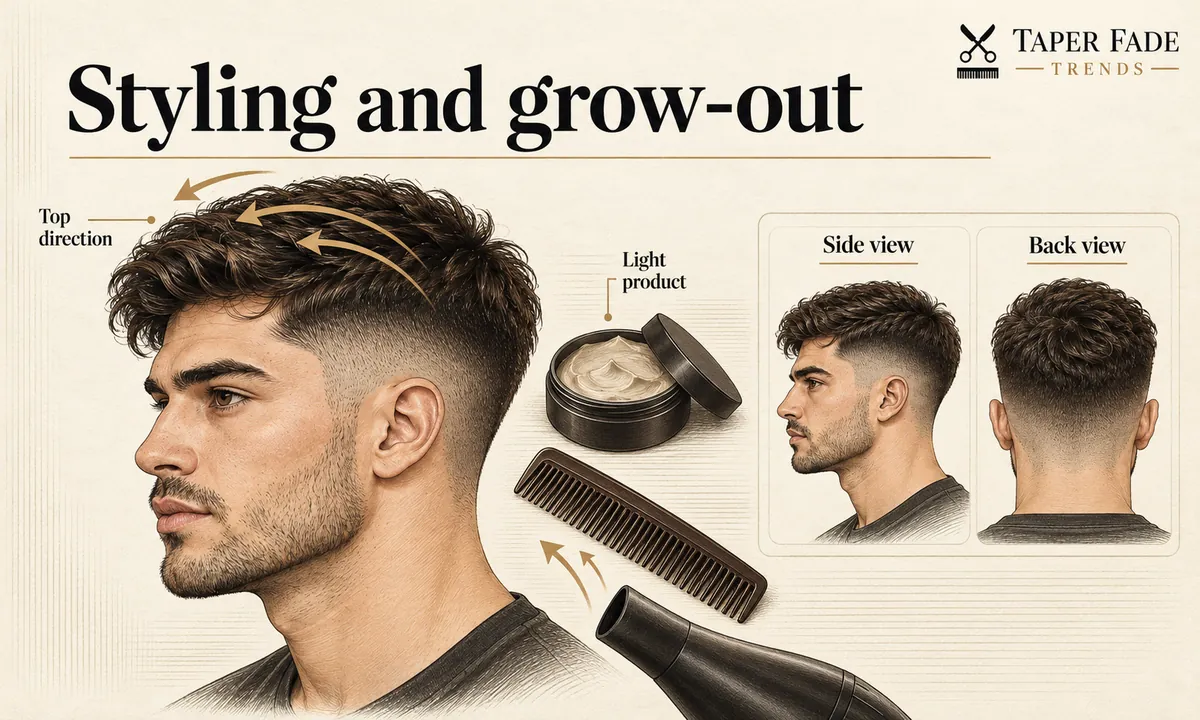
Styling the top comes down to direction set while the hair is damp, then as little product as the shape needs. Ask the barber to show the drying direction on your own hair before you leave, because density and growth direction change how the same steps turn out.
Your own record beats any published schedule. Photograph your side profile and the back on the day of the cut, then again a week later in the same light and from the same angle. Note whether you used product. At the next visit, the two photos show the barber three things a description can’t: whether the outline softened, whether the side started leaning out, and whether the side above the taper looks heavier.
When another taper makes more sense
Another cut makes more sense when the side coverage you want doesn’t match a mid placement. The deciding question is how much of the side should go short and how much weight should stay, not your face shape.
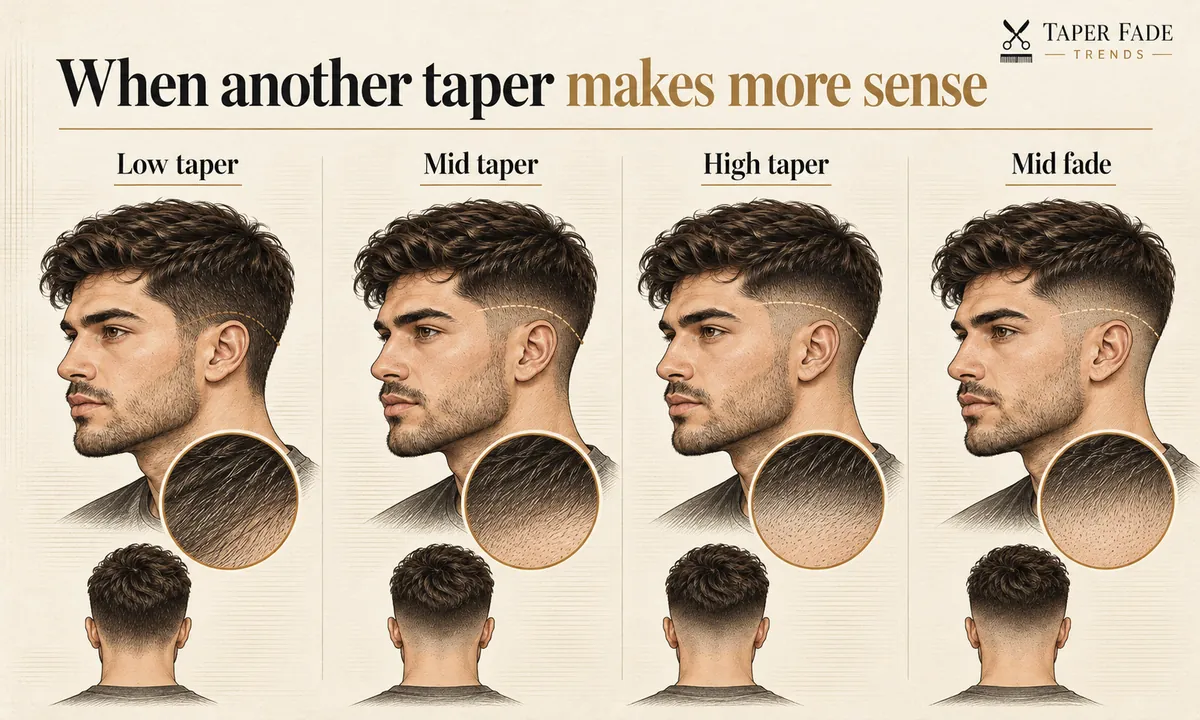
| If you want | Consider | What changes |
|---|---|---|
| More side length and a softer grow-out | A low taper | The blend stays nearer the ear and more side weight remains |
| Sharper contrast set higher | A high taper | The blend starts above the temple and less side weight remains |
| Short coverage across most of the side | A mid fade | The graduation runs across the side and back instead of the edges |
Each has its own straight-hair guide: low taper fade on straight hair and high taper fade on straight hair. If you are choosing between the two lower heights, low taper vs mid taper compares them directly.
Common straight-hair questions
Does a mid taper fade have to go to skin?
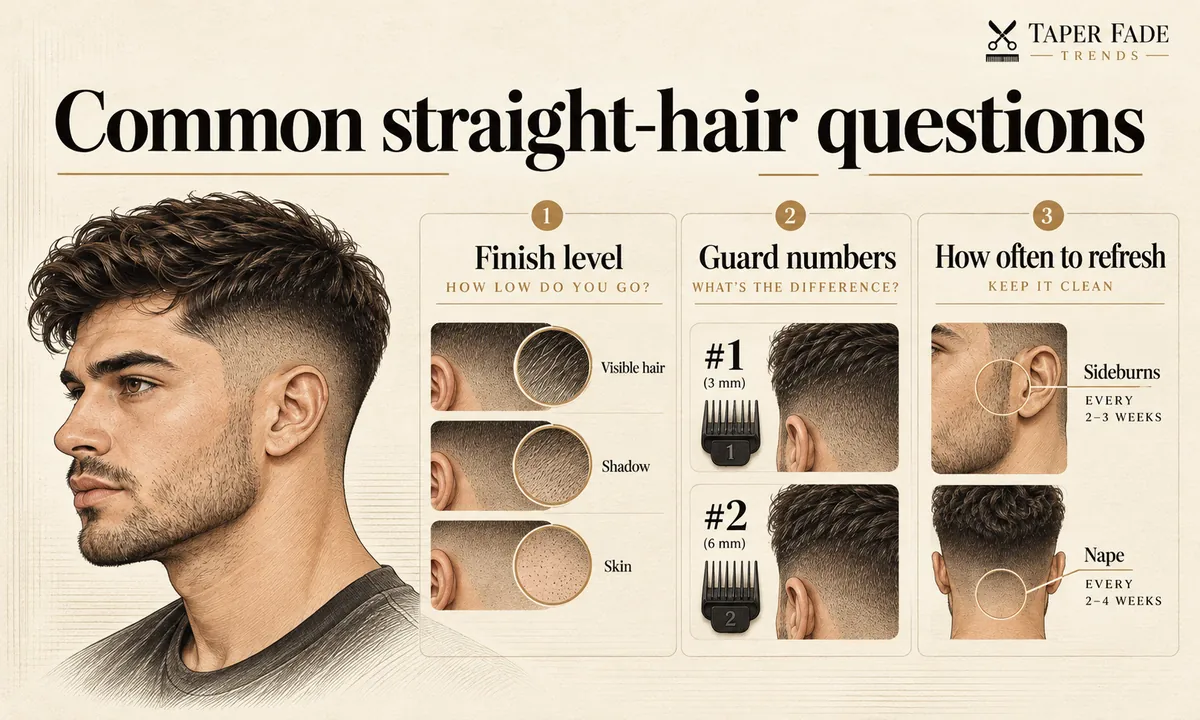
No. A mid taper fade can finish at visible hair, a shadow or skin, because “mid” describes only where the blend starts. On fine straight hair, a shadow or visible-hair finish shows less scalp. Point to the height in a reference photo and name the finish in words.
Do I need a guard number?
No. A guard number is a cutting length inside one maker’s system and does not define where a mid taper starts or how high it travels. On Wahl’s guide-comb chart, a #1 is 1/8 inch and a #2 is 1/4 inch, and Wahl notes its taper lever moves the cut closer or longer between guard sizes.
Wahl guide comb; other brands and lever settings vary
Wahl guide comb; other brands and lever settings vary
So a #2 is a length, not a mid taper. The haircut numbers chart covers more sizes in millimeters and inches.
How often should I redo a mid taper fade?
No single rebooking interval fits every mid taper fade on straight hair. A skin finish and a defined neckline bring the refresh sooner; a shadow and a natural outline push it back. Rebook when the sideburn or nape stops looking deliberately tapered, and note how many weeks that took so you learn your own cycle.
How this guide was checked
Taper Fade Trends wrote this guide to help you choose and describe a mid taper fade on straight hair. Cut terminology follows our taper fade and mid taper fade guides. The straight-hair behavior comes from three practitioner sources, each linked where it is used: a San Francisco hairdresser, a Montreal barber and a barber-educator. They describe what they see in the chair; none is controlled research. Guard lengths come from the manufacturer.
Every image on this page is an AI-assisted illustration, labeled as one, and none shows a real client’s result. This edition has no photographed cuts, no recorded guard, blade or lever settings and no one-week follow-up, and no named barber has reviewed it. When those exist, they will be added and dated. Sources were read on October 13, 2026.
Found an error? Our editorial policy explains how corrections are made and dated, or you can contact us.
Sources cited in this guide:
- Hair Caffe Lab: Why short, straight hair sticks out (Marcy Hasegawa, hairdresser)
- Youssef Ouda: Men’s haircut for thick or straight hair (barber, Montreal)
- Traditional Haircutting: One side puffs out
- Wahl USA: Ultimate guide to hair clipper guard sizes
Next step: take four specs to the chair
Write down where the blend may start, the shortest finish, how much side weight stays and what your sides do as they grow. Save a side and a back reference on your phone, then use the barber brief to say it out loud and check the plan before the clippers start.
Keep reading
All guides
Mid taper fade: what it is and what to ask your barber
What a mid taper fade is, how it differs from a full mid fade, why skin is optional, and the four specs to give your barber before the cut starts.
Low taper fade straight hair: density, sides and top length
Low taper fade straight hair guide: how much side weight to keep for your density and growth direction, why sides stick out, and what to ask your barber.
High taper fade straight hair: control side weight and avoid a shelf
High taper fade straight hair, explained by density, growth direction and side weight, with a barber script and why sides stick out as it grows.
How to ask for a taper fade: a five-part barber brief
How to ask for a taper fade: say where it may reach, how short the base goes, how much side weight stays and what to do on top, then check the plan first.
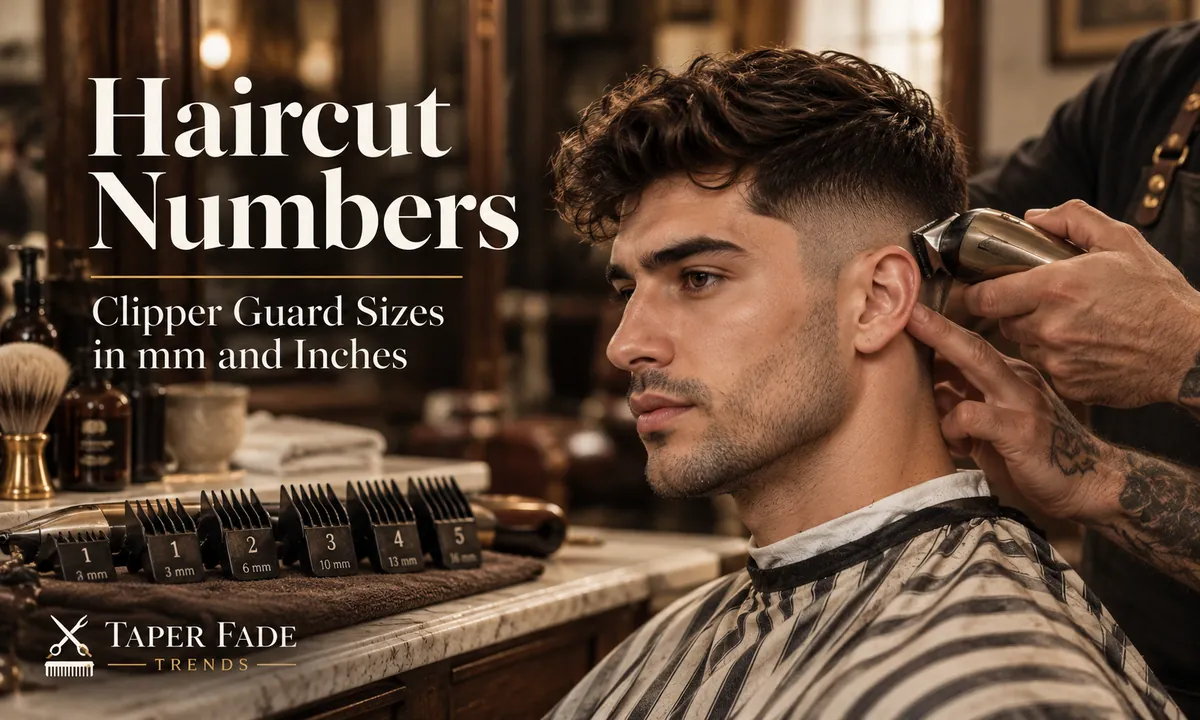
Haircut numbers: clipper guard sizes in millimeters and inches
Haircut numbers in mm and inches, checked against Wahl, Andis and Oster specs, plus why #0 isn’t always no guard and what to tell your barber.
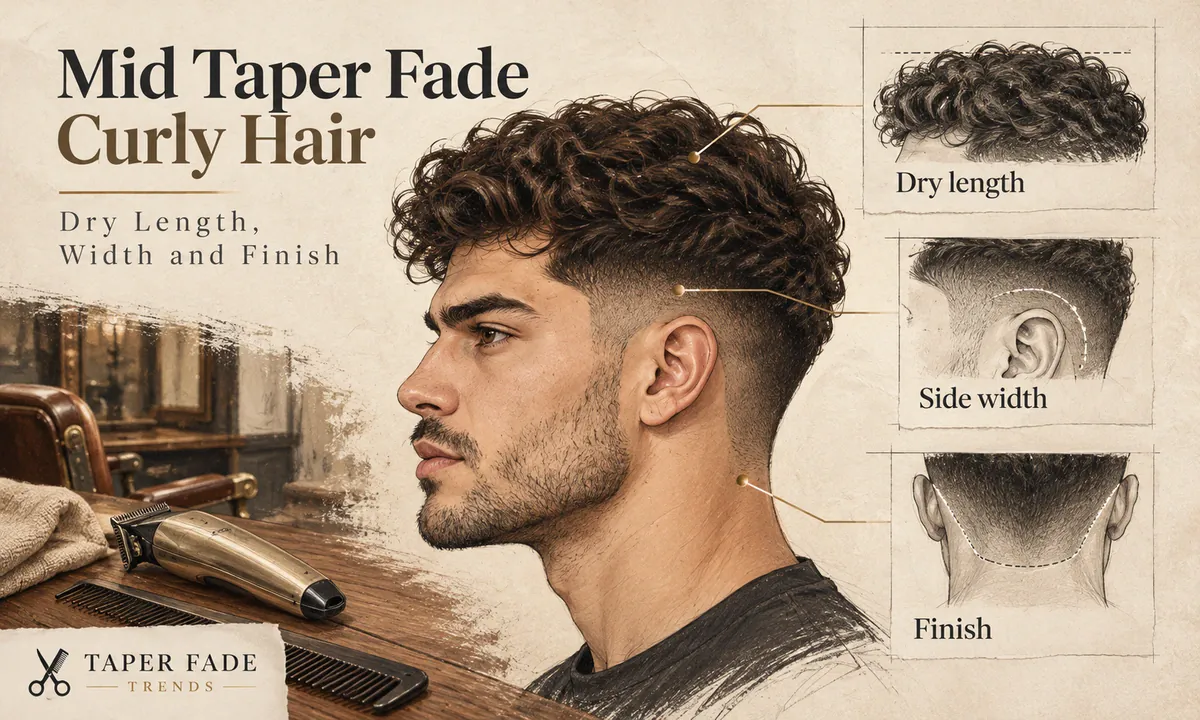
Mid taper fade curly hair: choose dry length, side width and finish
Mid taper fade curly hair guide: what it keeps vs a full mid fade, how to judge dry length and side width, and the four specs to give your barber.
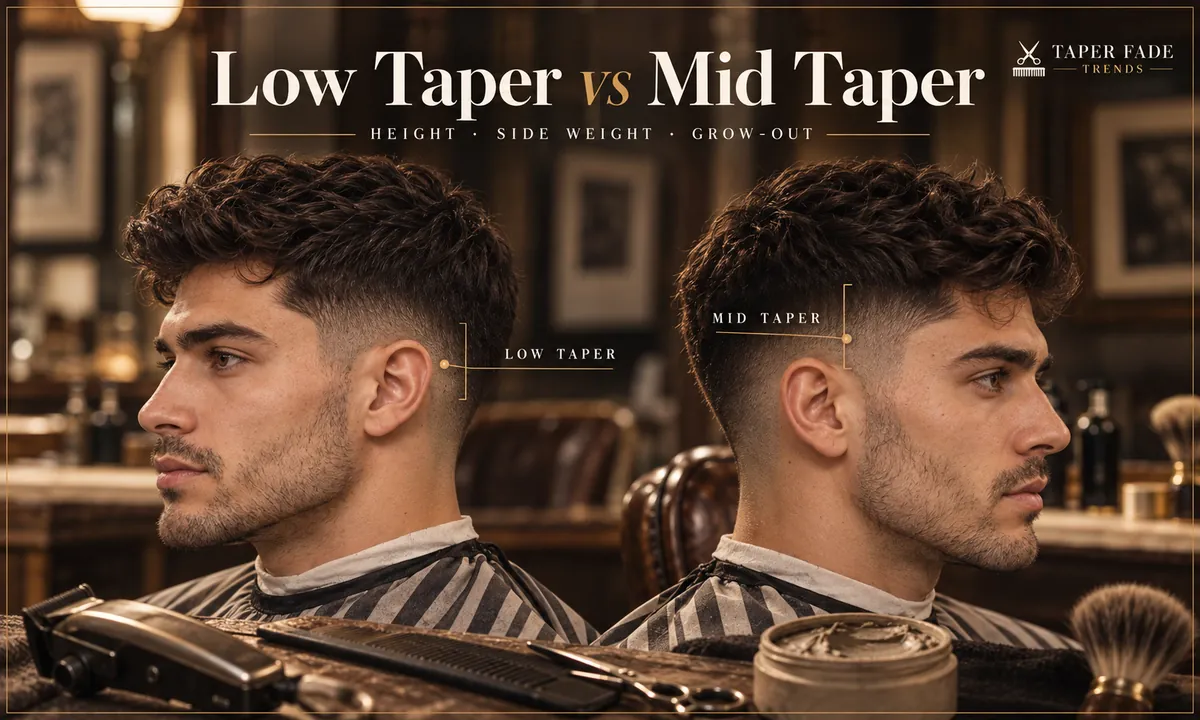
Low taper vs mid taper: what changes when only the height moves
Low taper vs mid taper compared on height, side weight, shortest finish and grow-out, why switching mid to low takes time, and what to tell your barber.
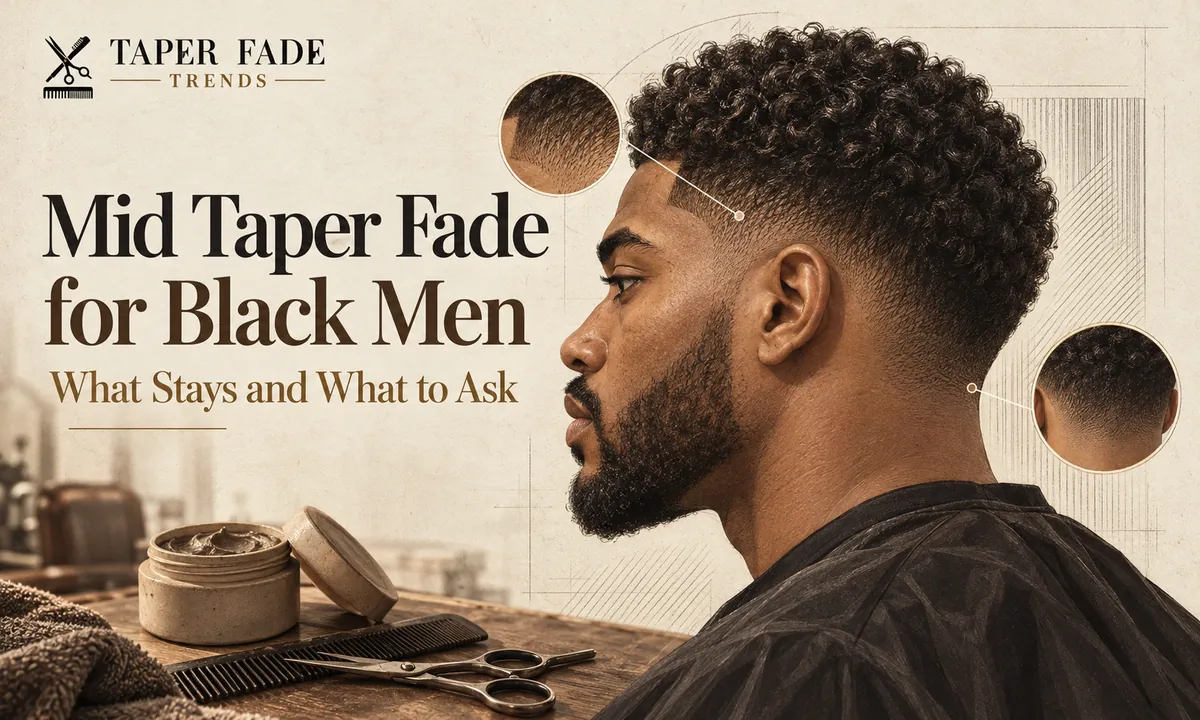
Mid taper fade Black male guide: what stays and what to ask for
Mid taper fade Black male guide: keep more side weight than a full mid fade, set finish and hairline, protect waves, coils or locs, and brief your barber.
More in mid taper fades
Mid taper fades: all 6- Mid taper fade: what it is and what to ask your barber12 min
- Mid taper blowout: keep volume without flattening the sides11 min
- Mid taper fade curly hair: choose dry length, side width and finish9 min
- Mid taper fade straight hair: fine, flat and outward-growing sidesYou are here
- Mid taper fade Black male guide: what stays and what to ask for13 min
- Low taper vs mid taper: what changes when only the height moves10 min