Mid taper blowout: keep volume without flattening the sides
A mid taper blowout is a mid-height perimeter taper combined with retained upper-side/top length that is styled upward and outward for volume. The name sets roughly where the taper sits, around the temple, and nothing else. Agree the shortest finish, top length and side weight with your barber, then build the lift with a dryer.
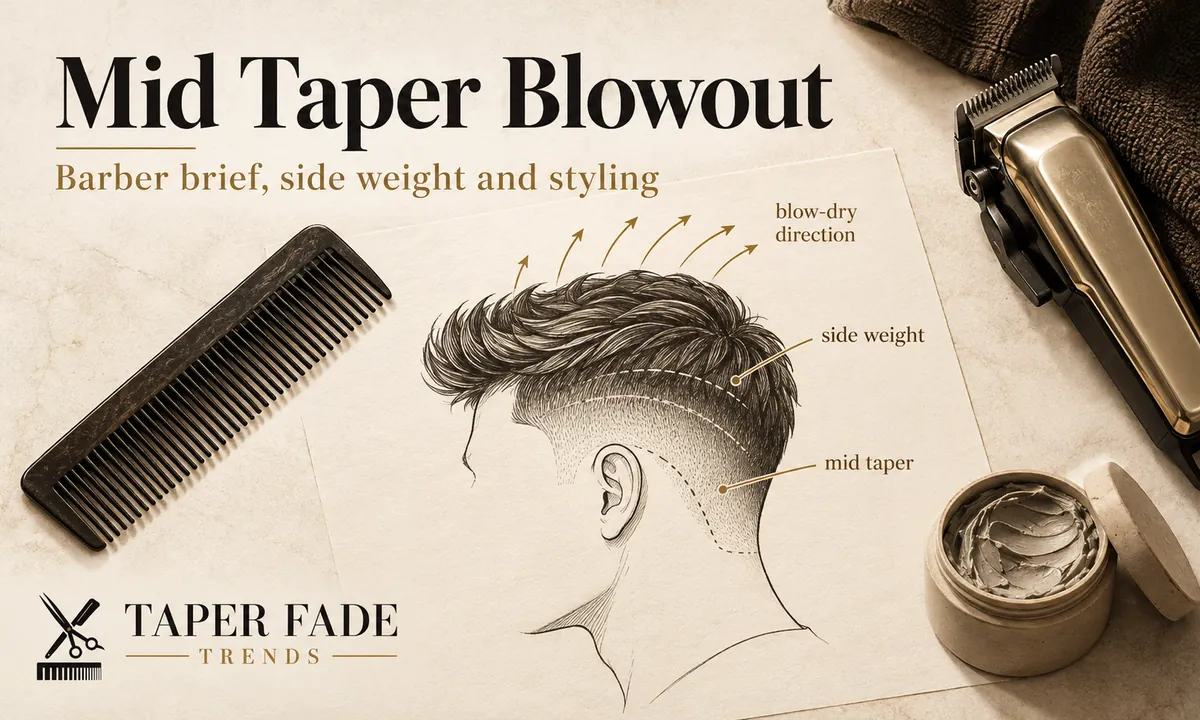
The name settles one thing. Everything else on this list is yours to specify.
| Specification | What the name tells you | What you still decide |
|---|---|---|
| Taper height | Roughly the temple area | The exact height, pointed out in the mirror |
| Shortest finish (the shortest length the taper reaches) | Not set by the name | Skin or a set clipper length |
| Upper-side weight (the length left on the sides above the taper) | Some stays; the amount is not set | How much stays and whether it connects to the top |
| Top length | Not set by the name | Enough for your hair to lift when dried |
| Styling direction | Up and outward from the roots | How rounded or loose the finish is |
| Neckline | Not set by the name | Natural, rounded or squared at the nape |
| Daily styling | A blow-dry is needed to match most reference photos | How often you will actually dry it |
What a mid taper blowout actually changes
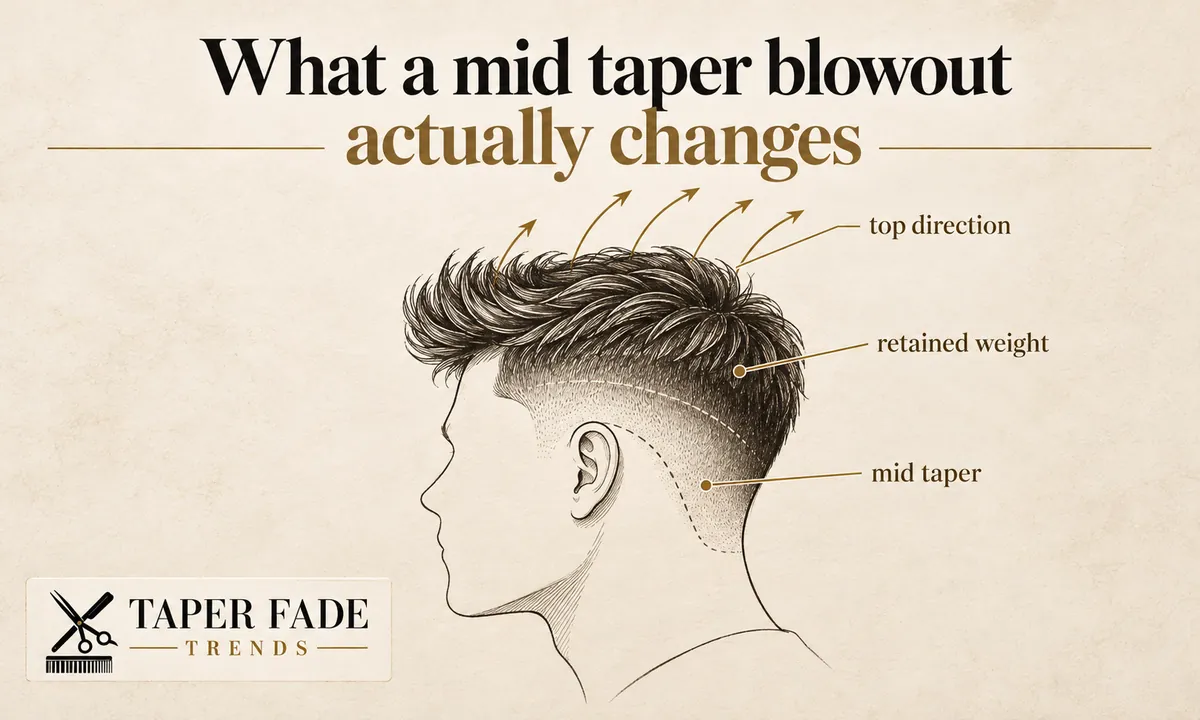
A mid taper blowout changes two things: where the sides start getting shorter, and how much length stays above that point to be dried up and out. The barber cuts the frame and leaves the length; the dryer makes the blowout. Air-dry the same cut and you get a short-sided haircut, not the reference photo.
CADMEN Barber Academy describes the blowout as a cut plus a blow-dry, and says air-drying gives the hair no direction or lift. So the name covers a haircut shape and a styling habit at the same time.
Where “mid” sits. Mid usually means the taper’s transition sits around the temple. Taper Empire starts it at the temple; StyleHairly places it roughly midway between the temple and the top of the ear. No inch measurement fits every head, so point to the height in the mirror before the clippers start.
Three terms carry the rest of this guide:
- A taper is a localized transition from shorter to longer hair along the perimeter, the hairline edge around the sides and back.
- Taper height is where the shortest-to-longer transition is placed vertically; it does not by itself specify the shortest finish.
- A blowout is the styled volume/direction, not a fixed clipper recipe.
Shops use “taper” and “fade” loosely, so “mid taper fade blowout” may get a different cut in a different chair. Our taper vs fade guide explains the difference, and the mid taper fade guide covers the mid taper under other top styles. A burst taper, which curves around the ear, is a different shape; if your photo shows that curve, say so.
Decide how much side weight to keep
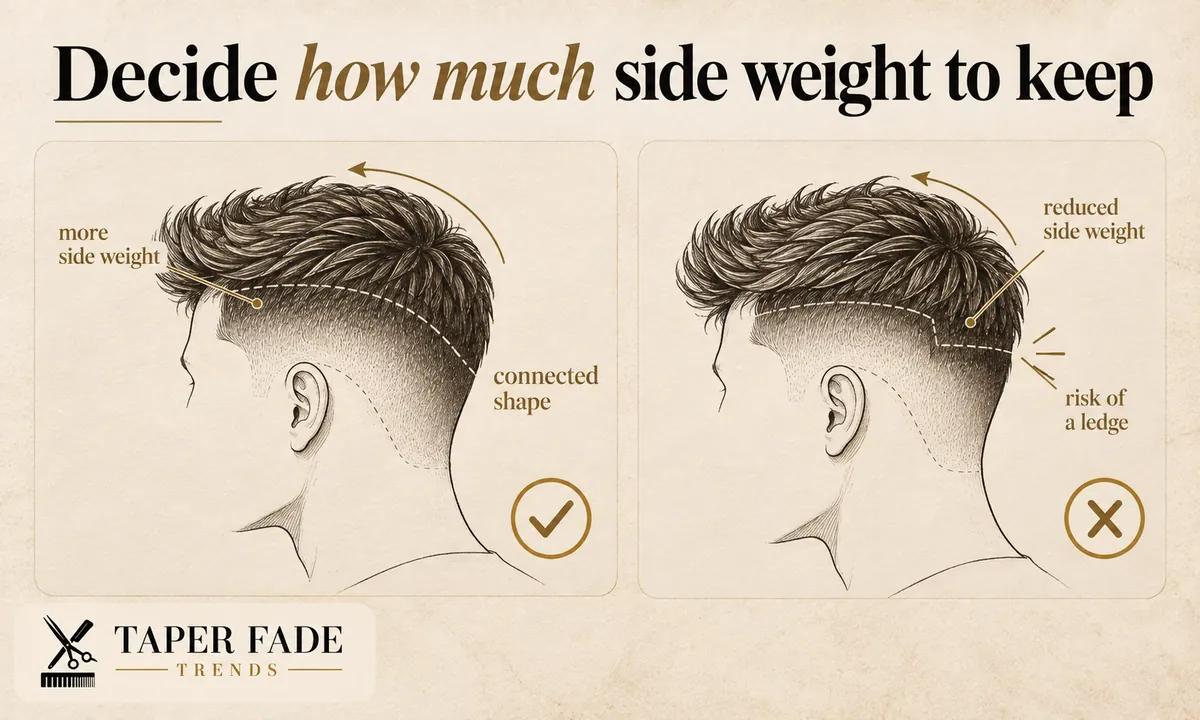
Keep enough upper-side weight, the length left on the sides above the taper, to connect with the top. The blowout is built from that retained length. Cut the upper sides down with the lower ones and the volume sits on a bare frame, which can read as a full fade with a tall top rather than a rounded blowout.
Two cuts can share the same mid taper and differ only here. One leaves the upper sides long enough to blend into the top. The other clips them close to the taper line. From the front they can look similar; from the back, the first shows a continuous shape and the second shows a ledge where the top begins. Check the back view before you leave the chair.
There is a limit the other way. On thick hair, too much retained weight pushes the volume out sideways instead of up, so dense hair usually needs some bulk removed (StyleHairly). Ask for weight taken out, not length.
The shortest finish is a separate choice. Skin and a set clipper length can both sit under the same upper-side weight. If you want a clipper length, the haircut numbers guide shows what each guard leaves.
Decide if your current length can support it
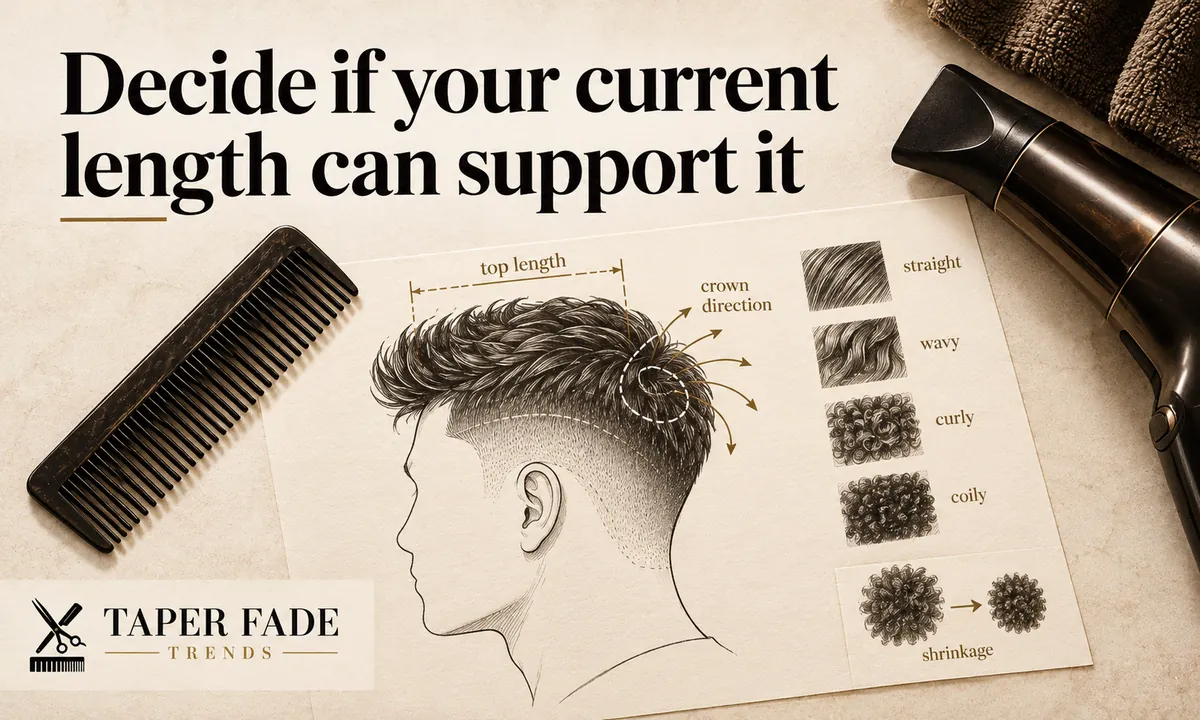
No single minimum top length is agreed. CADMEN Barber Academy puts a blowout’s top at typically 2.5 to 4 inches (about 6 to 10 cm); Taper Empire asks for at least 3 inches and lists 3 to 5. Treat those as starting points, then judge by whether your top lifts off the scalp when dried.
Length on a ruler is only part of it. Density, the growth direction at the crown (the top-back of the head, where a cowlick often sits) and shrinkage all change how the same length behaves. Shrinkage is how much shorter hair looks dry than stretched.
Growing out a high fade. Coming from a high fade (a fade that starts high on the sides), expect a stretch where the cut looks unfinished. A high fade removes the upper-side and rear length a blowout rests on, and that length has to grow back before the shape connects. The wait depends on how short the sides were and how fast your hair grows, so no fixed number of weeks applies.
Straight, wavy, curly and coily hair change the execution
Texture changes how long hair looks once it dries, so one measured top length reads differently on straight and coily hair. Patterns vary within every group; describe your own hair, not a label.
| Hair pattern | Dry length versus stretched | What to ask for |
|---|---|---|
| Straight | About the same | Texture cut into the top so it can lift |
| Wavy | A little shorter | Root lift that keeps the wave visible |
| Curly | Noticeably shorter | Top cut dry or stretched, not soaking wet |
| Coily | Much shorter | Top cut dry or stretched, by a barber who cuts coily hair often |
Taper Empire recommends the dry-or-stretched cut for curly and coily tops so shrinkage does not take more length than you expected.
Once the taper height and your starting length are clear, the next choice is which version of the cut to ask for.
Examples that change the decision
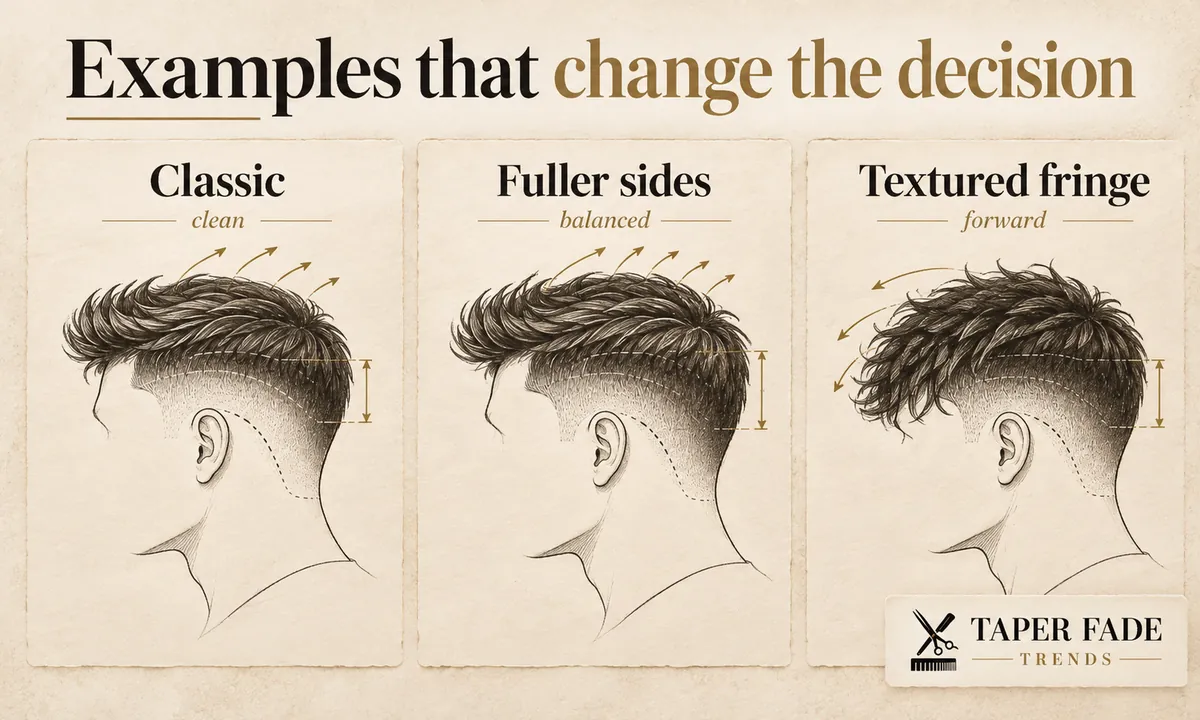
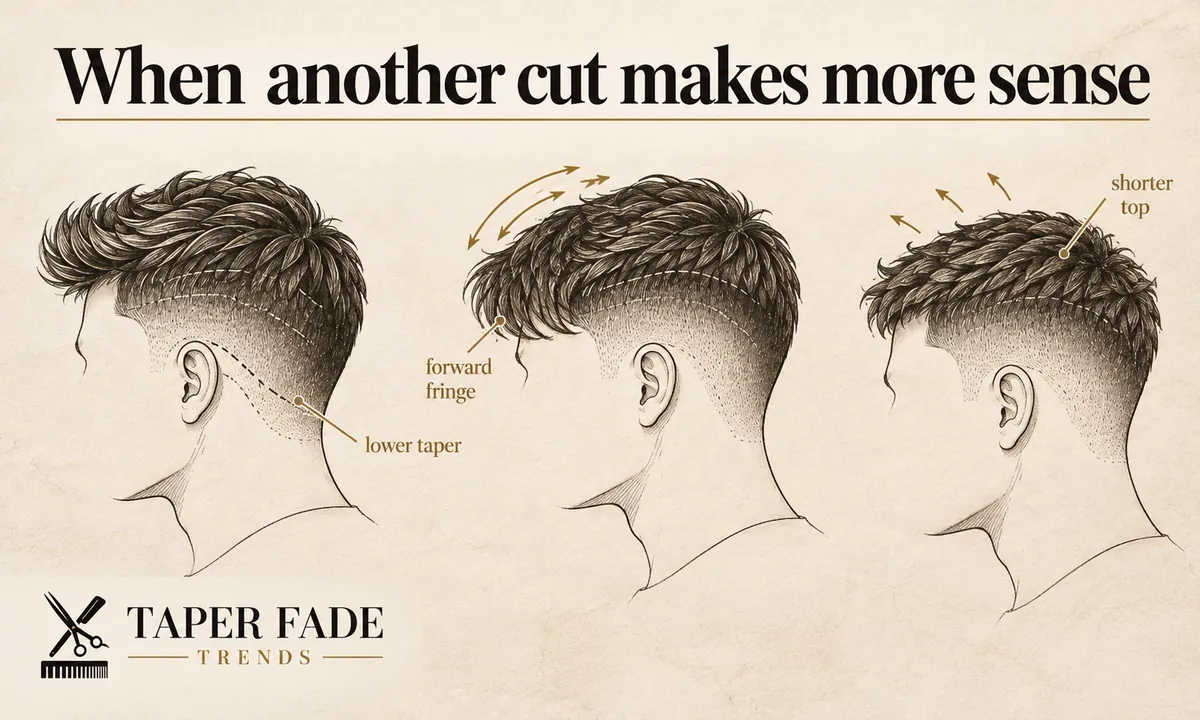
Three versions of the mid taper blowout differ by one variable each: how sharply the taper reads, how much upper-side weight stays, or how the front is directed. Pick the variable first and the photo second, because two photos can share a name and still differ on all three.
| Version | Deciding variable | What changes | Pick it if |
|---|---|---|---|
| Classic | Contrast between taper and upper sides | A visible band where the taper meets the weight | You want the taper to read clearly |
| Softer, fuller sides | How much upper-side weight stays | A rounder, wider outline with a gentler transition | You want the shape to read as one rounded mass |
| Textured fringe | How much front length stays and its direction | Volume sits behind or above a forward fringe | You want the front pushed forward |
Judge any example from the front, both sides and the back. The sides and back show whether the upper-side weight stays connected to the taper; the front cannot. A photo also cannot show the shortest finish or the clipper guard (the attachment that sets how much hair the clipper leaves), so those still need saying out loud.
Textured fringe can sit on the same mid taper blowout
A textured fringe, front length cut with broken-up ends and pushed forward, can sit on a mid taper blowout. The taper describes the perimeter at the sides and back; the fringe describes how the front of the top is directed. Tell the barber how much front length to keep and whether the volume should sit behind or above it.
Front growth direction can pull a fringe off course, so point out any swirl at the hairline before the cut.
What to tell your barber
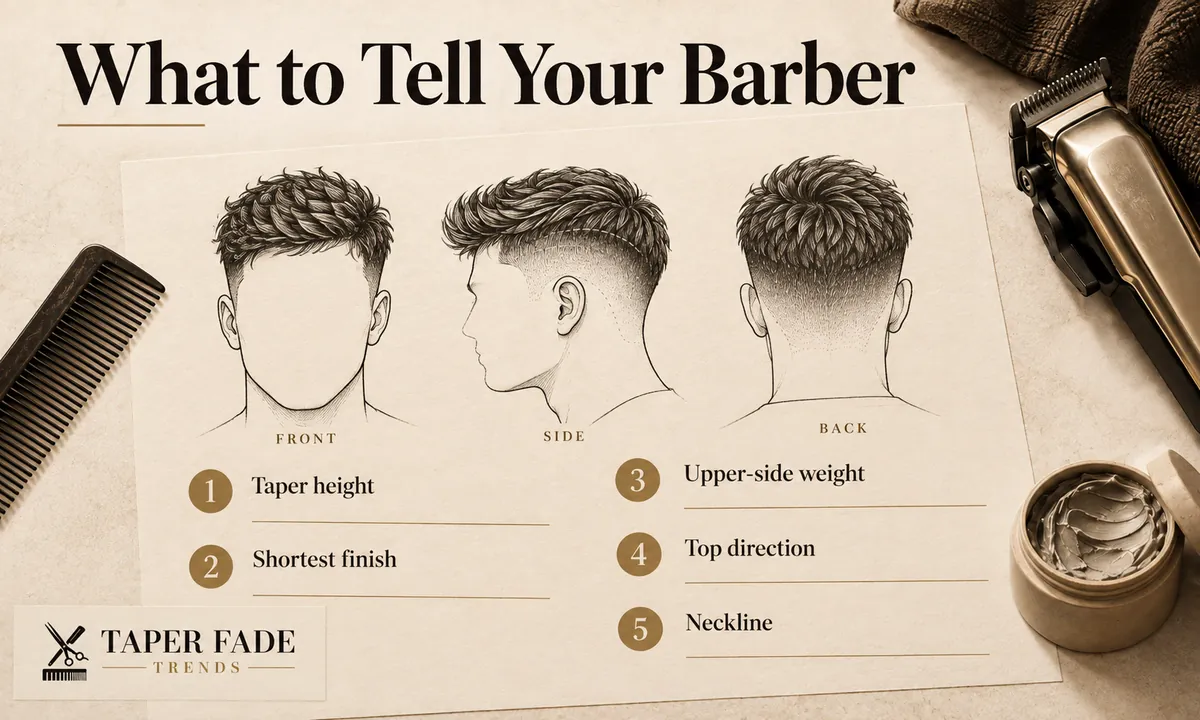
Name the cut, then give five specifics: where the taper starts, the shortest finish, how much upper-side weight stays, which way the top is dried, and the neckline shape. Show front, side and back photos. No clipper guard recipe comes with the name, so these five answers are what your barber actually cuts from.
- Taper height. Point to where the taper starts in the mirror, instead of relying on “mid”.
- Shortest finish. Say whether skin is fine or you want a set clipper length.
- Upper-side weight. For example: “keep the upper sides connected to the top.”
- Top direction. Say you dry it up and out, and ask whether your length will hold that.
- Neckline. Natural, rounded or squared.
Mention your density and any cowlick too. A crown or hairline swirl pushes the top its own way, and the barber can cut with it instead of leaving you to fight it every morning (StyleHairly).
Bring reference photos of one cut from four angles:
- Front, for top direction and any fringe.
- Left and right sides, for where the taper starts and how the upper-side weight sits above it.
- Back, for whether the upper sides connect and how the neckline finishes.
Pick photos of hair that resembles yours in texture and density, and favor unedited ones, since filters and AI edits can change how a cut looks. For a full walk-through of the consultation, see how to ask for a taper fade.
The cut can preserve the shape, but the volume still gets built at home.
Style volume without flattening the side shape
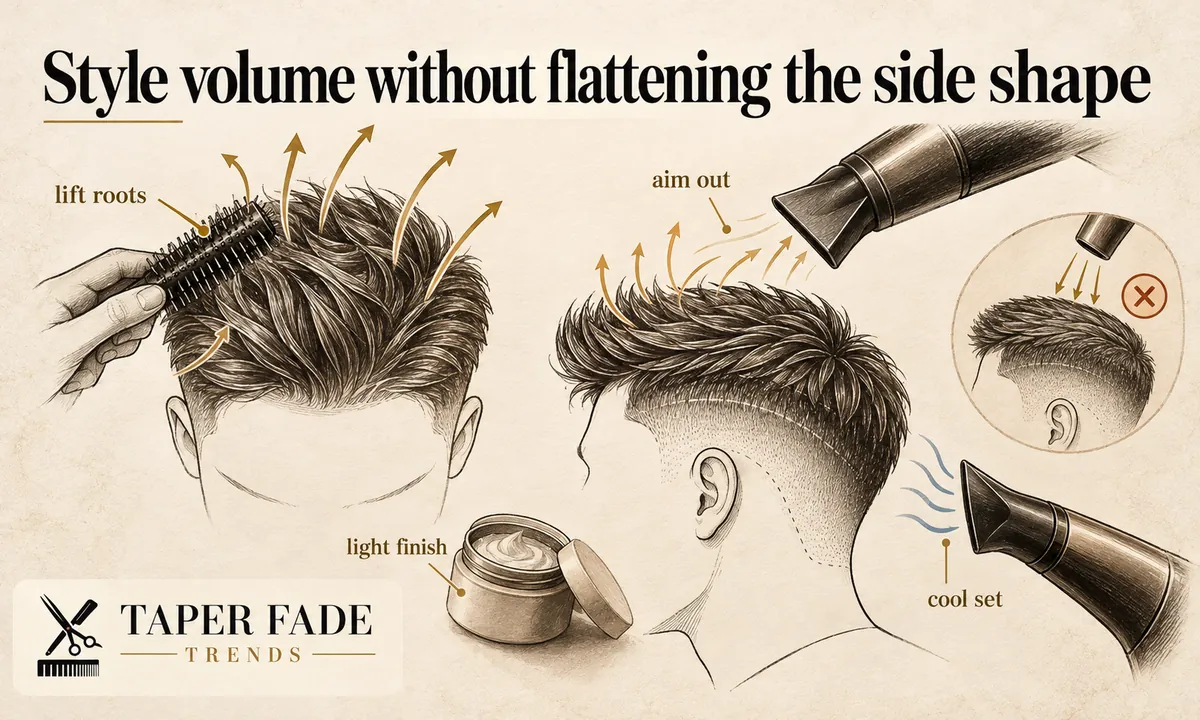
To style a mid taper blowout without flattening the sides, lift the top at the roots and aim the dryer’s airflow up and outward, never straight down at the scalp. Use a light product, shape the hair while it is warm, and let it cool in place. Styling cannot replace upper-side weight the cut removed.
This routine follows CADMEN Barber Academy’s blowout method, untimed because we have no tested record of how long it takes:
- Towel-dry first. Get the hair to roughly 60 to 70 percent dry.
- Add a light pre-styler. A volumizing mousse or thin cream through the top. Heavy pomade or clay at this stage collapses the volume.
- Lift the roots. Use a round brush or your fingers to raise each section at the root while the dryer follows.
- Aim outward. A concentrator nozzle aimed at the lifted roots, airflow directed away from the head. Pointing it down flattens the section.
- Shape, then cool. Adjust the shape while the hair is warm and hold it as it cools; cooling sets the volume.
- Finish light. A light hold spray or a small amount of pomade.
A concentrator narrows the airflow to one spot; a diffuser spreads it wide and is the usual choice when you want to keep a curl or wave pattern. Ask your barber which suits your hair.
Expect a blowout to hold about one to two days. CADMEN notes that humidity is what undoes it fastest, sometimes within hours, and that sleeping on it compresses the volume, so most people re-lift the roots in the morning.
| Problem | Likely cause | What to change |
|---|---|---|
| Top collapses within an hour | Heavy product, or no root lift | Light mousse before drying; lift the roots first |
| Top looks flat | Dryer pointed down at the scalp | Aim airflow outward from lifted roots |
| Top looks wide, not tall | Too much weight left on dense hair | Ask for bulk removed at the next cut |
| Sides look bare under a tall top | Upper sides cut too close | Ask to keep upper-side weight next time |
How it grows out
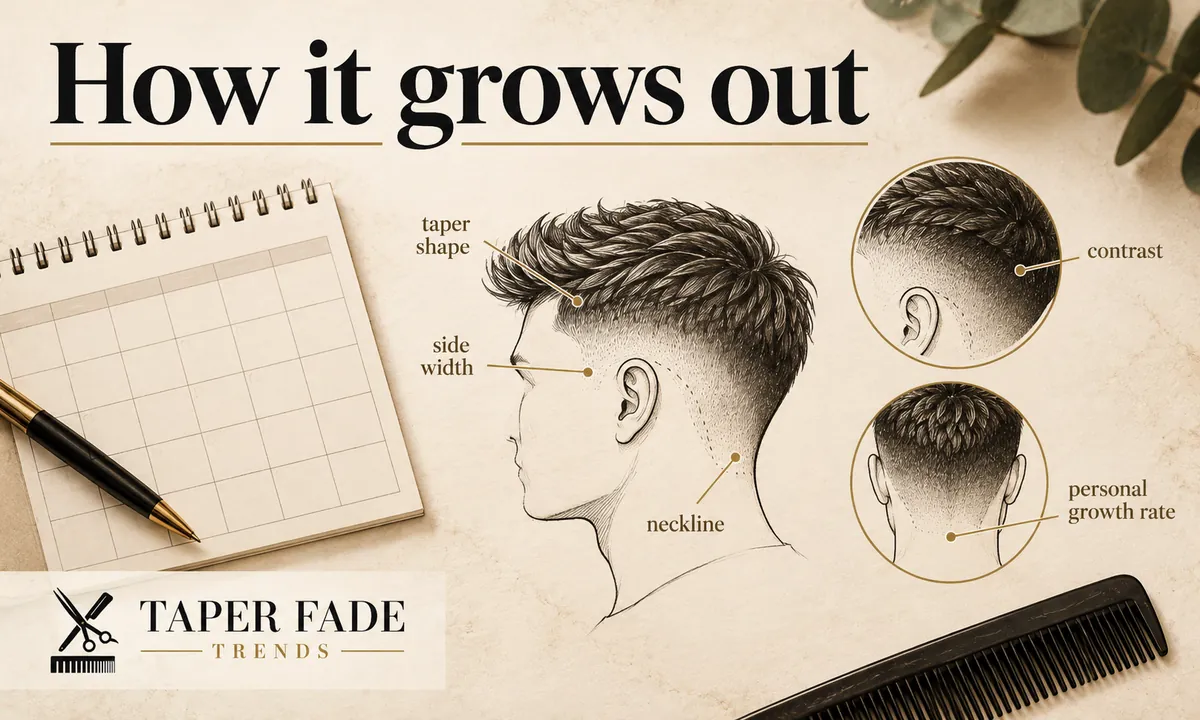
A mid taper blowout has no universal rebooking interval. Rebook when the taper no longer reads as a taper or the sides start adding width you did not ask for. How fast that happens depends on your growth rate and how crisp you like the taper, which a fixed number of weeks cannot account for.
The perimeter and the top age differently. The taper loses its shape first; the top can usually run longer before it needs cutting. Five variables decide how quickly the cut drifts from the look you wanted:
| Variable | Loses its shape sooner when | Holds longer when |
|---|---|---|
| Shortest finish | It is skin | It is a set clipper length |
| Contrast between hair and skin | High | Low |
| Growth rate | Your hair grows quickly | Your hair grows slowly |
| Neckline | Squared or sharply defined | Natural |
| Crispness you want | Sharp | Soft |
A top that dries well does not fix a grown-out taper, and a fresh taper does not give the top any lift. Treat them as two jobs.
When another cut makes more sense
Choose something else if you will not dry the top most days, or if you want the taper noticeably higher or lower than the temple.
Without the blowout, the same mid taper works under shorter, lower-effort tops; the mid taper fade guide covers those. If you want less contrast at the sides, compare heights in low taper vs mid taper. If you want the taper higher, the high taper fade guide covers that placement. Taper height is a separate decision from the blowout either way.
How this guide was researched
Taper Fade Trends publishes practical haircut references for people deciding what to ask for at the barbershop. This guide separates the mid taper’s placement from the blowout styling step, using a barber academy, published haircut guides and dermatology guidance. Its purpose is to help you describe the result precisely, not to prescribe one clipper guard recipe.
Sources were checked on October 13, 2026. The guide contains no original photographs, measurements or timed tests; its images are labeled illustrations of concepts, not results. Where published guides disagree, such as on top length, the guide reports the range instead of picking a number.
Sources cited:
- CADMEN Barber Academy on the blowout haircut
- Taper Empire guide to the mid blowout taper
- StyleHairly guide to the mid blowout taper
- American Academy of Dermatology: hair styling without damage
- American Academy of Dermatology: hair loss tips for managing

Next steps for your mid taper blowout
Save front, left, right and back photos of the cut you want, write down your five answers, and take both to the chair. The how to ask for a taper fade guide turns them into a full brief.
Keep reading
All guides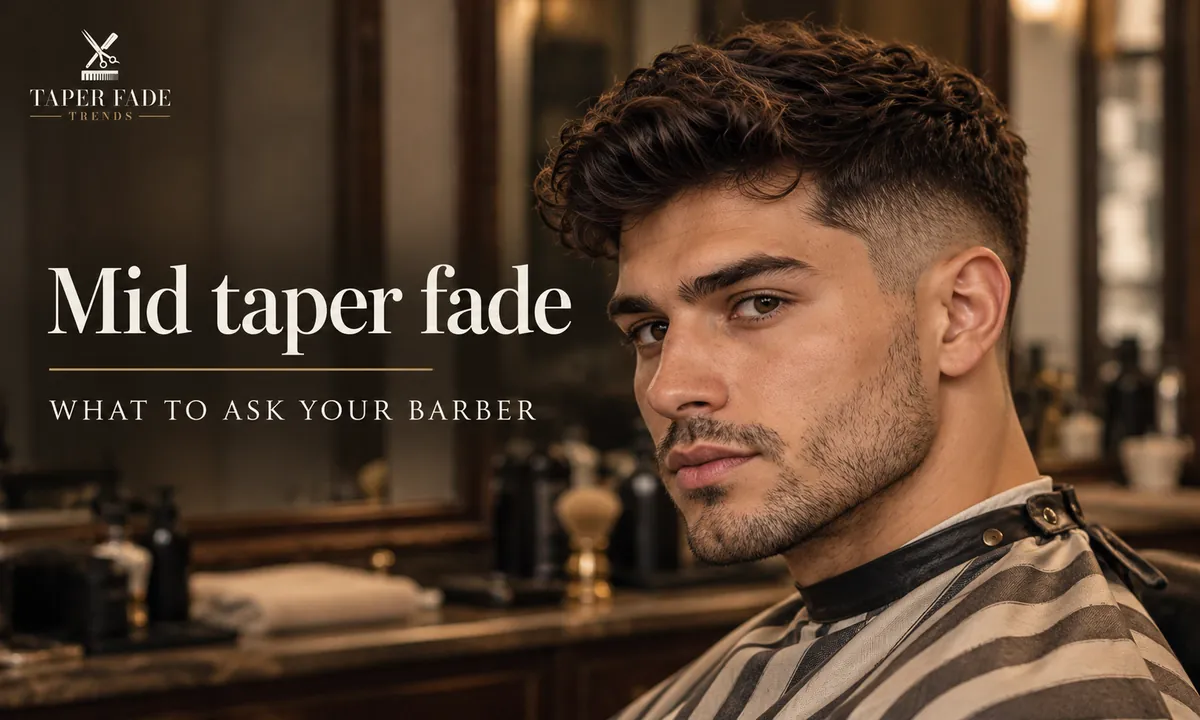
Mid taper fade: what it is and what to ask your barber
What a mid taper fade is, how it differs from a full mid fade, why skin is optional, and the four specs to give your barber before the cut starts.
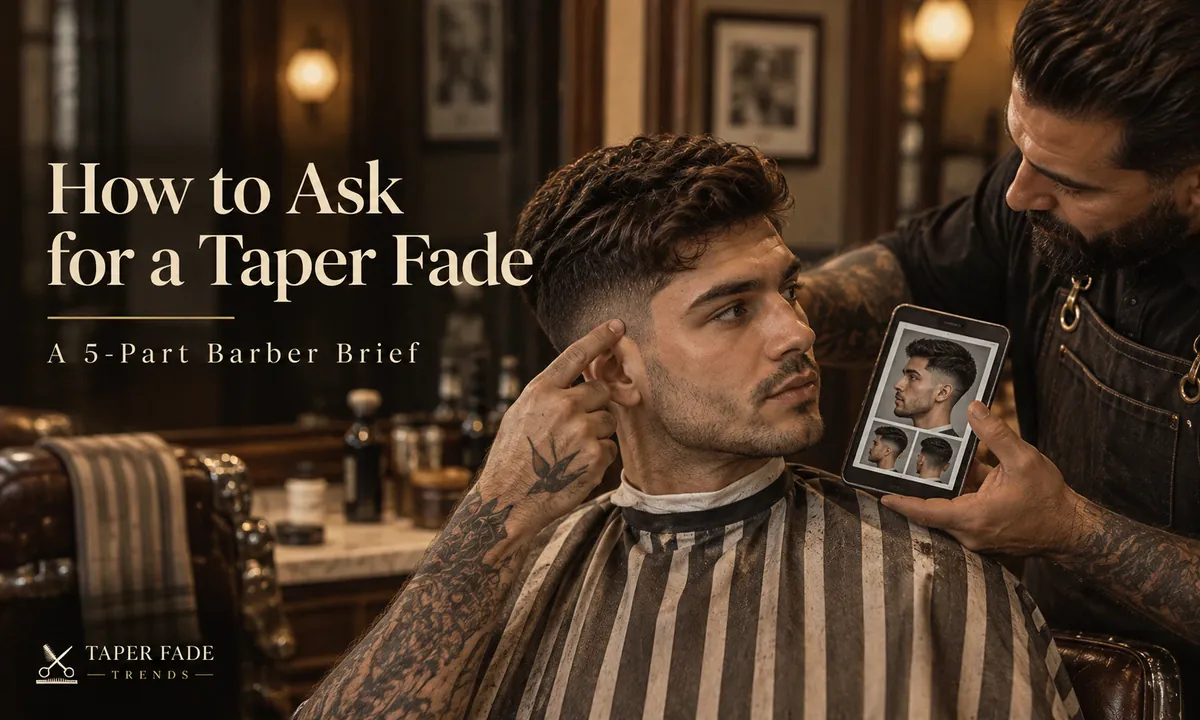
How to ask for a taper fade: a five-part barber brief
How to ask for a taper fade: say where it may reach, how short the base goes, how much side weight stays and what to do on top, then check the plan first.
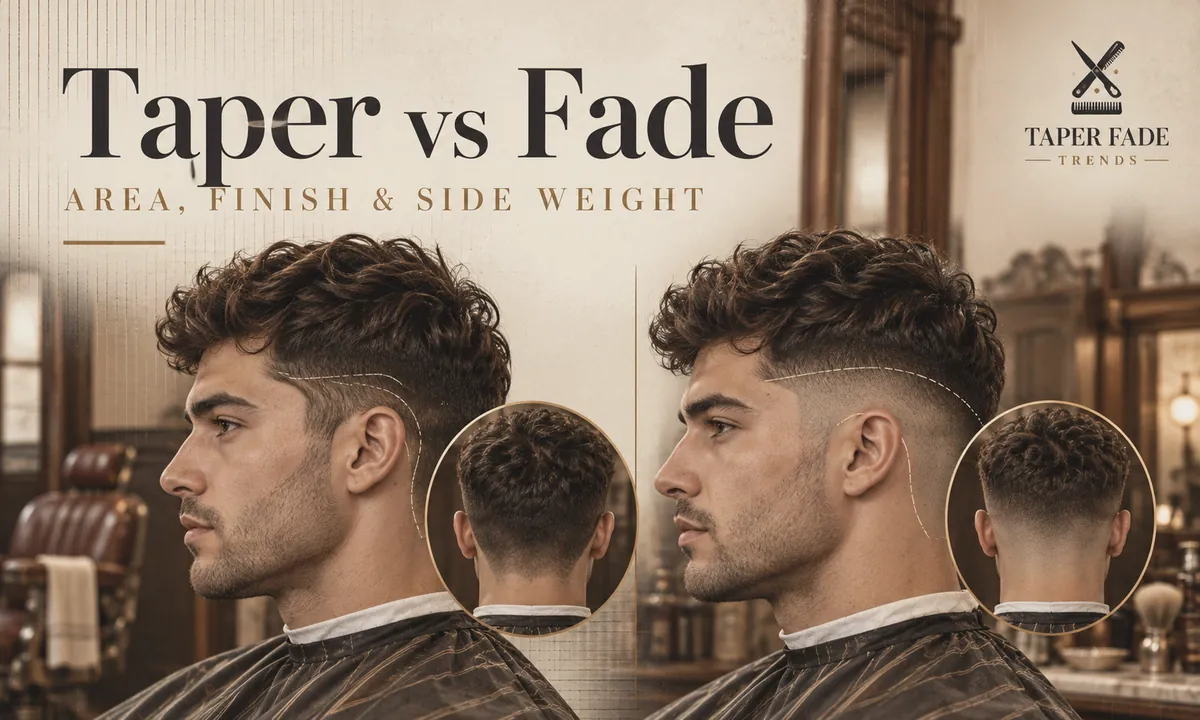
Taper vs fade: what changes in area, finish and side weight
Taper vs fade compared by coverage, height, shortest finish and side weight, with a back-view check and word-for-word barber scripts for either cut.
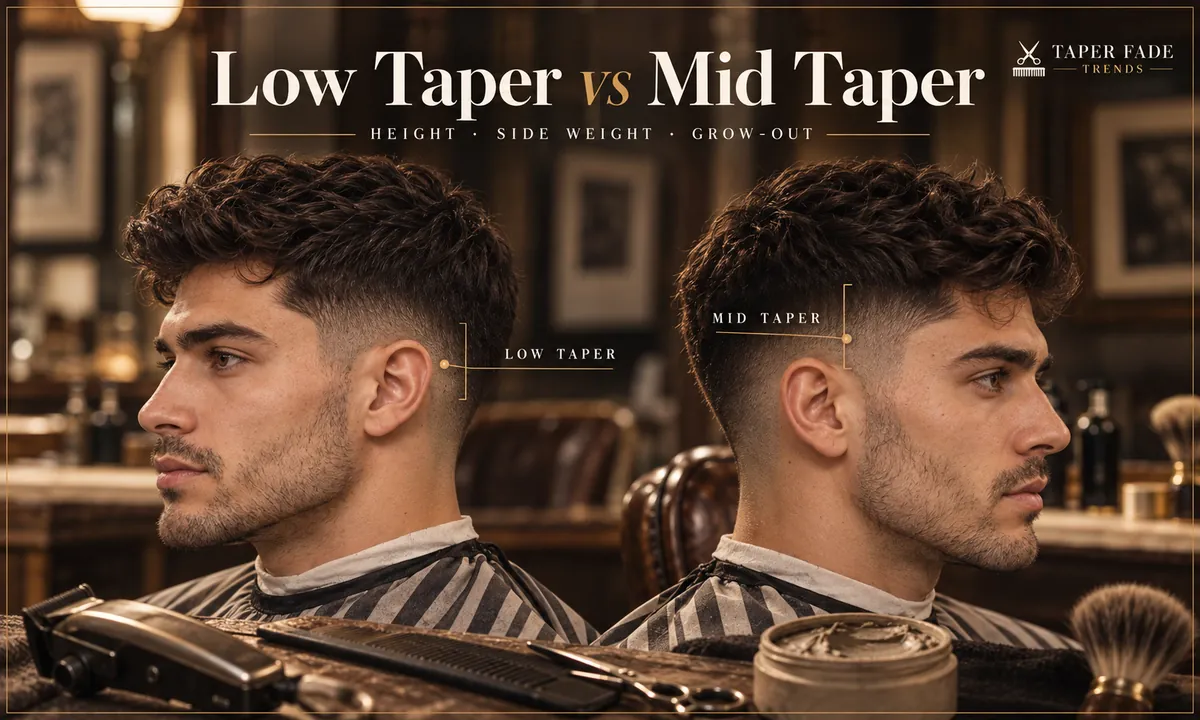
Low taper vs mid taper: what changes when only the height moves
Low taper vs mid taper compared on height, side weight, shortest finish and grow-out, why switching mid to low takes time, and what to tell your barber.
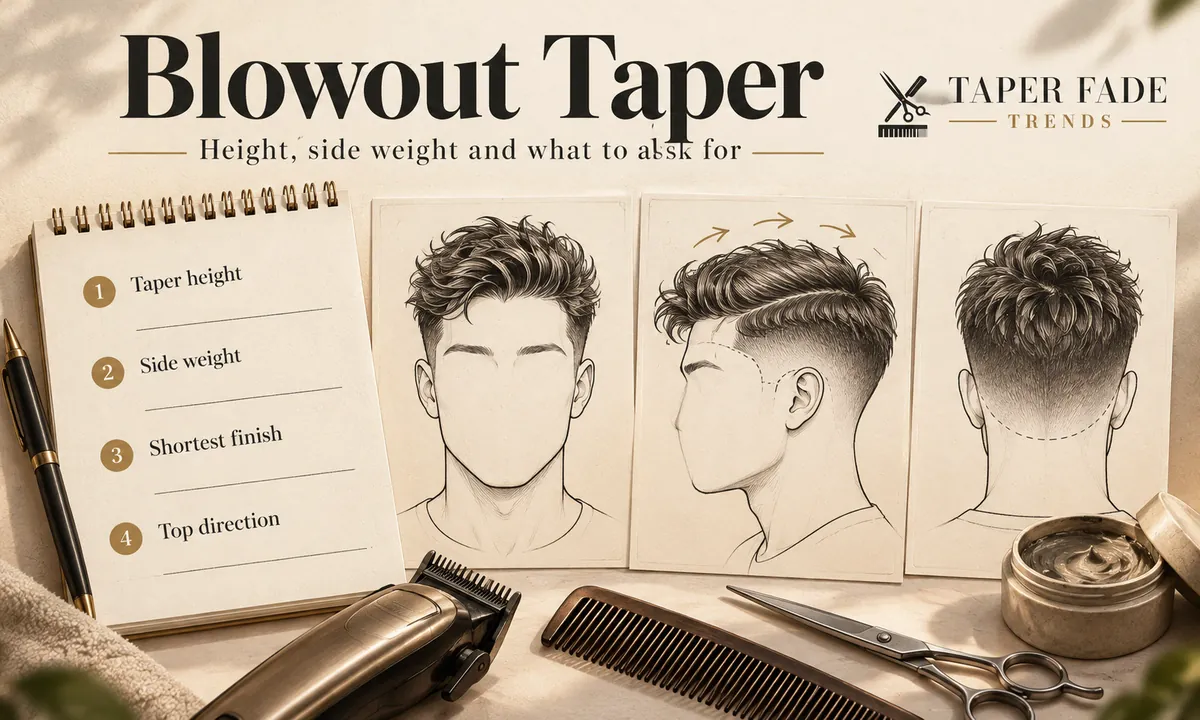
Blowout taper: choose lift, silhouette and taper height
What a blowout taper is, how taper height, side weight and finish differ, how much top length sources suggest, and a barber brief to fill in.
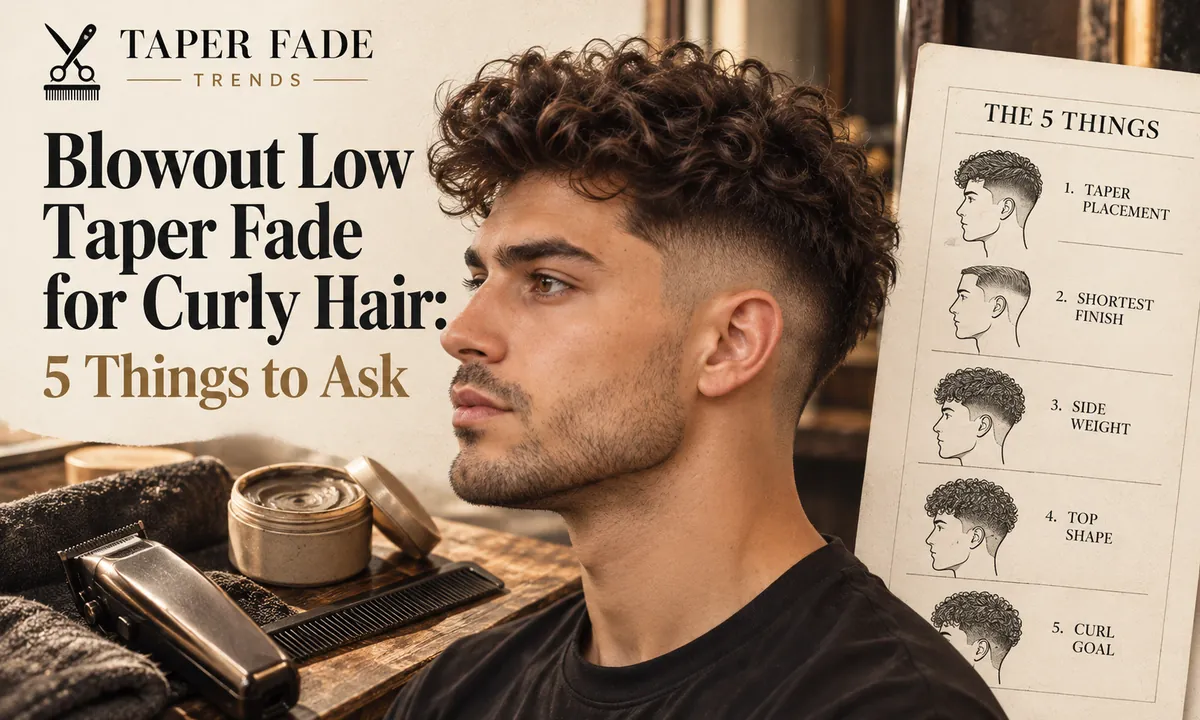
Blowout low taper fade curly hair: keep volume, keep definition
A blowout low taper fade for curly hair is a shape, not a guard recipe. Set the taper placement, shortest finish, side weight, top shape and curl goal.
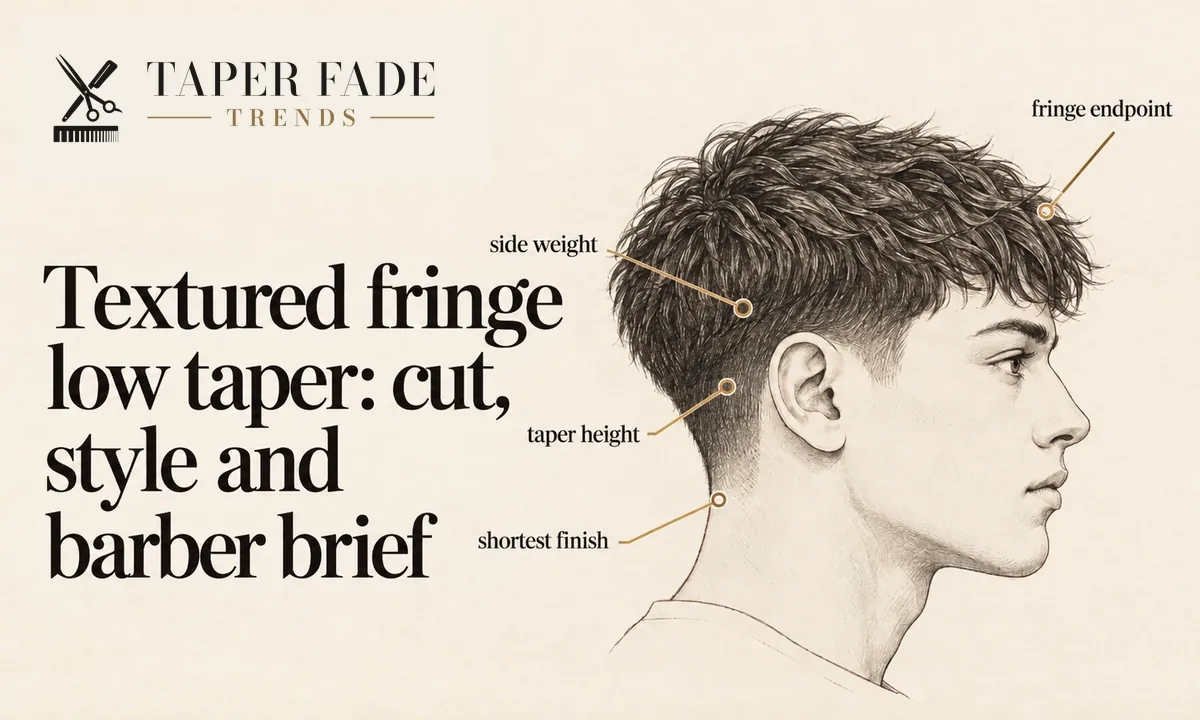
Textured fringe low taper: cut, style and barber brief
A textured fringe low taper explained: four choices to settle, whether straight hair needs a perm, what to tell your barber, and fixes for a flat fringe.
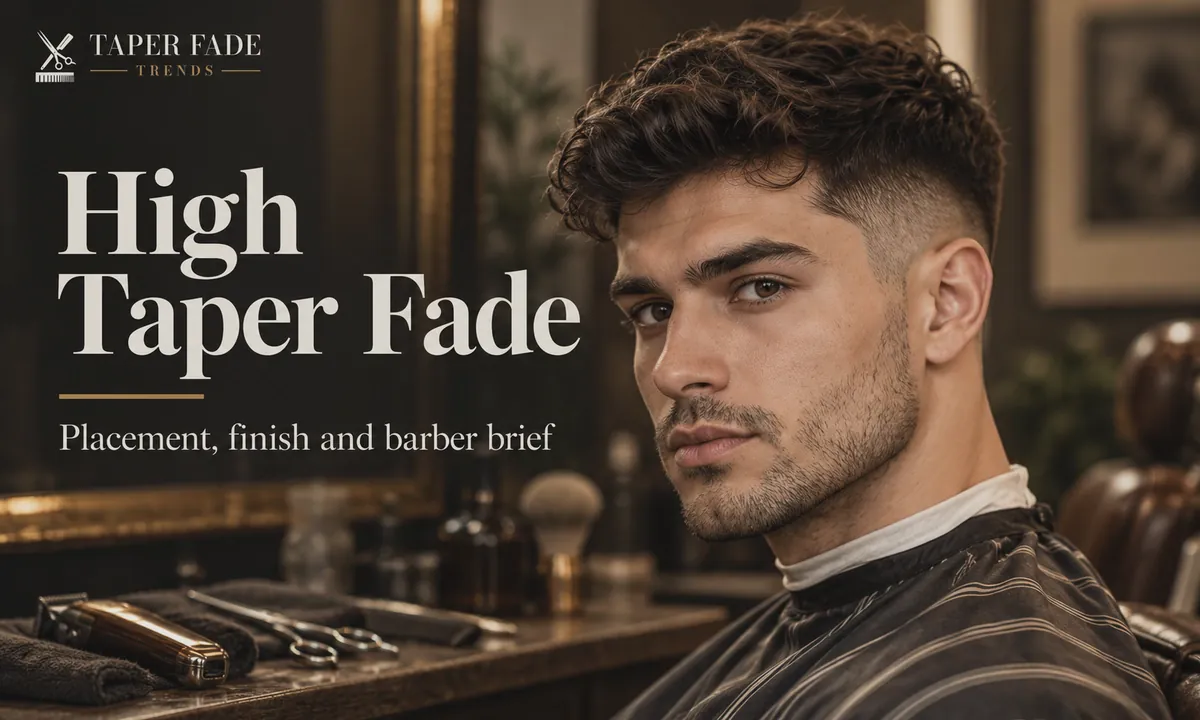
High taper fade: placement, finish and barber brief
Where a high taper fade sits, how much side weight stays, skin vs shadow finishes, what the back should look like, and exactly what to tell your barber.
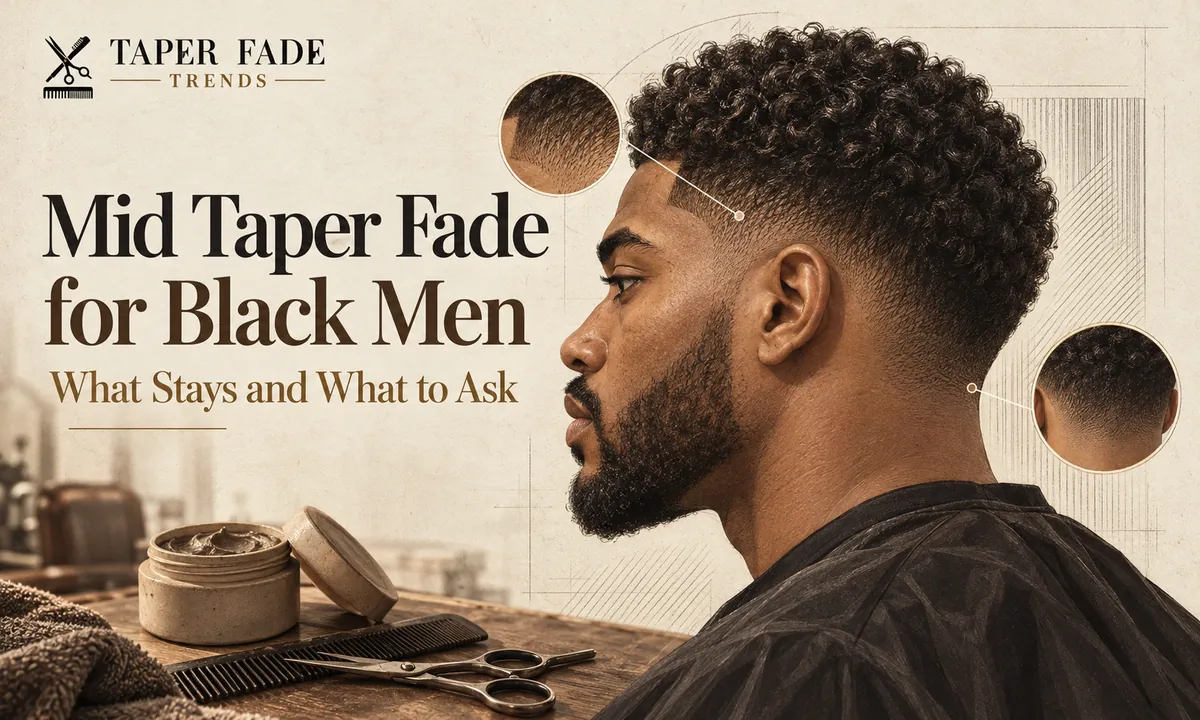
Mid taper fade Black male guide: what stays and what to ask for
Mid taper fade Black male guide: keep more side weight than a full mid fade, set finish and hairline, protect waves, coils or locs, and brief your barber.
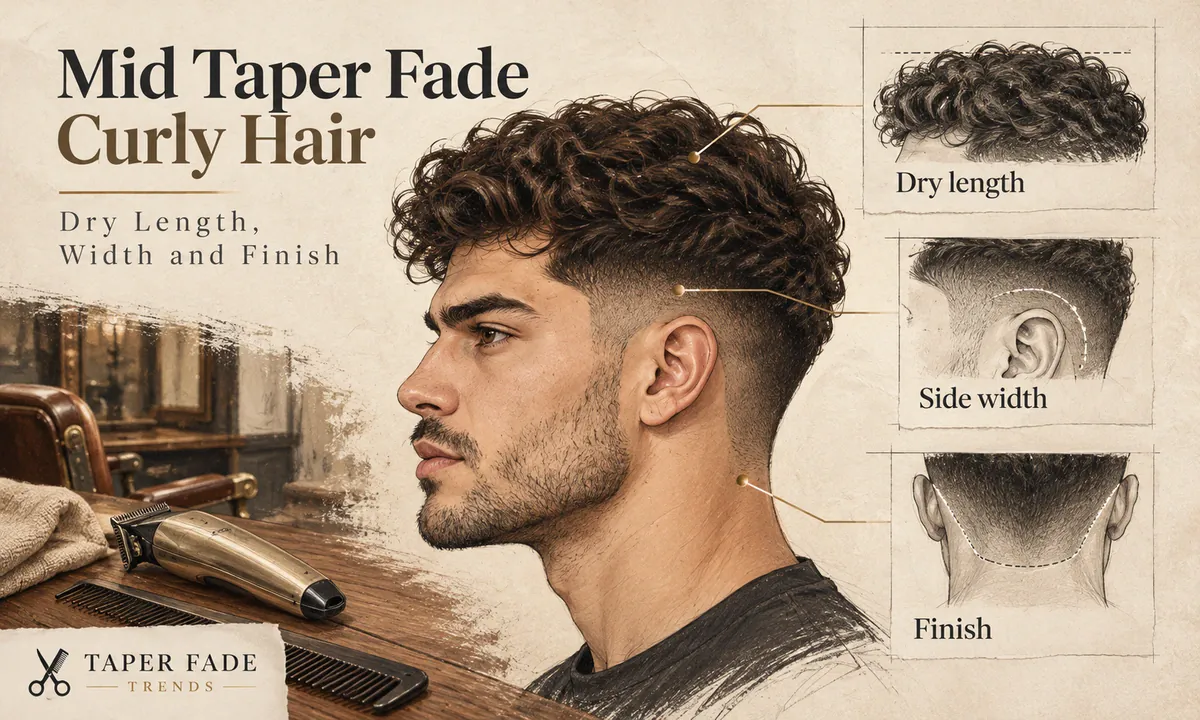
Mid taper fade curly hair: choose dry length, side width and finish
Mid taper fade curly hair guide: what it keeps vs a full mid fade, how to judge dry length and side width, and the four specs to give your barber.
More in mid taper fades
Mid taper fades: all 6- Mid taper fade: what it is and what to ask your barber12 min
- Mid taper blowout: keep volume without flattening the sidesYou are here
- Mid taper fade curly hair: choose dry length, side width and finish9 min
- Mid taper fade straight hair: fine, flat and outward-growing sides11 min
- Mid taper fade Black male guide: what stays and what to ask for13 min
- Low taper vs mid taper: what changes when only the height moves10 min