Textured fringe low taper: cut, style and barber brief
A textured fringe low taper pairs a short, gradual taper at the sideburns, ears and nape with a longer front cut into separate pieces and worn forward onto the forehead. “Low” says where the taper sits, not how short it goes. Straight hair can wear it without a perm; the cut and the blow-dry do most of the work.
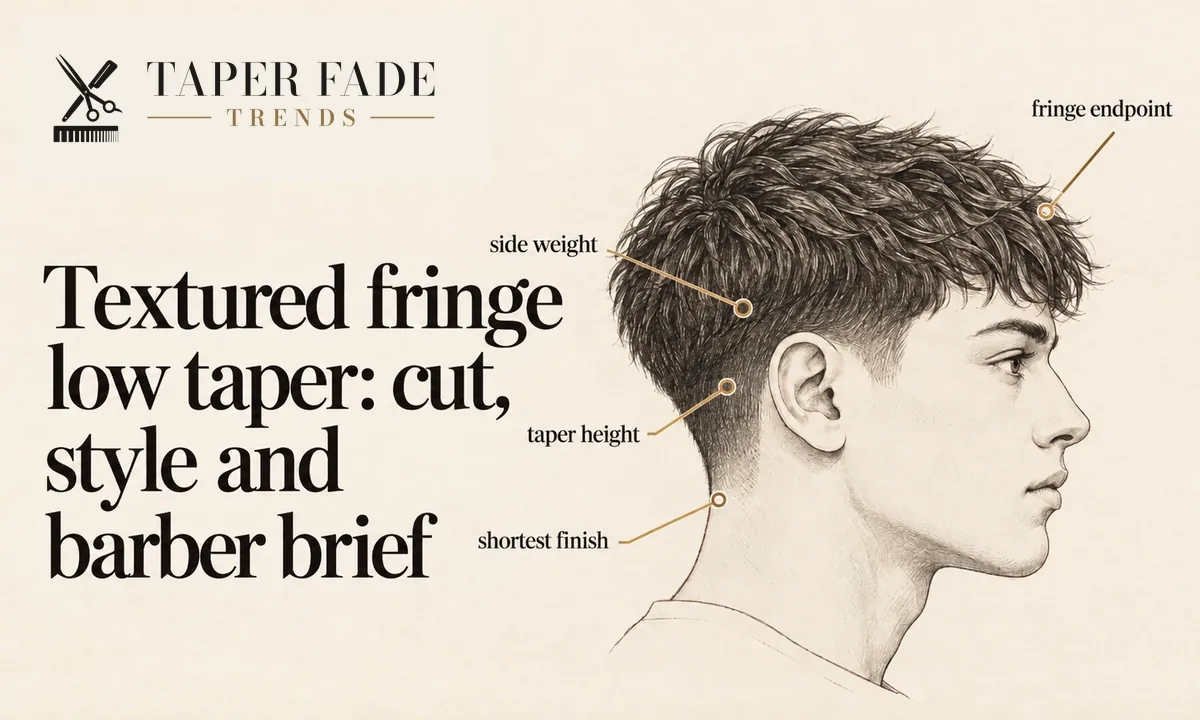
| Spec | This cut | How to say it |
|---|---|---|
| Taper height | Low: sideburns, around the ears, nape | “Keep the taper low, at the top of the ear” |
| Shortest finish | Skin, zero or a guarded length, chosen separately | “Down to skin,” “a zero” or “down to a one” |
| Side weight | Sides keep their length above the taper | “Leave the sides full” |
| Fringe endpoint | Eyebrow level or mid-forehead, judged dry | Point to the spot on your forehead |
| Fringe direction | Forward onto the forehead | “Falling forward, not pushed back” |
| Texture source | Point cutting, then drying it forward; a perm is optional | “Point cut the front so it breaks into pieces” |
| Top length | No fixed number; published minimums run from 3 cm to 1.5 in | Judge it by the endpoint, not a number |
What a textured fringe low taper is
A textured fringe low taper is two decisions in one haircut. Underneath is a low taper that shortens only the sideburns, the hairline around the ears and the nape. On top, the front is left long, point cut so it breaks into pieces, and dried forward onto the forehead. The sides above the taper keep their length.
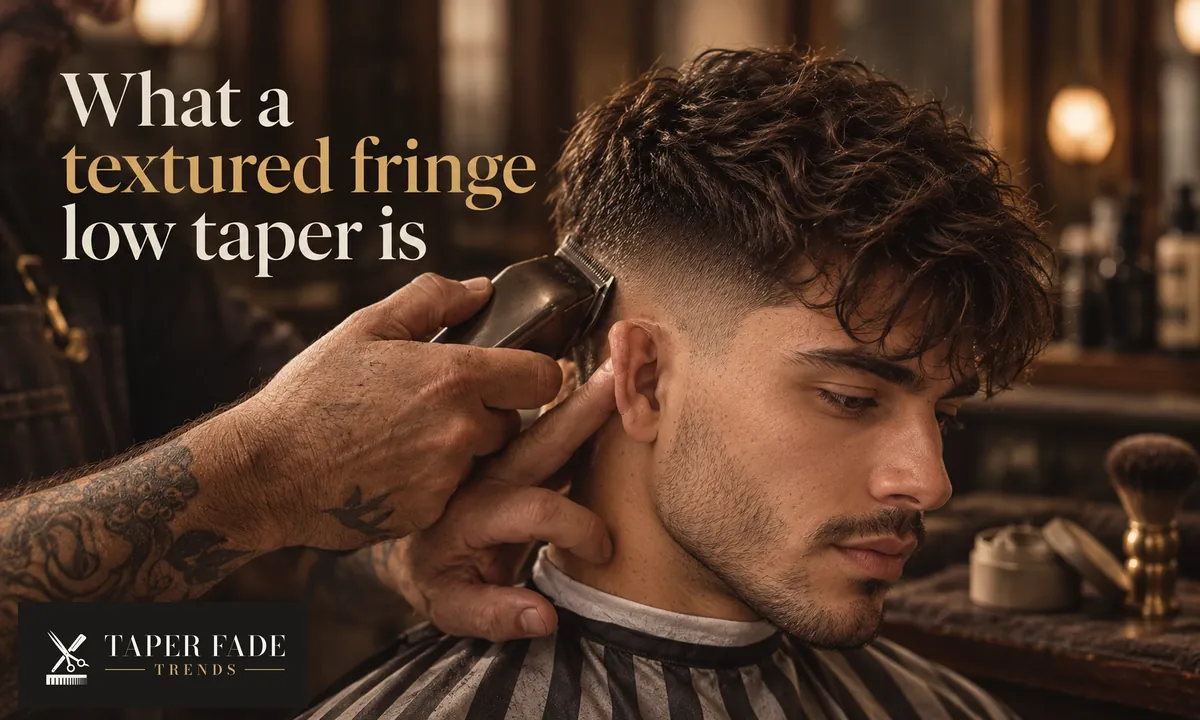
“Low” describes where the short work sits, not how short it goes. Our low taper fade guide covers that placement in detail. Fadepedia treats skin or no skin as its own decision, while TaperEmpire defines its low taper as never reaching skin. Both describe real haircuts, so name the finish out loud.
The top is what separates this cut from its neighbors. Fadepedia points out that a blowout taper uses the same low clean-up with the top dried up and out instead of forward.
Two looks share the name
The phrase “textured fringe” covers two different tops, and your reference photo decides which one you are asking for. Wahl’s cutting guide describes short, uneven layers that bunch up like broccoli florets, a look it says suits curly or thick, wavy hair best and that also goes by “broccoli cut” or “zoomer perm.” Fadepedia and TaperEmpire describe a straighter, piecey fringe that falls forward, and Fadepedia calls straight hair the easy case for that version.
Decide four things before you show a photo
Four settings decide a textured fringe low taper: taper height, shortest finish, side weight and fringe endpoint. Each can change without the others, so a photo that matches you on height can still differ on finish or front length. Settle all four before the clippers start, and say each one out loud.
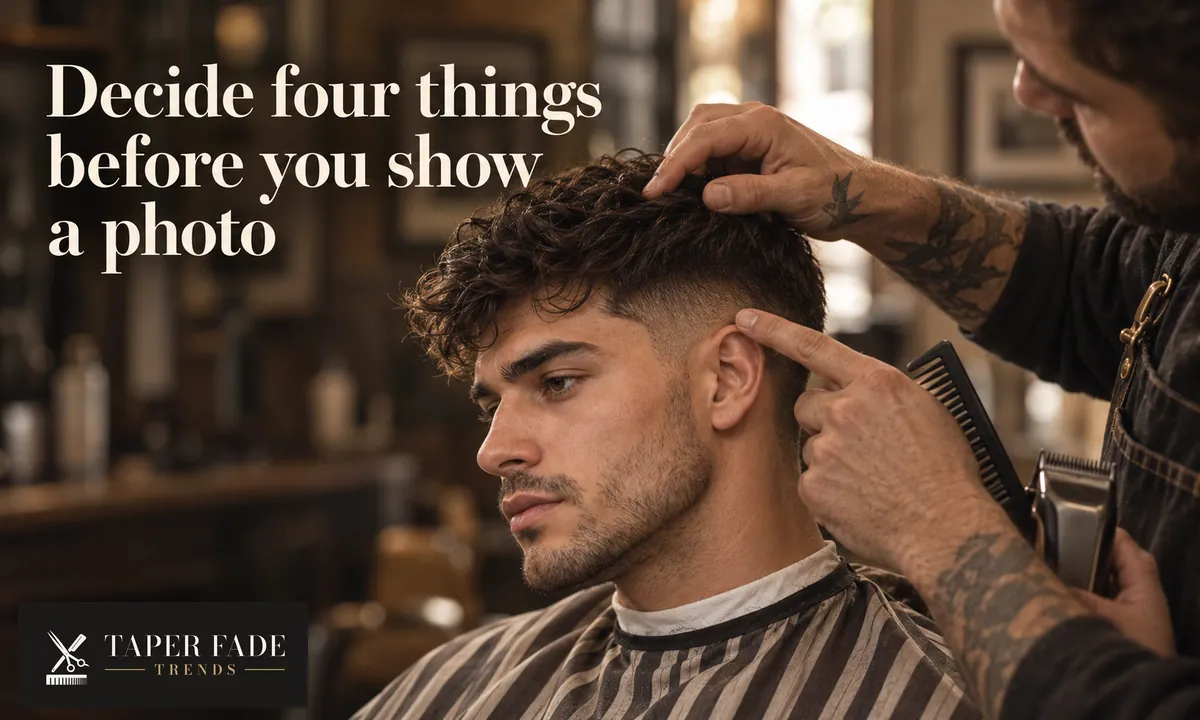
| Setting | What it sets | What it does not set |
|---|---|---|
| Taper height | Where the short work sits: sideburns, ears, nape | How short the bottom goes |
| Shortest finish | What’s left at the very bottom: skin, a zero or a guard | Where the taper sits |
| Side weight | How much hair stays on the sides above the taper | The length of the fringe |
| Fringe endpoint | Where the dry front ends on your forehead | The taper’s height or finish |
Taper height and shortest finish
No, a low taper does not have to mean skin. A low taper can finish at skin, at a zero or at a guarded length. “Low” fixes where the short work sits; the finish is a separate choice. Guides split on this: Fadepedia’s version often goes to skin at the very edge, while TaperEmpire’s low taper never does.
For height, Fadepedia frames the choice as the top of the ear or under it. For the finish, weigh the trade-off: Fadepedia notes that a skin edge looks sharpest for about a week before regrowth shows a hard line, while a guarded finish grows out more gradually. The clipper guard chart shows what each number leaves.
Shops also use “low taper,” “low taper fade” and “low fade” differently. The taper vs fade guide sets out both usages.
Fringe endpoint, side weight and direction
No single length defines the fringe. Describe where it should end on your forehead when dry: eyebrow level is the safer choice, and mid-forehead is the length most reference photos show, according to Fadepedia. Published minimums disagree, from about 3 cm at Taperloom to about 1.5 inches, roughly 3.8 cm, at TaperEmpire.
A longer endpoint buys a heavier forward fall and costs an earlier trim. Fadepedia estimates the mid-forehead version reaches the eyes within about a month in one place and around six weeks in another. Use a landmark you can check in a mirror, such as the eyebrow, and check it on dry hair. Curly hair in particular looks shorter dry than wet.
Side weight is the setting people forget to say. Fadepedia names leaving it unsaid as the miss that ruins this cut, because the barber may take the sides down with the taper. Ask for the sides to keep their length.
Direction is forward. Hair that grows sideways at the front hairline, or a cowlick, can pull the fringe off the line you asked for, so show your barber how your hair lies dry and unstyled.
How hair type changes the cut
Straight, wavy, thick, fine and curly hair can all wear a textured fringe low taper, but the barber changes the technique for each. Straight hair falls forward most easily, fine hair needs a lighter hand with point cutting, thick hair needs weight taken out, and curly hair needs a shorter front checked dry.
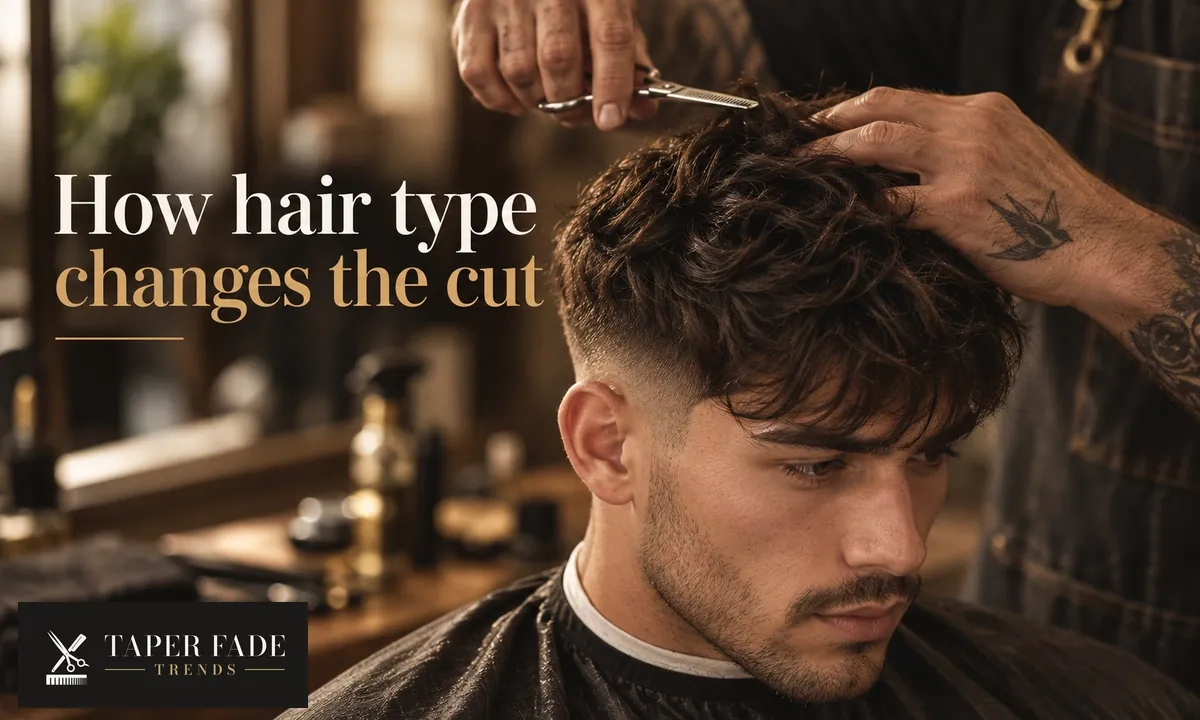
| Hair type | What changes | Worth saying |
|---|---|---|
| Straight | Falls forward on its own; separation comes from point cutting | “Point cut the front for pieces” |
| Fine or thin | Heavy point cutting can show scalp through the gaps | “Go light on the texturizing” |
| Thick | Extra weight can make the fringe sit heavy | “Take weight out, keep the length” |
| Wavy | The wave supplies separation, so less product is needed | “Leave the wave in” |
| Curly | Curls won’t lie flat as a curtain; the front goes shorter | “Cut the front dry” |
The straight, fine, wavy and curly rows follow Fadepedia; the straight and thick rows also follow TaperEmpire and Designbeep. For the taper side on straight hair, see the low taper fade for straight hair guide.
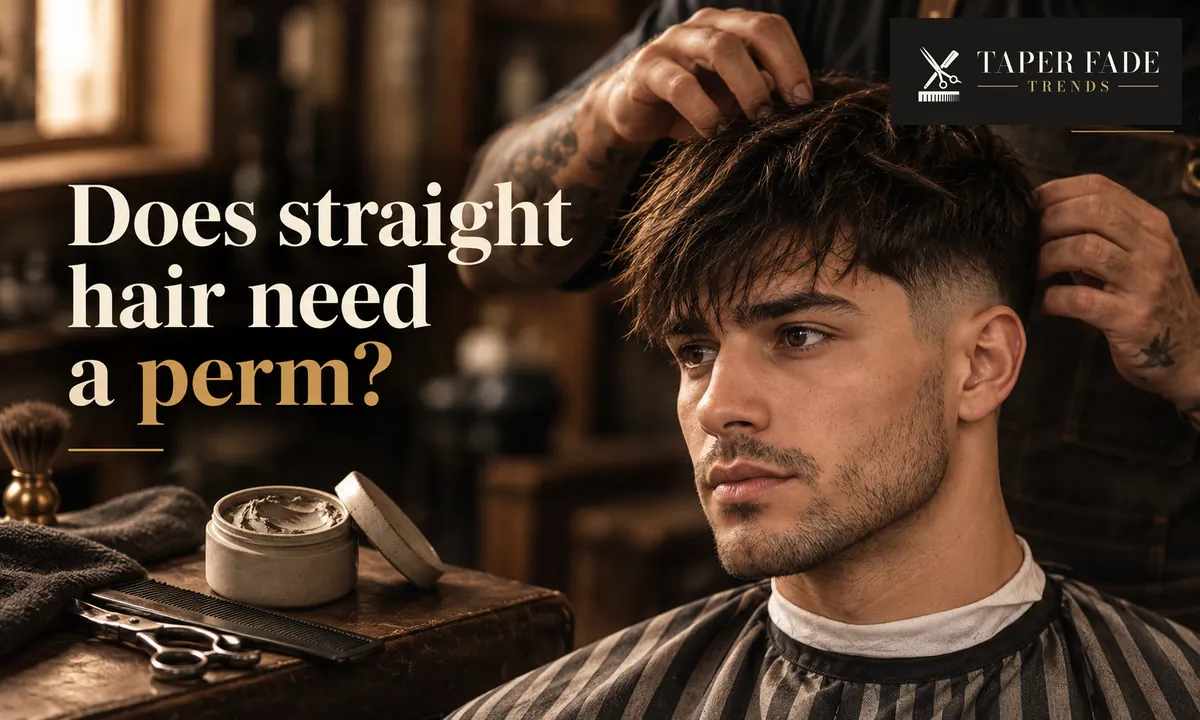
Does straight hair need a perm?
No. Straight hair can wear the forward, piecey textured fringe without a perm; point cutting and drying it forward create the separation. A perm becomes relevant only if your reference photo shows the curly, broccoli-style version and your hair has no curl. Even then, Wahl says straight hair can manage with choppier layers and product.
| Your reference shows | Your hair | Route |
|---|---|---|
| A straighter, piecey fringe | Straight | Cutting and styling; no perm |
| A curly, rounded top | Straight | Choppier layers and product, or a perm as one option |
| A curly, rounded top | Already wavy or curly | Your natural pattern supplies it; no perm |
The perm question comes up because one of the cut’s nicknames, per Wahl, is “zoomer perm,” and Taperloom lists a perm fringe as a variation for straight hair that wants curl. A perm changes texture only. The cut still sets taper height, shortest finish, side weight and fringe endpoint. This page gives no perming instructions; ask a licensed stylist to assess your hair before any chemical service.
What to tell your barber
Ask for a low taper, then settle five things out loud: how low it sits, skin or no skin, where the fringe ends when dry, how much point cutting the front gets, and that the sides keep their length. Show front, side and back photos, and say what you like in each one.
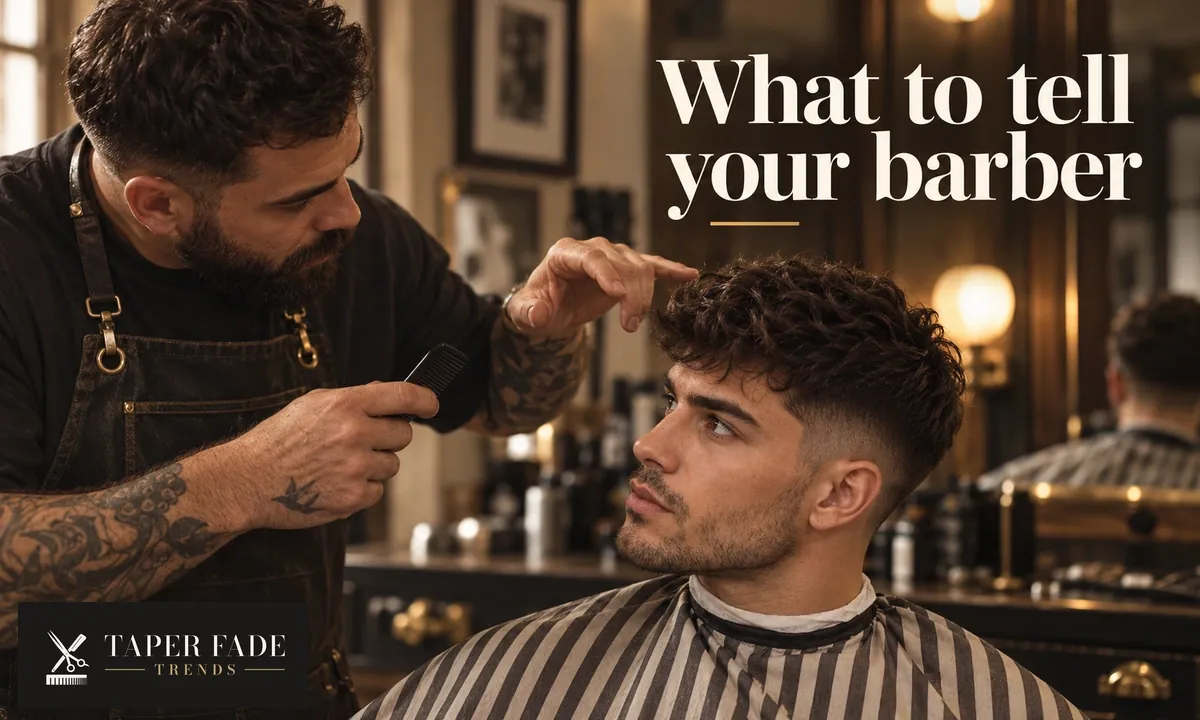
That checklist follows Fadepedia’s consultation advice. The table turns it into words you can use.
| Part | What you can say | What only the barber can confirm |
|---|---|---|
| Taper height | “Low taper, kept to the sideburns, around the ears and the nape.” | Where the blend starts on your head |
| Shortest finish | “Down to skin,” “a zero” or “down to a one.” Pick one. | The guard or lever setting that gets there on you |
| Side weight | “Leave the sides full above the taper.” | How much length your sides have to work with |
| Fringe endpoint | “Dry, I want it to sit at my eyebrows.” | How much length to leave for your growth direction |
| Texture | “Point cut the front so it breaks into pieces.” | How much to take out without showing scalp |
Wahl’s guide makes the same point about texture from the cutting side: the top is point cut, and cutting it straight across gives the blunt edge you are trying to avoid.
Bring these photos:
- Front, for the fringe endpoint and how separated the pieces look
- Side, for taper height, finish and side weight
- Back, for how the taper finishes at the nape
- Your own hair, dry and unstyled, for growth direction
How to style a textured fringe
Dry the fringe forward while it is damp, lifting at the roots, then work in a small amount of matte product and pinch pieces apart. Fadepedia and Designbeep both put the blow-dry ahead of the product: a fringe left to air-dry tends to sit flatter than it did in the barber’s chair.
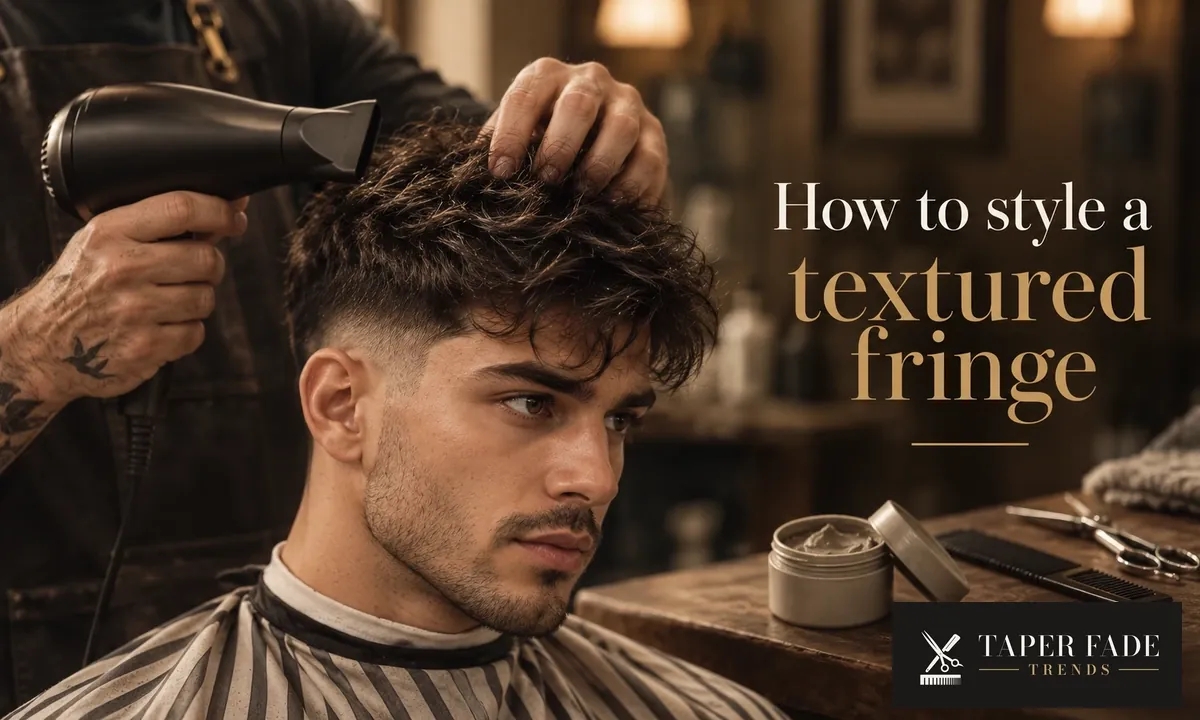
Straight-hair routine
This routine is researched, not tested. It comes from the cited guides, and Taper Fade Trends has not recorded it on a real head, so it gives no timings or hold claims.
- Towel-dry until the hair is damp, not dripping.
- Blow-dry the fringe forward and slightly down, aiming the airflow in to lift the roots. Hershesons gives the same rule for any fringe: direct the heat the way you want it to fall.
- Warm a pea-sized amount of matte clay or paste between your palms and work it through the front.
- Pinch and pull pieces apart with your fingertips. A comb flattens the separation.
Guides disagree on when product goes in. Fadepedia says damp hair, TaperEmpire says about 70% dry, and Designbeep says dry. If the product slides off or flattens the fringe, try it later in the drying. On fine hair, TaperEmpire suggests texture powder at dry roots for lift.
If the fringe falls flat or clumps
A textured fringe usually falls flat for one of four reasons: too much product, product worked into soaking-wet hair, no root lift while drying, or product building up over several days. TaperEmpire lists all four. A front cut with too much weight left in it can also lie flat, and styling won’t fix that.
If the fringe splits into a few heavy clumps, the usual cause is too much product or a shiny one; Designbeep warns that gels and pomades glue the pieces into a solid mass. Spritz the fringe with water and give it about 30 seconds with the dryer, as Hershesons suggests for a fringe that has gone wrong, then restyle with less matte product.
| What you see | Likely cause | What to try |
|---|---|---|
| Flat at the roots | No root lift, or product on very wet hair | Reset damp, dry with roots lifted, then add product |
| Flat by midday | Too much product, or days of buildup | Use less; rinse the fringe before restyling |
| A few heavy clumps | Too much product, or a shiny gel or pomade | Water spritz, quick dry, less matte product |
| Same shape however you style it | Growth direction or too much weight in the cut | Show your barber how it lies dry and unstyled |
No single product fixes every cause. Sea salt spray can add grip on fine or wavy hair, but it won’t lift a fringe that is still carrying too much product.
Upkeep and grow-out
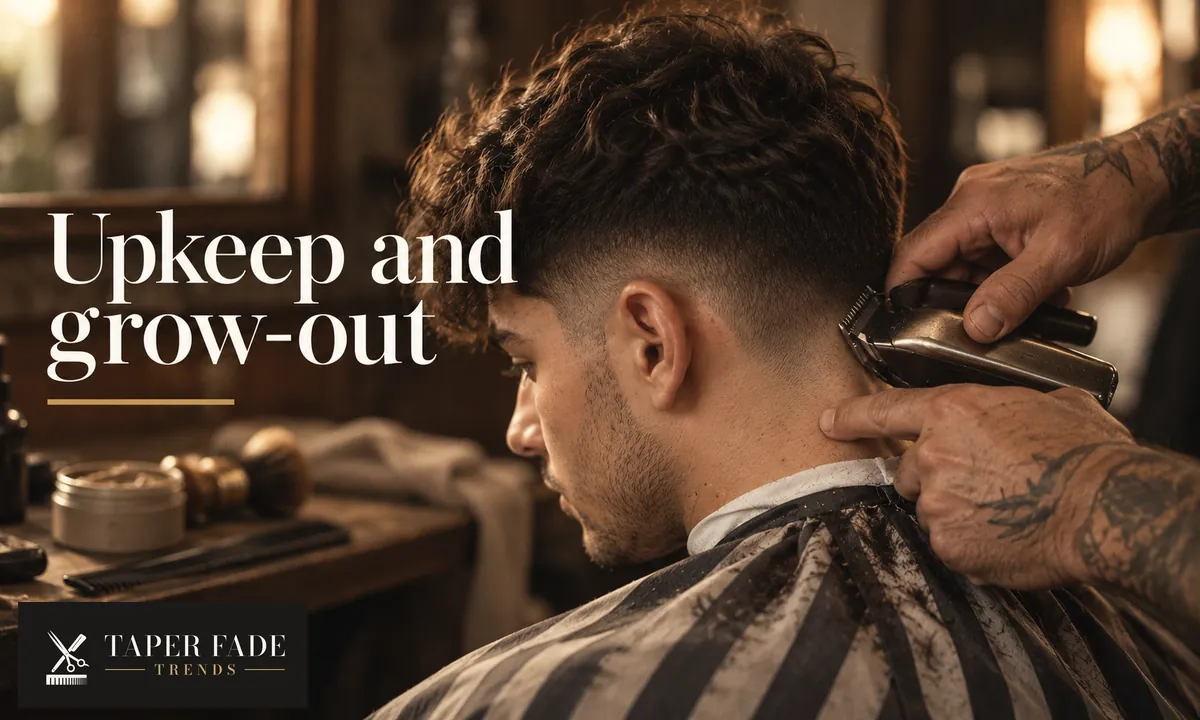
No single rebooking interval fits every textured fringe low taper, and published schedules disagree. The taper and the fringe run on separate clocks: a skin edge shows regrowth first, while the fringe needs a trim once it reaches your eyes. Most shops will trim the fringe on its own between full cuts, according to Fadepedia.
| Source | Taper or sides | Fringe |
|---|---|---|
| Fadepedia | Every 3 to 4 weeks | Reaches the eyes in about 4 to 6 weeks |
| TaperEmpire | No skin: 4 to 5 weeks; to skin: 2 to 3 weeks | Every 3 to 4 weeks |
| HaircutVibes | #0.5 guard: 3 to 4 weeks; #1: 5 to 6 weeks | A fringe-only trim around week 2 |
| Designbeep | Every 2 to 4 weeks | More often than the sides |
These are each publisher’s own guidance, not measurements. HaircutVibes even gives a shorter 2-to-3-week figure in its own summary box. Use the range, then rebook when you see these signs.
Reset the taper when:
- the bottom no longer matches the finish you chose
- the nape and the hair around the ears have lost their outline
Reset the fringe when:
- it has dropped below the landmark you chose
- it no longer separates after you dry it with root lift
If you can’t rebook often, ask for a guarded finish instead of skin. A closer finish shows regrowth sooner, and a guarded one grows out more gradually.
How this guide was checked
Taper Fade Trends checked this guide on October 11, 2026, against the pages cited in it: Wahl USA’s textured fringe cutting guide, Hershesons’ fringe-styling advice from its London salon, and five published haircut guides (Fadepedia, TaperEmpire, HaircutVibes, Designbeep and Taperloom). Where they disagree, on skin finishes, fringe length, when product goes in and upkeep, the page shows each view instead of picking one.
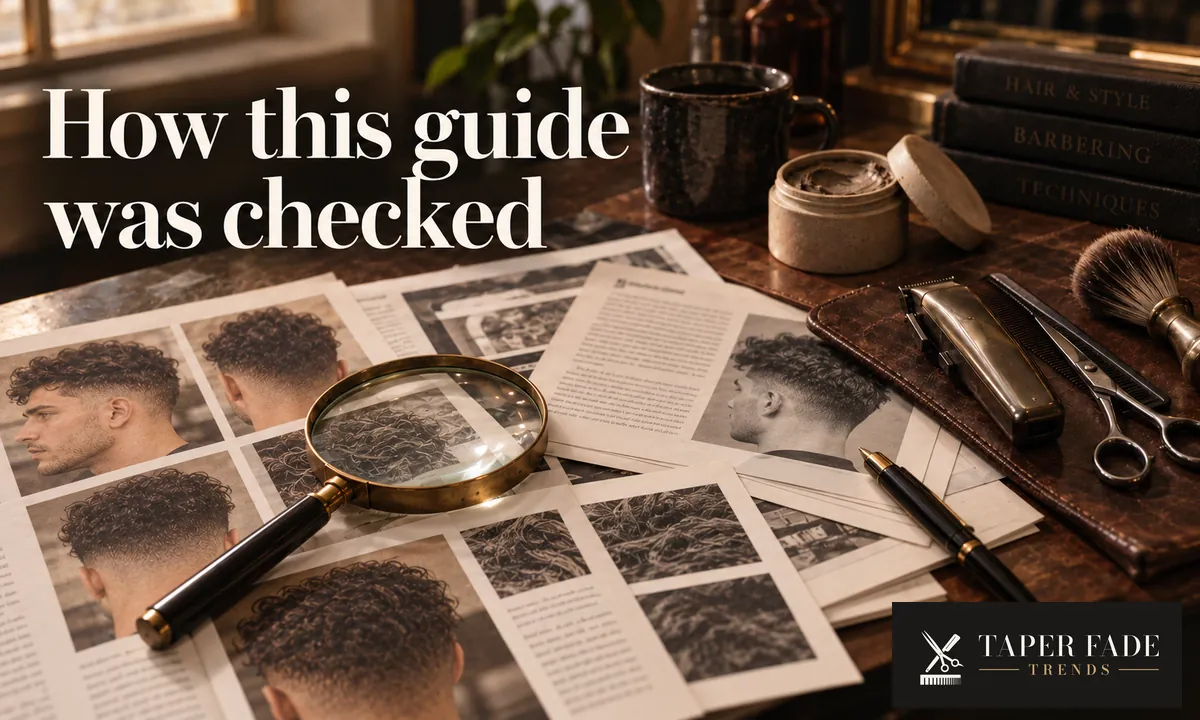
Every image on this page is a labeled illustration. None shows a documented haircut, and no measurements, guard settings or results are claimed for any image. The styling routine was not tested on a real head. No barber has reviewed this version of the page.
Sources cited:
- Wahl USA: How to do a textured fringe
- Fadepedia: The low taper fade with a textured fringe, explained
- TaperEmpire: Low taper fringe haircut guide
- Hershesons: How to style your fringe just right
- Designbeep: Low taper fade with textured fringe
- HaircutVibes: 20 low taper fades with a textured fringe
- Taperloom: Textured fringe with low taper fade
Found an error? Contact us or read our editorial policy.
Where to go next
If the front is settled but the taper isn’t, the low taper fade guide sets placement, side length and finish in more detail. If you’re still unsure whether you want a taper or a fade under the fringe, start with taper vs fade. If you would rather split the top down the center than wear it forward, the middle part low taper fade guide covers the curtains and the side weight they need.

Keep reading
All guides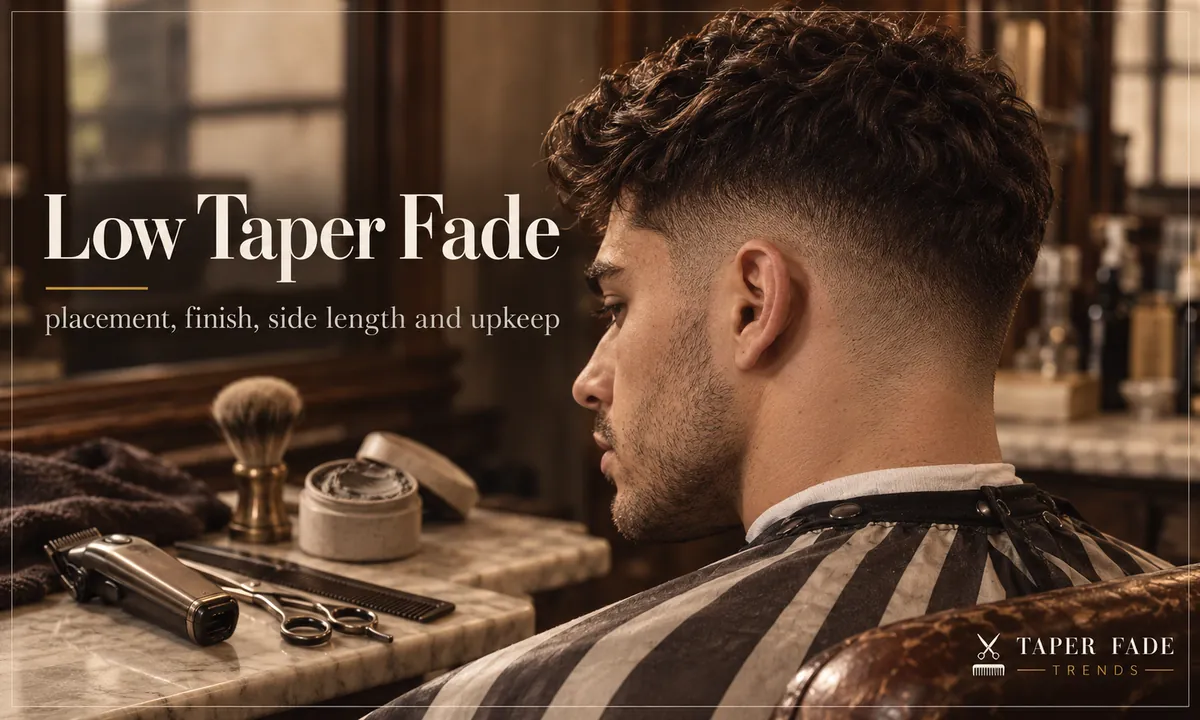
Low taper fade: placement, finish, side length and upkeep
A low taper fade shortens the sideburns and nape and keeps the sides full. See the four choices to make, whether it can go to skin, and what to say.
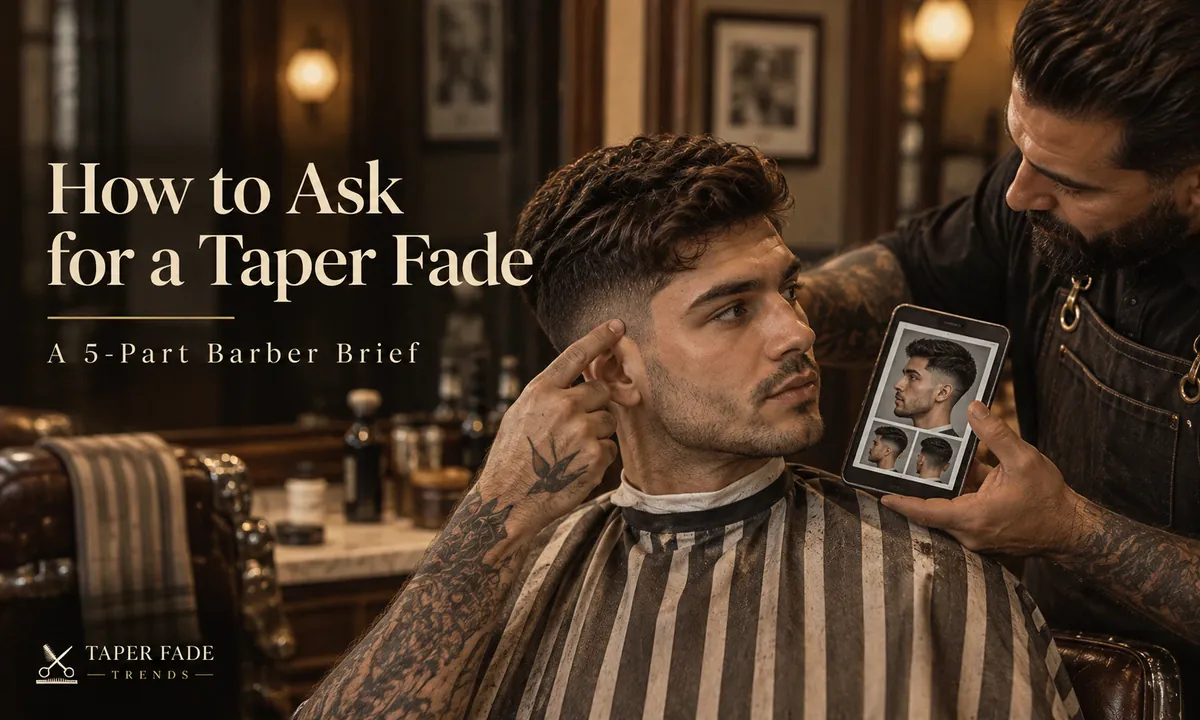
How to ask for a taper fade: a five-part barber brief
How to ask for a taper fade: say where it may reach, how short the base goes, how much side weight stays and what to do on top, then check the plan first.
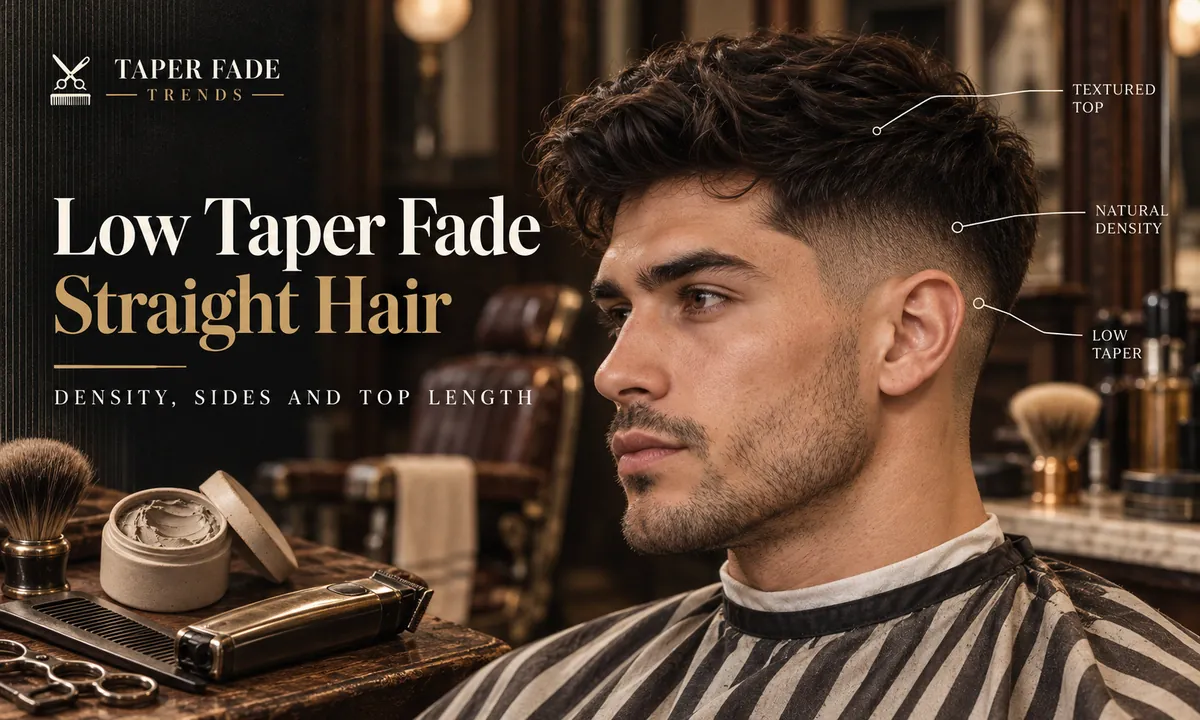
Low taper fade straight hair: density, sides and top length
Low taper fade straight hair guide: how much side weight to keep for your density and growth direction, why sides stick out, and what to ask your barber.
Curly low taper fade: keep curl width above the ears
A curly low taper fade cleans the temples, sideburns and nape but keeps curl width above the ears. What to decide, check dry and tell your barber.
Taper vs fade: what changes in area, finish and side weight
Taper vs fade compared by coverage, height, shortest finish and side weight, with a back-view check and word-for-word barber scripts for either cut.
More in low taper fades
Low taper fades: all 14- Low taper fade: placement, finish, side length and upkeep12 min
- Low taper fade straight hair: density, sides and top length11 min
- Low taper fade Black male guide: choose the top, hairline and nape10 min
- Curly low taper fade: keep curl width above the ears10 min
- Low taper fade buzz cut: compare top length and finish12 min
- Textured fringe low taper: cut, style and barber briefYou are here
- Blowout low taper fade curly hair: keep volume, keep definition11 min
- Low taper fade wavy hair: what to ask for13 min
- Asian low taper fade: choose by how your sides grow7 min
- Middle part low taper fade: keep the curtains connected8 min
- Low taper fade with dreads: protect the loc boundary12 min
- Low taper mullet: keep length behind the ears13 min
- Low taper vs mid taper: what changes when only the height moves10 min
- Low taper vs low fade: compare coverage and side weight11 min