Low taper fade wavy hair: what to ask for
A low taper fade on naturally wavy hair shortens only the sideburns, the hair around the ears and the neckline, so the waves and most of the side weight stay. Decide four things first: where the taper sits, how short it finishes, how much side weight stays and how much comes off the top. No guard number fits everyone.
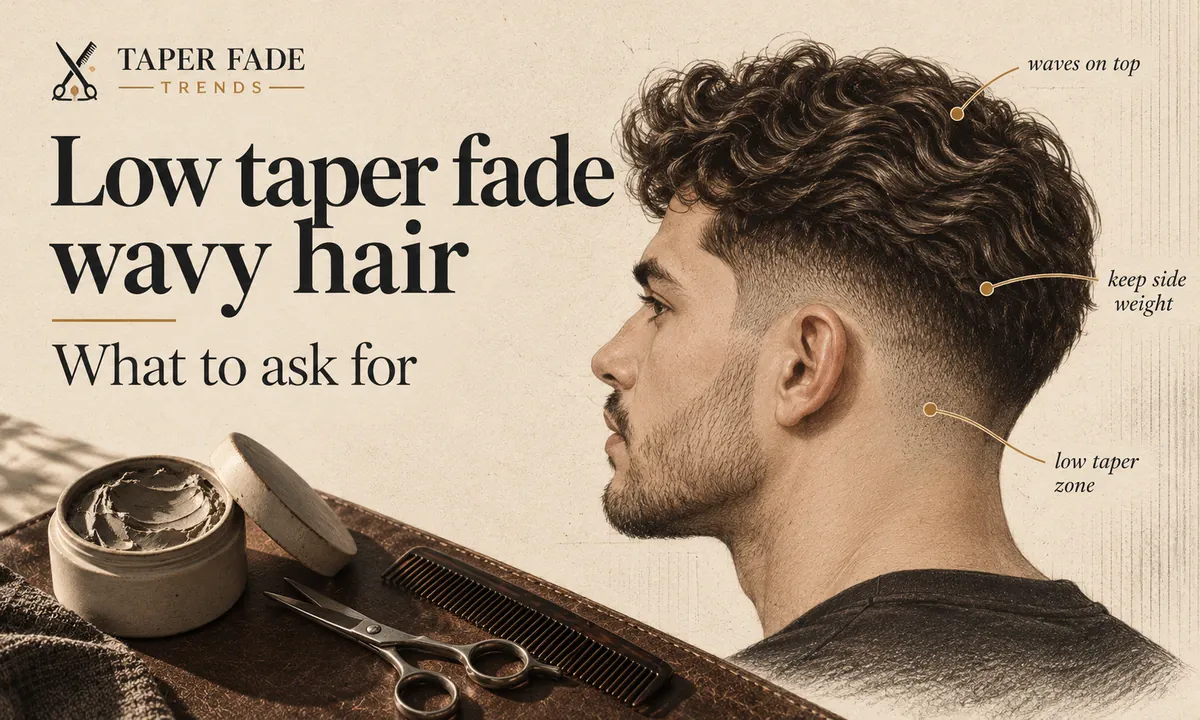
Here is the whole cut in six decisions. Settle them before you sit down, and the rest of this guide explains each one.
| Decision | What to choose | What has no fixed value |
|---|---|---|
| Taper placement | Keep the shortening at the sideburns, around the ears and at the neckline | The exact starting height |
| Shortest finish | Skin, a short guard, or longer, stated out loud | Nothing is the default; say it |
| Side weight | More for a soft connection, less for stronger contrast | How far the taper climbs |
| Top length | Enough for your dry waves to show in the shape you want | A universal length in inches |
| Dry shape | Density, crown direction and where the front falls, shown dry | Anything you can read from wet hair |
| Styling | Air-dry; a diffuser only for speed or volume | A required product or amount |
What a low taper fade changes on wavy hair
A low taper fade on wavy hair is a graduation kept to the lower perimeter: the sideburns, the hair around the ears and the neckline. It shortens those edges and leaves the hair above them long enough for the waves to keep their shape. How high it starts and how short it finishes vary by head and by barber.
Naturally wavy hair is hair that dries into visible bends or S-shapes without any training routine. Side weight is the hair left on the sides above the taper; it decides how full the sides look and how softly they meet the top. The parent low taper fade guide covers the cut on every texture; this page covers what changes when the hair waves.
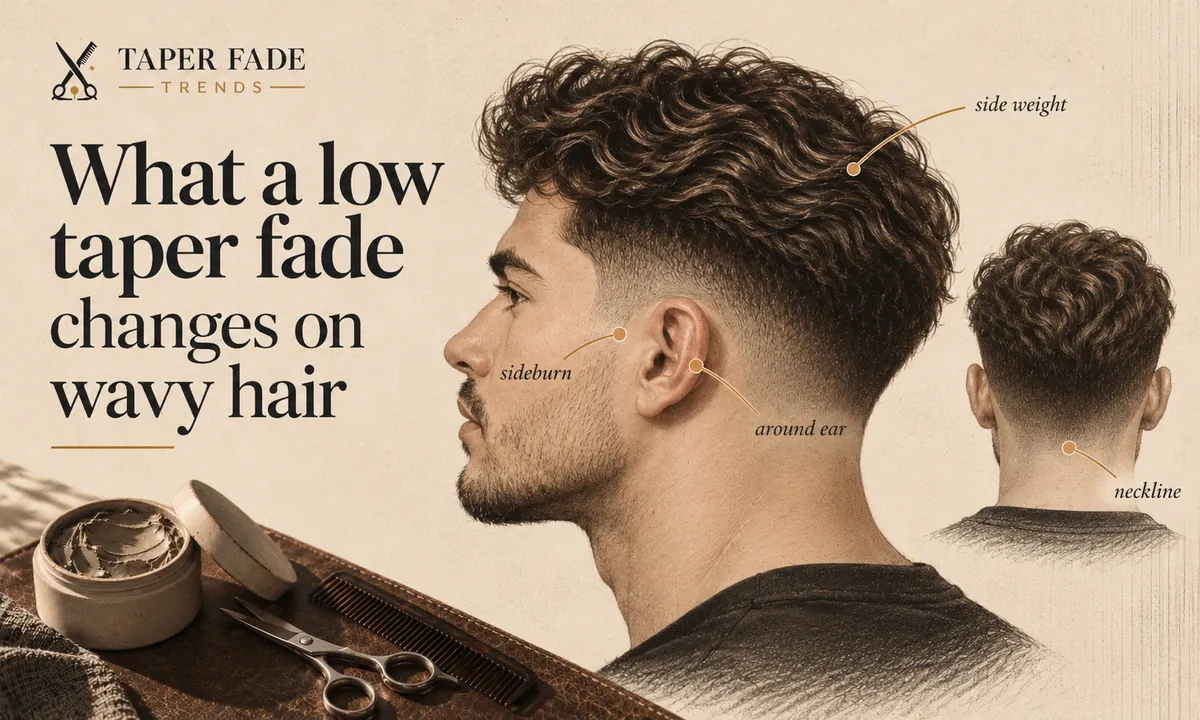
StylingLush’s wavy-hair guide and Barberstake’s wavy taper guide both place the low taper at the sideburns and neckline and say it keeps more side weight than higher cuts. A real example from Uppercut Deluxe, cut by UCDC barber Ben Boyer, pairs tight lines at the neckline and temple with weight kept across what the brand calls the mid-section, which it says draws the eye to the texture on top.
Taper placement and side weight
A low taper has no fixed starting height. “Low” means the shortening stays near the hairline, around the sideburns, ears and neckline, instead of climbing the sides. Guides cannot even agree on a number: TheHairsmaster puts the start about an inch above the ear, while StylingLush says no universal measurement exists.
Side weight is the trade-off you control. Keep more of it and the waves run down into the sides with a soft connection. Take more away and the taper reads sharper against the top.
The shortest finish is a separate choice from placement. TaperEmpire tells wavy-haired readers to avoid bare skin at the base; TheHairsmaster says a low taper usually keeps a thin layer of hair but offers skin as an option. Neither is a rule. Say which finish you want, and see taper vs fade for how skin and non-skin finishes differ.
Natural waves vs trained 360 waves
Naturally wavy hair and 360 waves are different things. Natural waves are the bends your hair forms on its own as it dries. 360 waves are a ripple pattern trained into short hair by brushing outward from the crown and compressing it under a durag. A low taper changes the edges of natural waves and can cut into a 360 pattern.
| Question | Naturally wavy hair | 360 waves |
|---|---|---|
| What it is | The hair’s own bends when dry | A ripple pattern spreading out from the crown |
| How it is kept | No training routine | Daily brushing plus a durag |
| What a low taper changes | Side weight and contrast | Part of the pattern if the taper climbs |
| Covered on this page | Yes | Only this comparison |
Cadmen Academy’s 360 waves guide describes the pattern as radiating from the crown in every direction, kept by brushing at least twice a day and wearing a durag. Because the pattern runs through the sides and back, any taper that climbs removes part of it. The same guide says looser 2A and 2B waves can be trained, but with less definition than tighter textures. A label such as 2C describes your texture; it does not mean the hair has been trained.
This guide covers natural waves only. Wave training is a separate routine and is not covered here.
Read your hair dry before you choose
Wavy hair looks longer and straighter wet than it does dry, as StylingLush points out, so judge it dry. Before the cut, check three things in a mirror: how dense the hair is, which way it grows at the crown and front, and where along the length the waves start. Those three set how much side weight and top length you can keep.
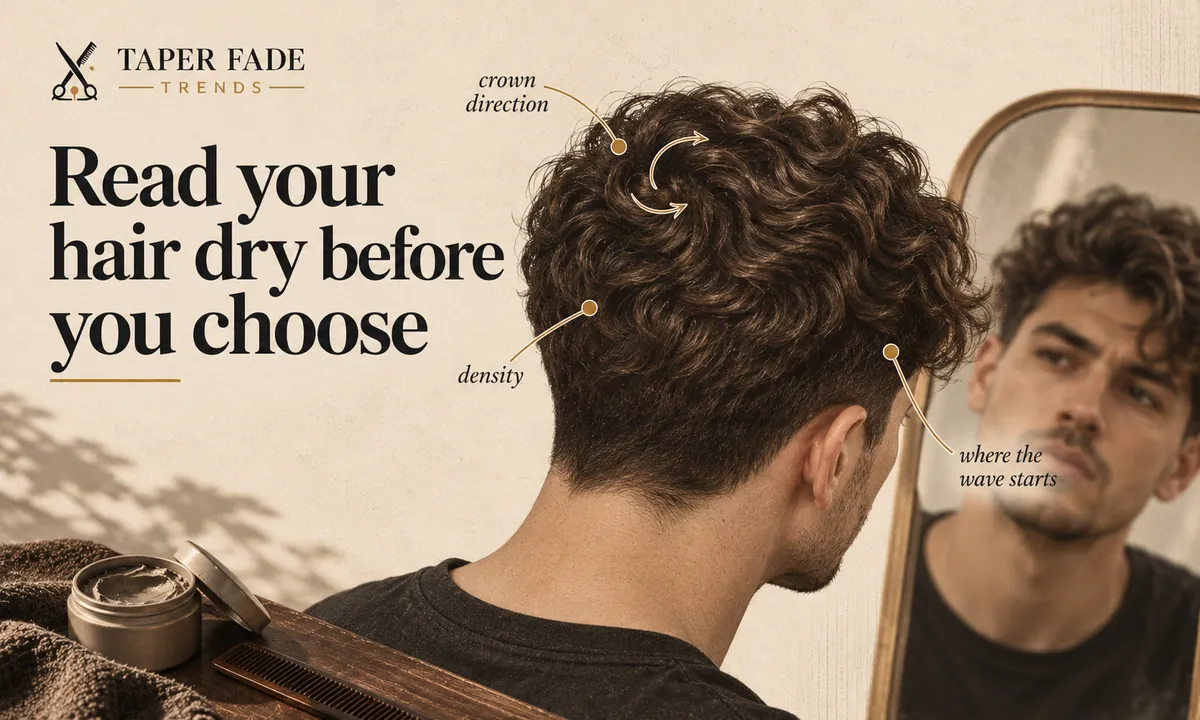
Hair density, growth direction, and dry shape
Density sets how much side weight a low taper can remove before the sides look hollow next to the top. Barberstake advises keeping more weight on the sides of fine wavy hair so it reads fuller, and says thick wavy hair can lose more bulk. It also warns that heavy thinning-shear work can make the short strands frizz.
- Fine hair: keep more side weight and ask for less thinning on top.
- Thick hair: bulk control above the taper helps, done with scissors or light texturizing rather than heavy thinning.
- Crown and front: show the barber where the crown swirls and where the front falls when dry, since both decide which way the top can go.
How much top length to keep
No top length fits every wavy head, and the published numbers show it. TaperEmpire puts strong 2C waves at 3 to 4 inches; Barberstake puts tight waves at 4 to 6. Keep enough length for your dry waves to show, and if you are unsure, start longer: a barber can take more off, but cannot put it back.
That last point is the one both StylingLush and the Uppercut Deluxe example make. The cost of starting long is one extra trim. The cost of starting short is several weeks of waiting.
Low taper fade examples for wavy hair
Four common versions share the same low taper and differ in one thing each: how the top settles, which way the front falls, how short the top goes, or how much weight stays above the ears. The taper placement and shortest finish can stay identical across all four.
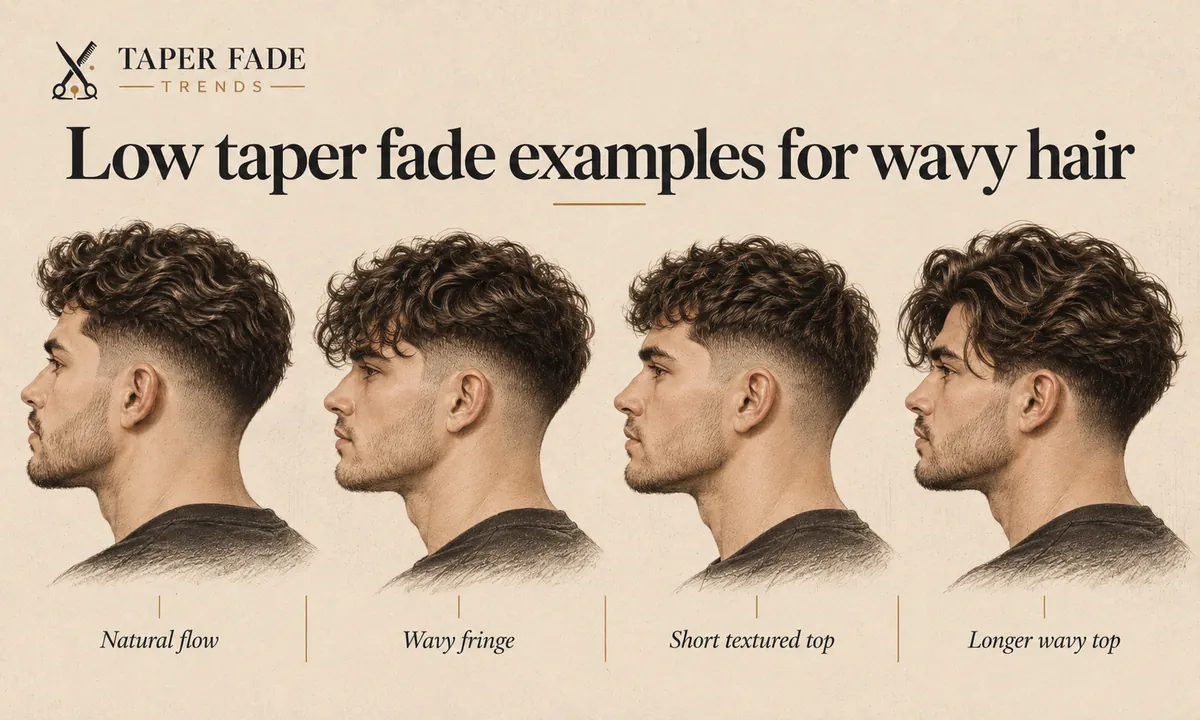
Natural flow with low taper
Natural flow leaves the top to settle wherever the dry waves fall. Side weight stays above the taper, and the styling is mostly air-drying. Pick it if you want movement with almost no routine and your waves already sit well on their own.
Wavy fringe with low taper
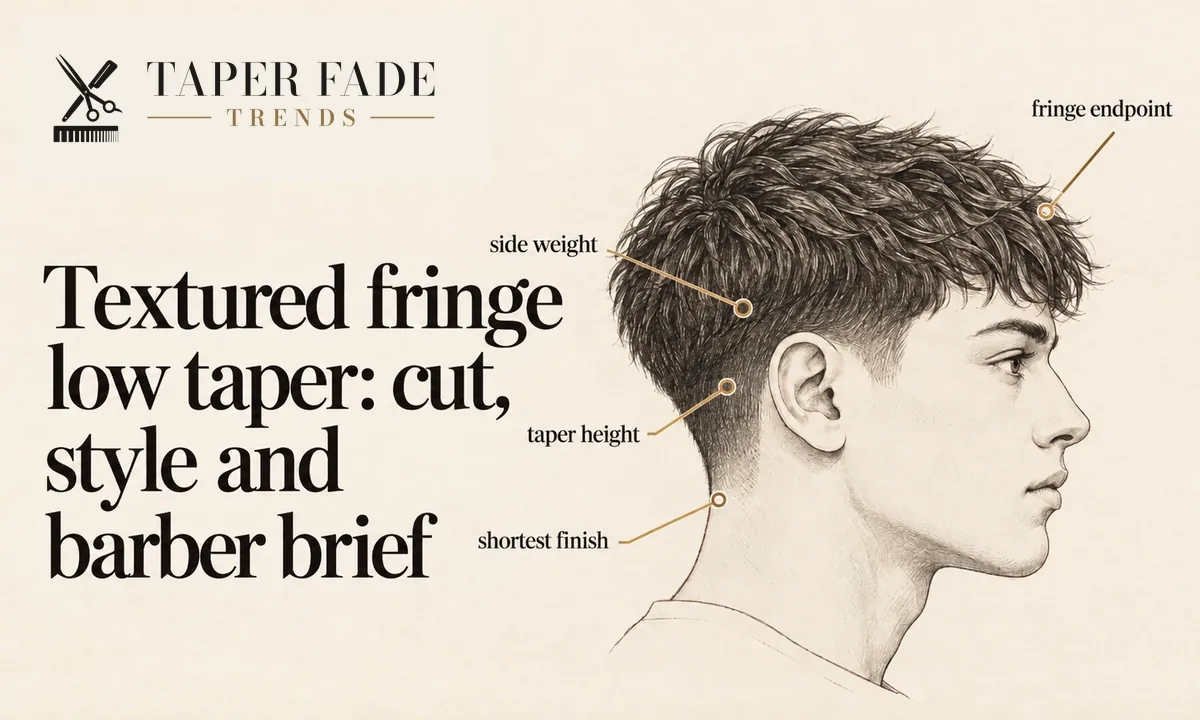
A wavy fringe brings the front forward over the forehead while the taper keeps the edges tidy. It works when your front hair already falls forward dry; fighting a front that wants to lift takes product every morning. For a version built around a cut-in fringe, see the textured fringe low taper guide.
Short textured wavy top
A short textured top trades some of the wave pattern for less to manage. The shorter the top, the less wave shows, so this suits strong waves better than loose ones. Ask for texture on top rather than a blunt cut, and do not let the barber guess the length: give it, or point to a photo.
Longer wavy top with low taper
A low taper works with a long wavy top because the short work stays at the perimeter while the top and upper sides keep their length. StylingLush and Barberstake both describe it as cleaning the edges and leaving the length. The decision is how much weight to keep above the ears and at the back, so bring photos of the full length you want.
How to choose the right low taper version
Choose by where you want the top to go and how much daily time you will give it. Side weight and shortest finish are set separately, so any of these can be softer or sharper.
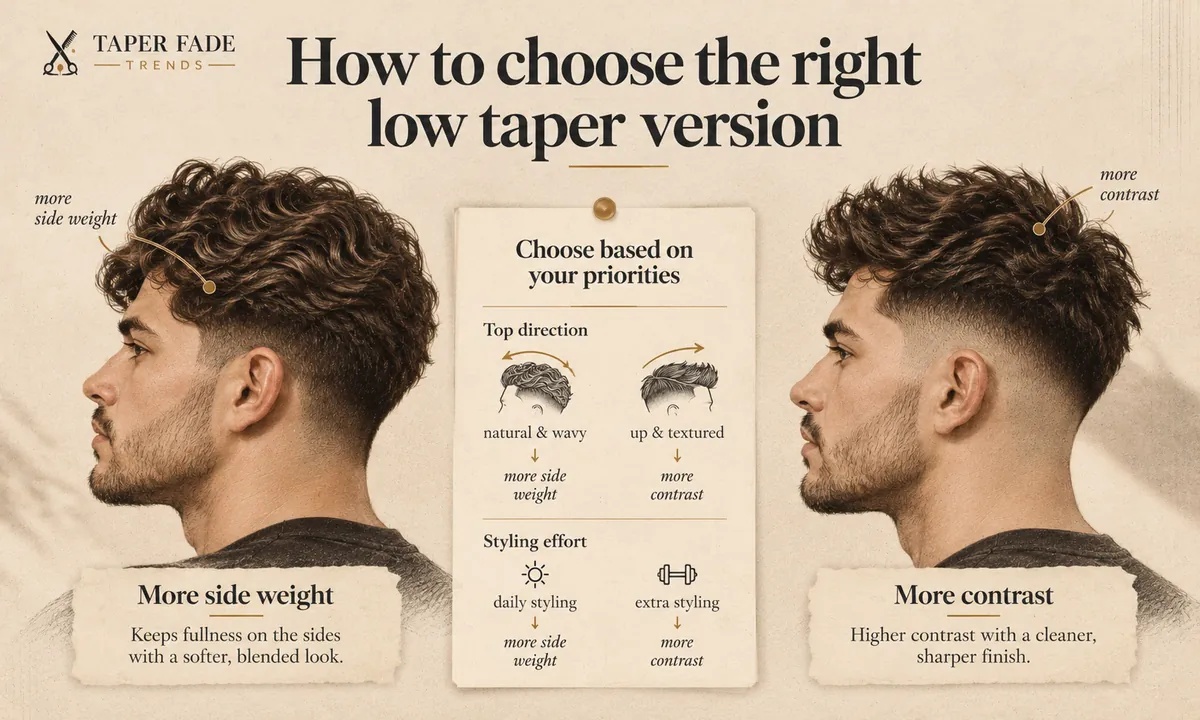
| Version | Top direction | Daily styling | Pick it when |
|---|---|---|---|
| Natural flow | Wherever the dry waves fall | Lowest | You want movement with little effort |
| Wavy fringe | Forward over the forehead | Low, if the front falls forward on its own | Your front already drops forward dry |
| Short textured top | Up and loose, less wave visible | Low | Less hair matters more than full waves |
| Longer wavy top | Down, back or to the side | Highest | You want to keep length and clean only the edges |
Natural flow and a wavy fringe can be combined, since one sets the front and the other sets the rest. A short top and a longer top cannot.
More side weight vs more contrast
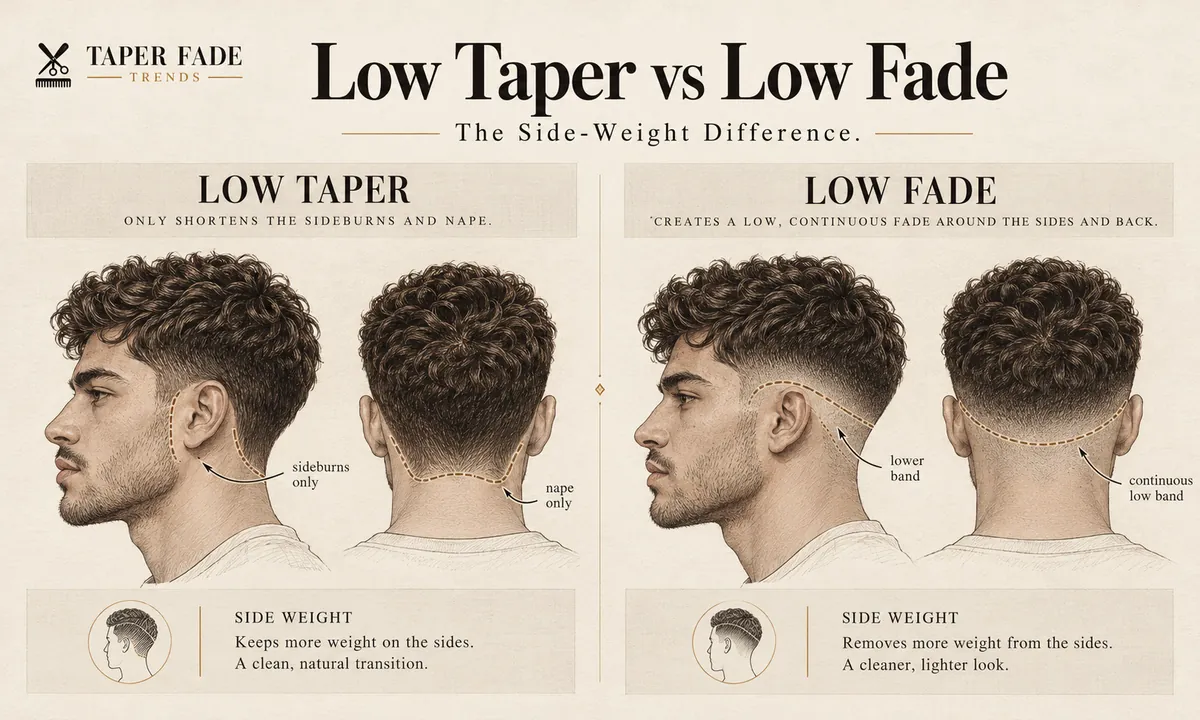
A low taper keeps more side weight; a low fade gives more contrast. Barberstake describes the low taper as focused on the sideburns and neckline, and the low fade as taking more hair around a larger part of the head. Barbers use both names loosely, so show a photo of the coverage you want instead of relying on the label. The low taper vs low fade guide compares the two in full.
| Low taper | Low fade | |
|---|---|---|
| Where the shortening goes | Sideburns, around the ears, neckline | Farther around the sides and back |
| Side weight kept | More | Less |
| Look | Soft connection to the waves | Sharper contrast with the top |
| Grow-out | Softer, per Barberstake | More frequent visits, per Barberstake |
When curly or mid-taper guidance fits better
This guide fits naturally wavy hair with a low taper. Some cases belong elsewhere.
- If your hair dries into curls or coils rather than waves, start with the curly low taper fade guide.
- If the top will be clipped so short that no wave shows, the low taper fade buzz cut guide covers that cut.
- If you want more contrast than a low taper gives, a mid taper starts higher; low taper vs mid taper compares the two.
With the version and side weight chosen, turn them into words the barber can act on.
What to tell your barber
Tell the barber four things: keep the taper low around the sideburns and neckline, how short it should finish, how much side weight to keep, and how much to take off the top. Then show front, side and back photos of the result you want and describe how your hair looks dry. Leave the guard numbers to the barber.
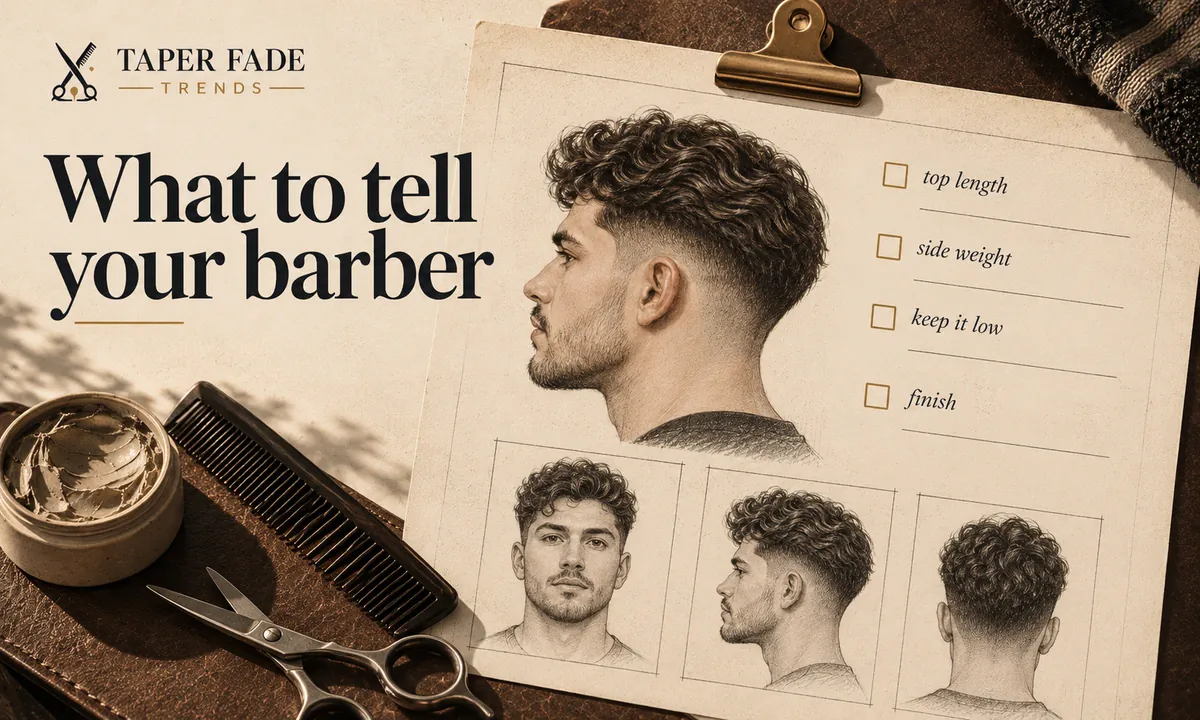
Guard numbers are not a shared language. A #1 leaves 1/8 inch on a Wahl guide comb, but sizes, blades and taper levers differ between clippers. Describe the outcome; the barber picks the tools. The general how to ask for a taper fade guide has a longer version of this brief.
A barber brief you can adapt
Fill in the brackets and say it before the clippers start.
- “Low taper around my sideburns and neckline. Please don’t take it up the sides.”
- “Finish it at [skin / a short guard / longer] at the bottom.”
- “Keep [more / some] weight on the sides so the waves connect.”
- “Take [about half an inch / only the ends / nothing] off the top. I’d rather start longer.”
- “Follow my natural hairline unless I ask for a line-up.”
Then add one line about your hair dry: where the front falls and how much it shrinks from wet to dry.
Reference photos: what views to bring
A front photo cannot show taper height or the neckline, which is where most mismatched cuts go wrong. Bring:
- a front view, for the top and fringe;
- left and right profiles, for where the taper stops and how much side weight sits above it;
- a back view, for the neckline;
- a photo of your own hair dry, as it sits today.
Pick photos of hair with a wave and density close to yours. If a photo shows more contrast than you want, say so out loud.
How to style and air-dry wavy hair
Wavy hair with a low taper can be air-dried. The taper is clipper work and needs no styling, so only the top takes any effort. StylingLush suggests shaping damp hair and letting it air-dry for a softer finish, and using a diffuser only when you want more volume or faster drying.
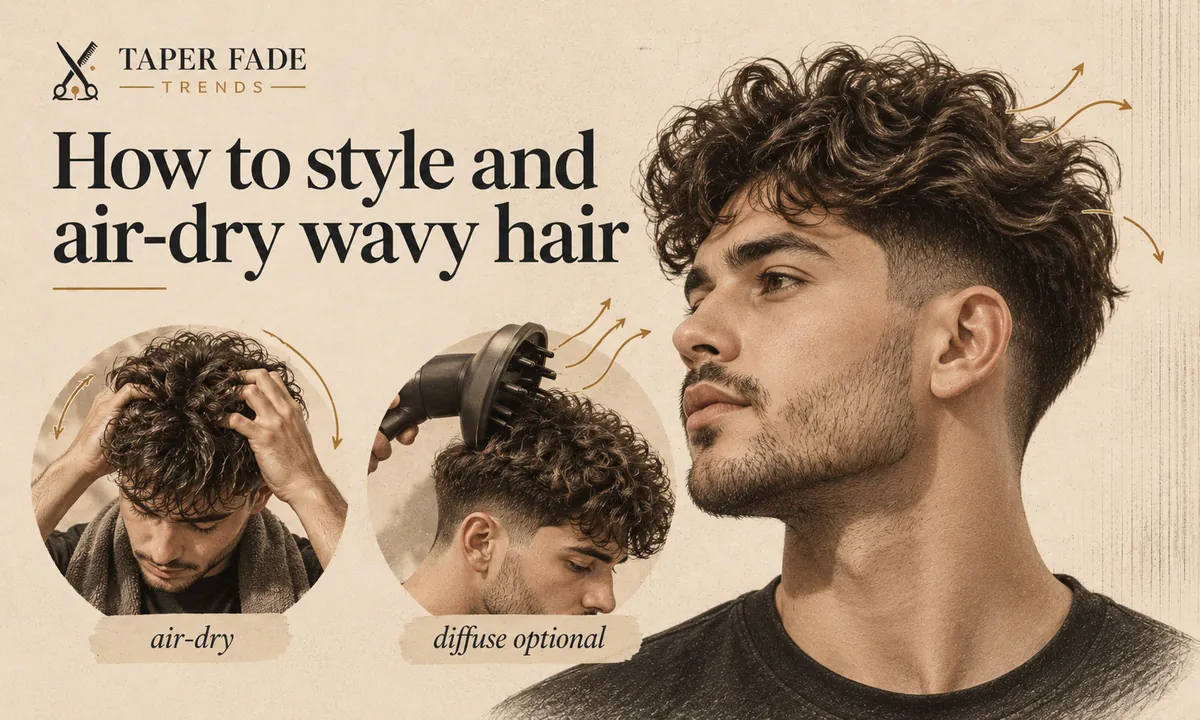
Air-dry wavy hair for natural movement
- Start with damp hair and, if you use one, a small amount of a light cream or mousse.
- Scrunch the top upward with your hands, or set the direction you want.
- Leave it alone until it is dry. StylingLush notes that handling waves while they dry is an easy way to turn them to frizz.
Diffuse wavy hair for faster drying or volume
A diffuser is optional. Use it on low or medium airflow when you are short on time or want more lift at the roots, and skip it when you want the flattest, most natural fall. Uppercut Deluxe notes that some people let waves set on their own while others blow-dry for a fuller look; both work on the same cut.
Upkeep, grow-out, and limits
No fixed rebooking interval suits every low taper on wavy hair. The guides reviewed for this page recommend between 2 and 4 weeks for the taper, and none shows a measurement behind its number. Rebook when the sideburns, ears or neckline have grown past the look you want; the top can usually wait longer.
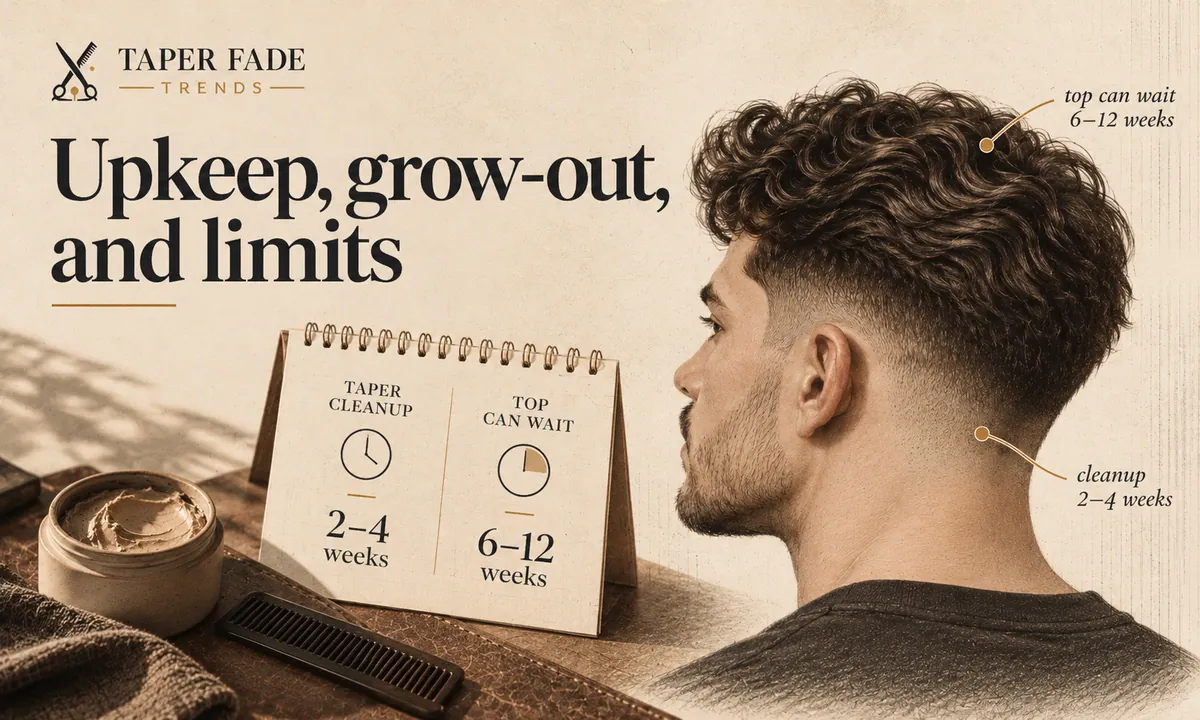
| Source | Taper cleanup | Top |
|---|---|---|
| TaperEmpire | Every 2 to 3 weeks | Not separated |
| TheHairsmaster | Every 3 to 4 weeks | Not separated |
| StylingLush | Every 2 to 4 weeks, edges only if you like | Can be left between cleanups |
| Barberstake | Every 3 to 4 weeks | Every 6 to 8 weeks |
The split in the last two rows is the useful part: ask for a cleanup at the sideburns and neckline only, and leave the top. The how long does a taper fade last guide covers grow-out stages in more detail, and how to maintain a taper fade covers what to do between visits.
When to touch up the taper
Your shortest finish decides how fast the taper changes. Scalp hair grows about half an inch a month on average, according to dermatologist Hadley King and the American Academy of Dermatology. That is roughly 1/8 inch a week, the same length a Wahl #1 guard leaves. On a taper finished with a #1, one week of growth doubles the shortest length; on a #3 (3/8 inch), the same week adds about a third. See haircut numbers for the guard sizes.
Two more things change the timing. Hair that contrasts strongly with your skin shows regrowth at the edges sooner. And only you can say how crisp you want it, which sets the point where growth counts as too much. If sharp edges mean more visits than you want, ask for a longer shortest finish.
What a haircut photo cannot tell you
A photo shows one head on one day. It cannot show:
- the guard, blade or lever settings, which cannot be worked back from the finish;
- the density and growth direction of the head in the photo, which differ from yours;
- whether the hair was dry, damp or full of product when it was shot;
- where the image came from. Several of the gallery pages reviewed for this guide gave no barber, photographer or license credit for their haircut photos.
How this low taper guide was researched
Taper Fade Trends wrote this guide to help readers choose and describe a low taper for naturally wavy hair. The sources below were read on October 21, 2026. Where they disagree, on top length, skin finishes or rebooking, the page shows the disagreement instead of picking a number.

No haircut was cut, measured or photographed for this guide, and no barber has reviewed it. Every image here is a labeled illustration, not a photo of a real result. Guard sizes come from the clipper maker; the growth rate comes from a dermatologist and the American Academy of Dermatology. The site’s editorial policy applies, and errors can be reported through the contact page.
Sources cited:
- Low Taper Fade for Wavy Hair: 25 Best Styles (2026 Guide) · StylingLush
- Taper Fade for Wavy Hair: The Complete Styling Guide · Barberstake
- Low Taper Fade Styles for Wavy Hair · TheHairsmaster
- Low Taper Fade for Wavy Hair: 25 Best Styles (2026 Guide) · TaperEmpire
- Featured Style: Wavy Texture with Low Taper · Uppercut Deluxe
- 360 Waves for Men: What the Barbershop Does and What You Do at Home · Cadmen Academy
- 1/8” (#1) Clipper Guide Comb · Wahl
- How fast does hair actually grow? What dermatologists want you to know · USA Today via AOL
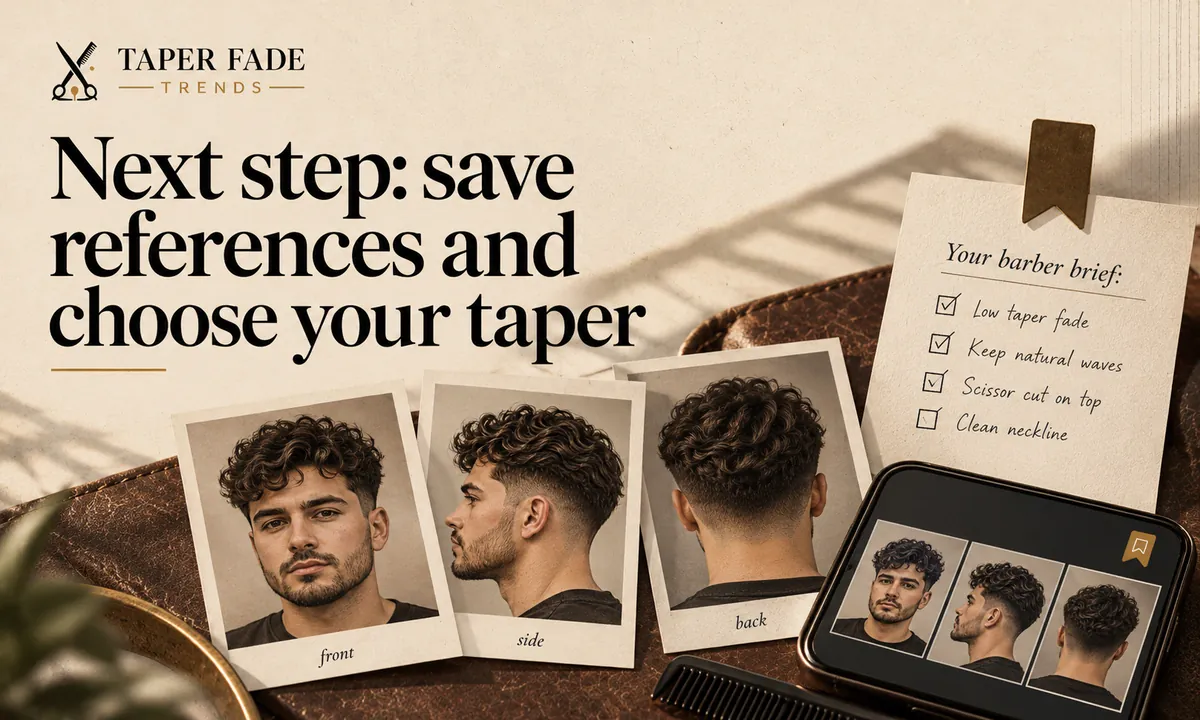
Next step: save references and choose your taper
Save a front, side and back photo that shows the side weight and top length you want, plus one of your own hair dry. Then write your five-line brief. For the cut on every texture, go back to the low taper fade guide.
Keep reading
All guides
Low taper fade: placement, finish, side length and upkeep
A low taper fade shortens the sideburns and nape and keeps the sides full. See the four choices to make, whether it can go to skin, and what to say.
Curly low taper fade: keep curl width above the ears
A curly low taper fade cleans the temples, sideburns and nape but keeps curl width above the ears. What to decide, check dry and tell your barber.
Low taper fade straight hair: density, sides and top length
Low taper fade straight hair guide: how much side weight to keep for your density and growth direction, why sides stick out, and what to ask your barber.
Low taper vs low fade: compare coverage and side weight
Low taper vs low fade: a low taper shortens the sideburns and nape; a low fade shortens a band around the lower sides and back. Compare finish and upkeep.
High taper fade wavy hair: keep your wave pattern
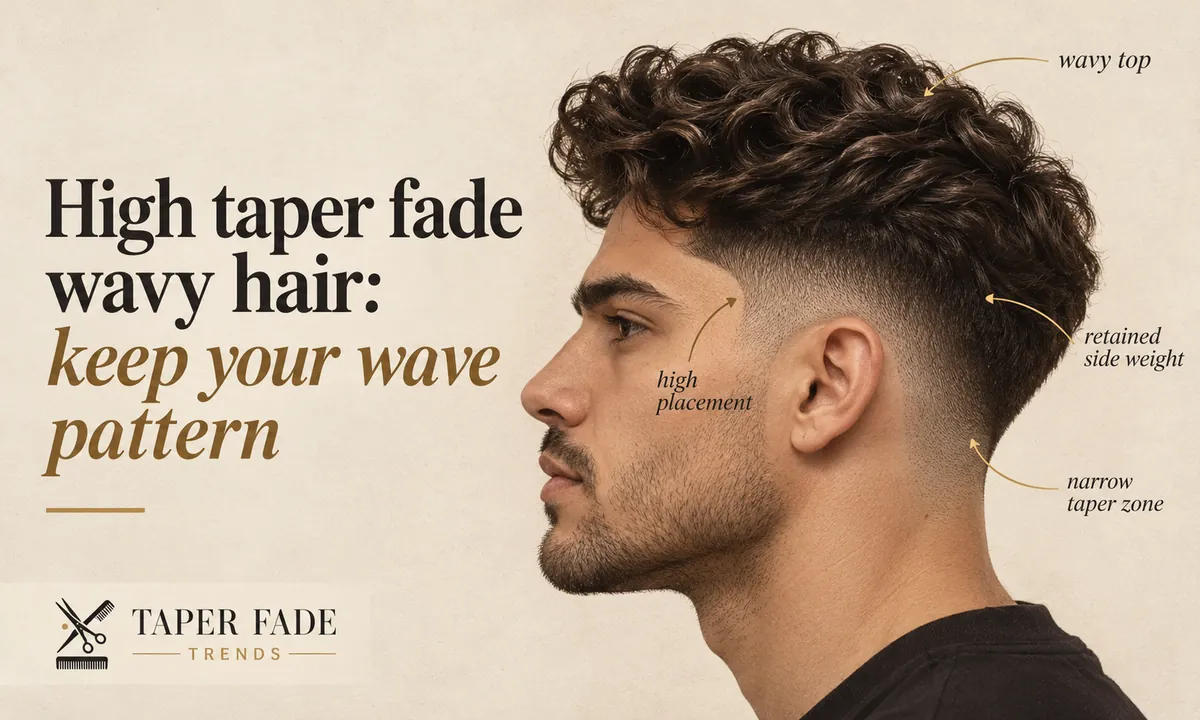
See how a high taper fade works on naturally wavy hair: how much top length to keep, what to tell your barber, and how to air-dry and maintain it.
How to ask for a taper fade: a five-part barber brief
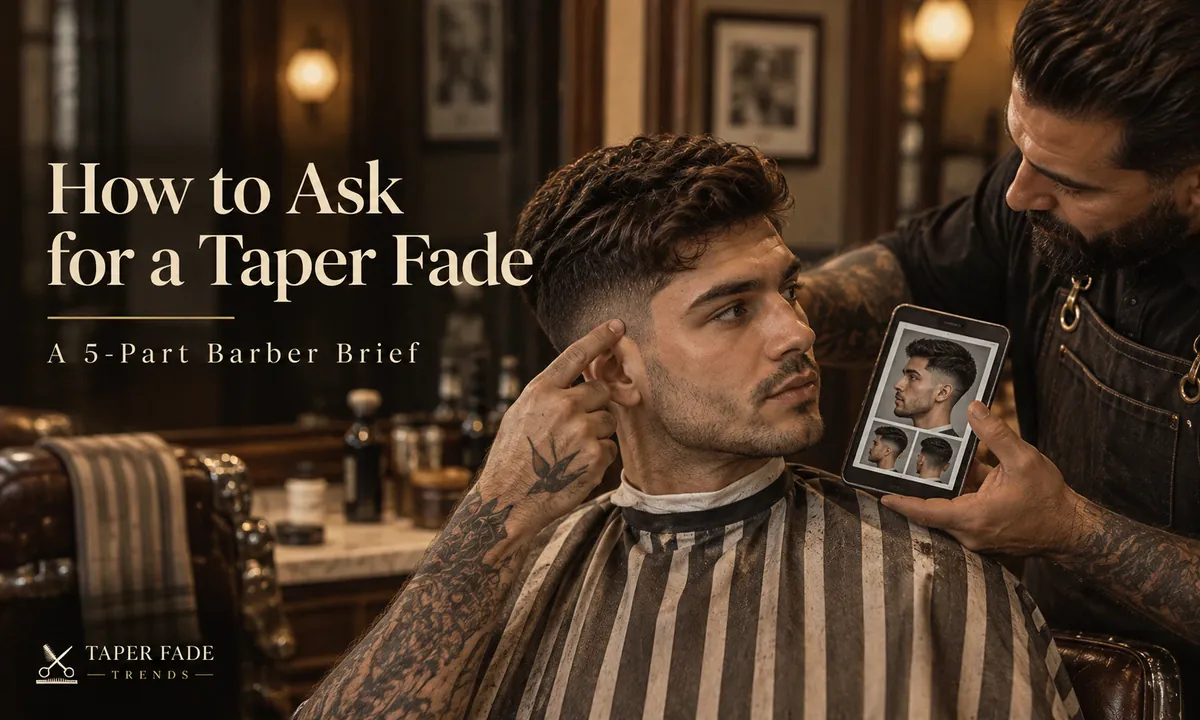
How to ask for a taper fade: say where it may reach, how short the base goes, how much side weight stays and what to do on top, then check the plan first.
Textured fringe low taper: cut, style and barber brief
A textured fringe low taper explained: four choices to settle, whether straight hair needs a perm, what to tell your barber, and fixes for a flat fringe.
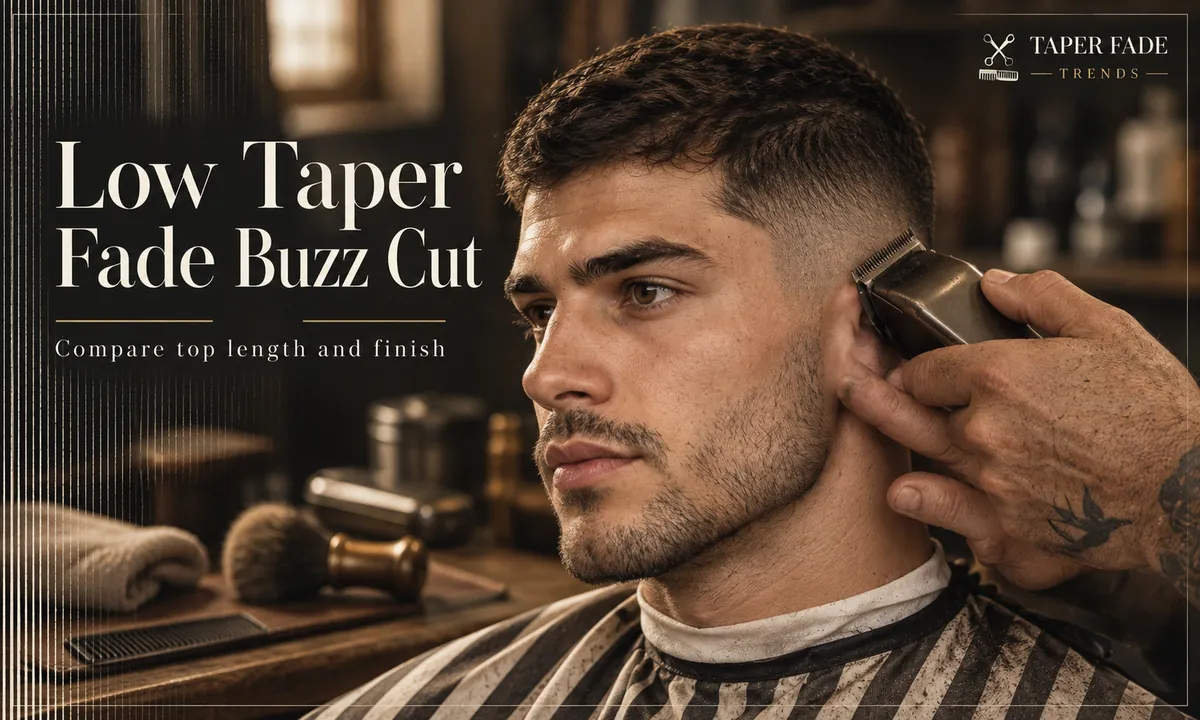
Low taper fade buzz cut: compare top length and finish
A low taper fade buzz cut is two choices: how long the top is and how short the taper ends. Compare Wahl #1 to #4, skin or no skin, and what to say.
More in low taper fades
Low taper fades: all 14- Low taper fade: placement, finish, side length and upkeep12 min
- Low taper fade straight hair: density, sides and top length11 min
- Low taper fade Black male guide: choose the top, hairline and nape10 min
- Curly low taper fade: keep curl width above the ears10 min
- Low taper fade buzz cut: compare top length and finish12 min
- Textured fringe low taper: cut, style and barber brief12 min
- Blowout low taper fade curly hair: keep volume, keep definition11 min
- Low taper fade wavy hair: what to ask forYou are here
- Asian low taper fade: choose by how your sides grow7 min
- Middle part low taper fade: keep the curtains connected8 min
- Low taper fade with dreads: protect the loc boundary12 min
- Low taper mullet: keep length behind the ears13 min
- Low taper vs mid taper: what changes when only the height moves10 min
- Low taper vs low fade: compare coverage and side weight11 min