Mid taper fade middle part: set the part, then the taper
A mid taper fade middle part keeps a longer top split near the center while a mid-height taper cleans up the sideburns, ears and nape. Set the part and decide where the curtains meet the sides before you choose taper height. Keep side weight for connected curtains, or ask for a disconnected step on purpose.
The table lists what to settle before the cut. Each row gives a reference point instead of a number, because the right value depends on your hair.
| Specification | What you decide | Reference point |
|---|---|---|
| Part position | Natural center or slightly off center | Where damp hair splits on its own |
| Front dry fall | How far each curtain hangs once dry | Your brow or eye line, not a fixed length |
| Connection | A gradual blend or a deliberate step | The spot where the curtain meets the upper side panel |
| Highest point of the taper | Where the blend starts | A landmark at the temple you can point to |
| Coverage | Sideburns, ears and nape only, or most of the side | A mid taper keeps the upper side panel fuller |
| Shortest finish | A longer guarded length, shadow or skin | Named separately from the taper height |
| Neckline | Natural or lined up | A back-view photo |
| Styling time | Minutes per day you will actually spend | Your own estimate |
| Photo proof | Which reference views to bring | Front, left side, right side and back |
What is a mid taper fade middle part?
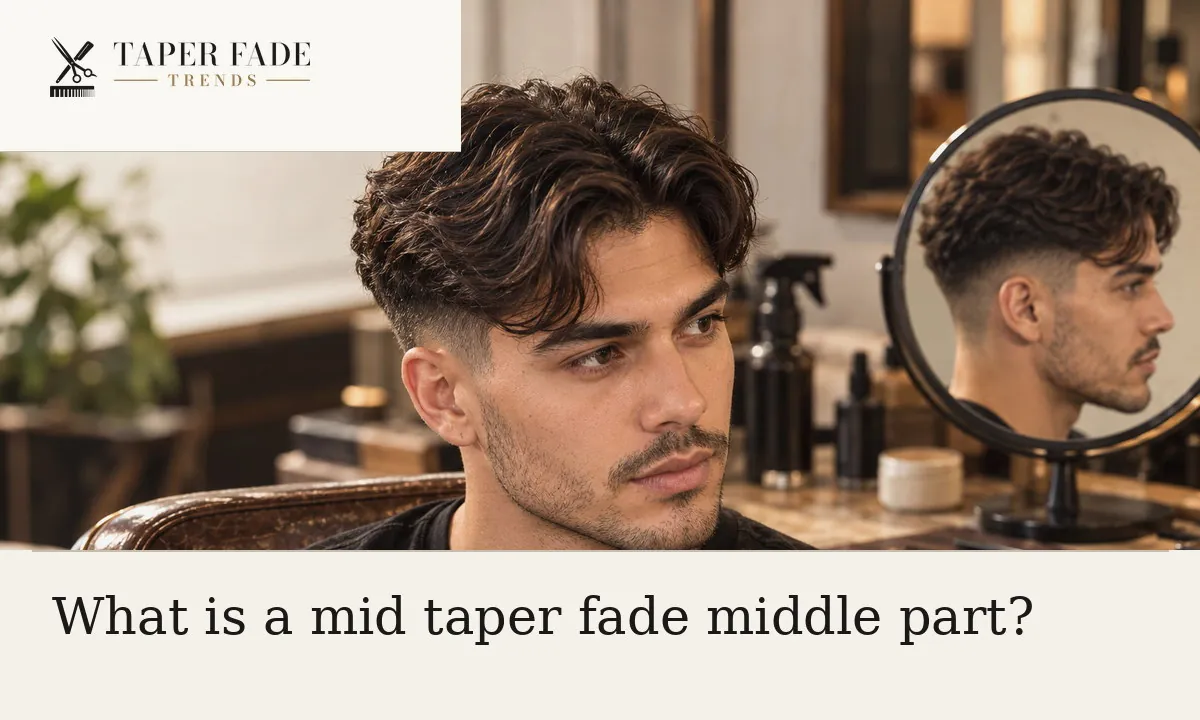
A mid taper fade middle part is a haircut that pairs a center-divided top with a localized mid-height taper. The top stays long enough to split near the center and fall to both sides as curtains. The taper shortens only the sideburns, the hair around the ears and the nape, so the upper side panel can stay fuller.
A taper is a gradual shortening of the perimeter, the outer edge of the cut. The upper side panel is the hair between the taper and the top, and the length and bulk you leave there is the side weight. Curtains are the two front sections that hang on either side of the part.
“Mid” names a placement zone, not a clipper guard or a measurement in inches. Barbers and publishers put that zone in different places, so treat the highest point of the taper as a spot you point to on your own head, usually around the temple. The mid taper fade placement guide covers placement, coverage and finish in full.
Connected curtains vs disconnected sides
Shorter sides do not automatically disconnect a middle part. Curtains look disconnected when longer top hair hangs over a much shorter side panel with no gradual transition between them. Keep enough side weight where the curtain meets the upper side if you want one continuous line, or ask for the step on purpose.
Connection is the visible transition from the long top and upper sides into the shorter side hair. Disconnection is a deliberate length step or overhang instead of a continuous blend. BarberLaunch makes the same point from the barber’s side: if a taper climbs too high and removes the supporting weight, the top ends up hanging over a faded section instead of flowing into it.
Either result is a fair choice when you ask for it. An undercut, with the sides cut short and no blend into the top, is a different haircut.
Set the part before choosing the taper
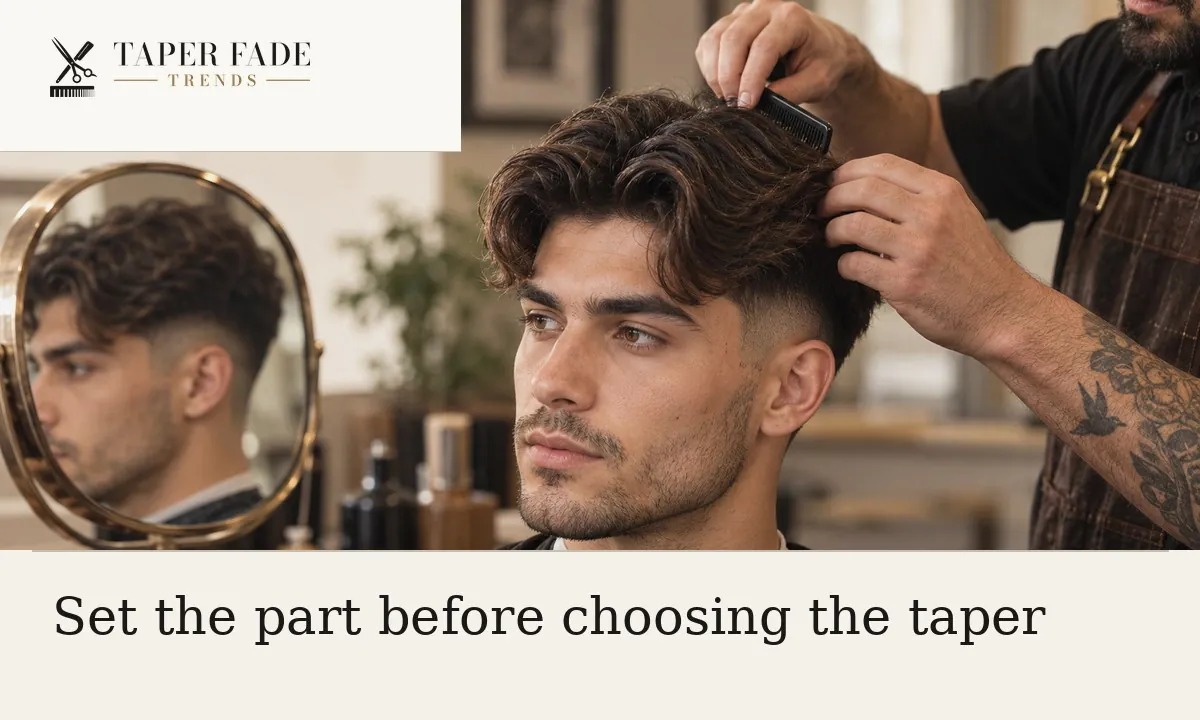
Set the middle part before choosing the highest point of the taper. Checking the split and the dry fall first shows exactly where each curtain meets the upper side panel, so the barber is less likely to remove hair the connection needs. Taper height should be the last decision in the chair, not the first.
- Split damp hair where it separates on its own, near the center.
- Let it dry and check the dry fall, meaning how each curtain hangs once dry. Decide whether each side should fall forward or sweep back.
- Turn to a side mirror and find where the curtain meets the upper side panel.
- Only now choose the highest point and width of the taper.
A middle part does not have to divide the front into equal halves. A cowlick (a swirl where hair grows against the general direction), uneven density or wave can make one side fall differently. Find the natural split on damp hair, direct the roots gently, and ask the barber whether a slightly off-center part suits you before any extra hair comes off.
No single top length guarantees curtains. The front has to be long enough to separate and fall where you want once dry, after curl shrinkage and growth direction are counted, so judge it against your own brow or eye line rather than a ruler.
Published figures show why. BarberLaunch suggests roughly 4 to 6 inches (10–15 cm) at the front for classic curtains and about 3 to 4 inches (7–10 cm) for a shorter center split, and calls those numbers approximate. Midtaprfade gives two to four inches in its definition and three to five in its FAQ. Use them as rough starting points only.
Keep enough weight above the ears
Keep weight on the upper side panel if you want the curtains to look connected. From the side, the hair above the ear should be long enough to meet the lower edge of the curtain, so the change in length reads as a gradient instead of a step.
A taper that spreads across more of the side can leave the curtain resting on short hair, depending on where the curtain ends. If thick hair puffs out above the ears, ask for weight to be removed inside the side panel. BarberLaunch warns against simply raising the taper to fix bulk, because a higher blend takes away the hair the curtains rest on.
Choose a version by the side view
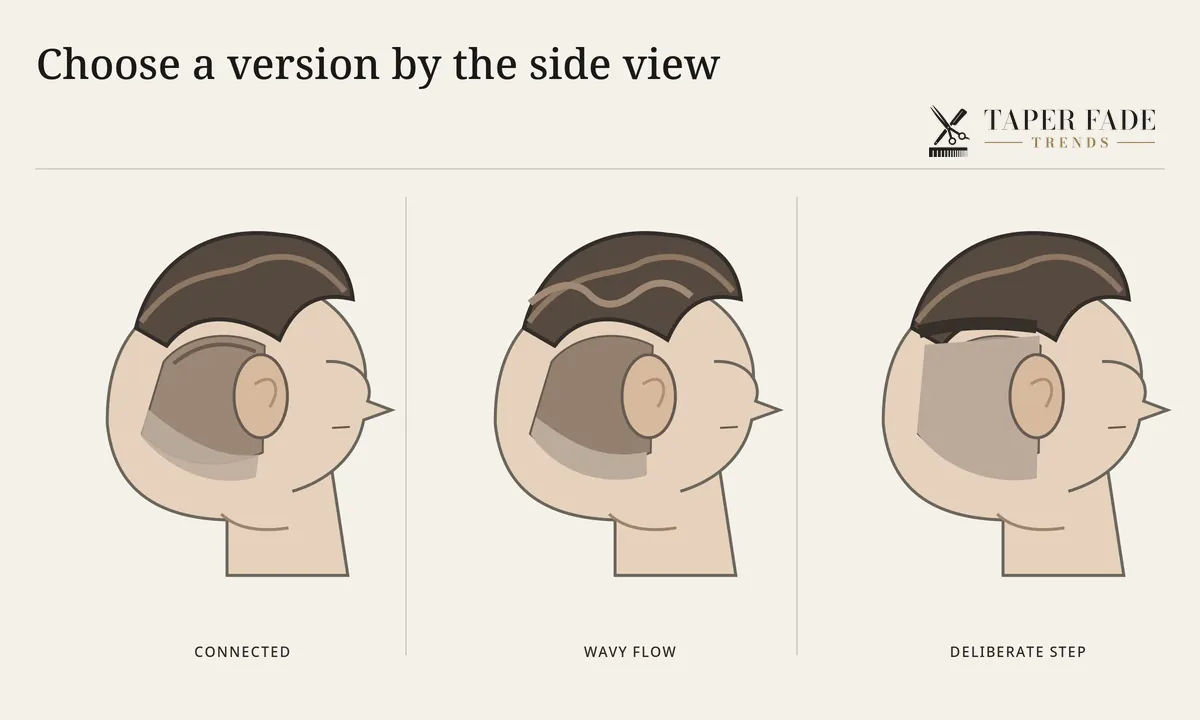
Pick the version from the side view, because that is where connection shows. Two decisions separate the three common patterns: how much side weight stays on the upper side panel, and whether the curtain blends into that hair or deliberately steps over it.
| Pattern | Deciding variable | Side view | Pick it if |
|---|---|---|---|
| Connected classic | Length kept on the upper side panel | A gradual blend from curtain into taper | You want one continuous line from top to sides |
| Wavy natural flow | How wave and growth direction set each curtain | Curtains that follow the hair’s own bend | A forced, straight split fights your hair |
| High-contrast step | Size of the step and where the curtain overhangs | A visible overhang above shorter sides | You want the disconnection and will recut the sides to keep it |
The patterns overlap, since wavy hair can be connected or stepped. Choose the row that names your main decision. The high-contrast step also softens as the sides grow back, so keeping that contrast means more frequent side cuts.
Texture changes how each pattern falls, not which one you may choose. Wave, density and growth direction move the split and the dry fall, so bring side-view photos of hair similar to yours and ask the barber what your own hair is likely to do.
Mid taper or full mid fade with curtains?
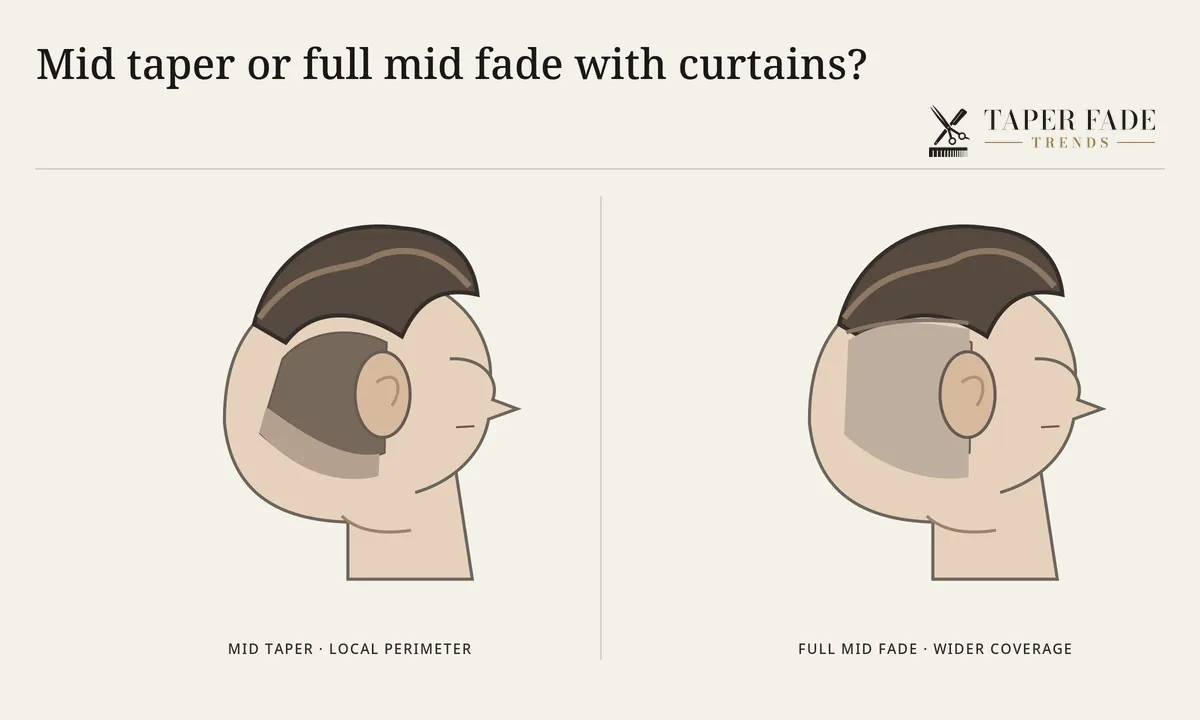
Choose a mid taper if you want a clean temple and neckline while keeping more of the side panel under a middle part. Choose a full mid fade if you want the blend to run across most of the sides and back. Both can start at the same height; coverage, not height, separates them.
| Criterion | Mid taper | Full mid fade |
|---|---|---|
| Coverage | Sideburns, ears and nape | Most of the sides and back |
| Side weight under the curtains | Upper side panel stays fuller | Less long hair for the curtain to meet |
| Shortest finish | Guarded length, shadow or skin | Guarded length, shadow or skin |
| Pick it if | You want clean edges with fuller sides | You want contrast across most of the head |
A full mid fade is a wider gradient across most of the side and back, not the same taper taken to skin. Neither name sets the shortest finish, as barber.style also points out, so ask for a guarded length, shadow or skin by name. Shops still argue over whether a fade has to reach skin; the taper vs fade comparison covers that debate.
What to tell your barber
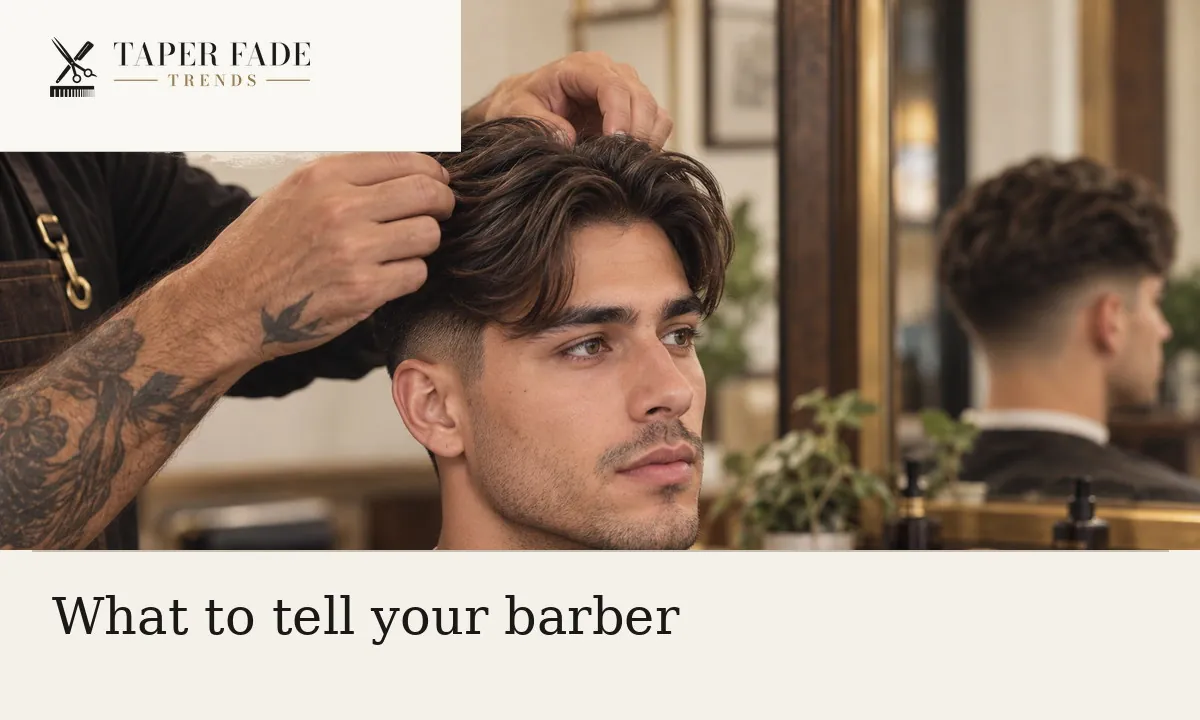
Describe outcomes and leave clipper settings to the barber. For a mid taper fade middle part, the outcomes are the highest point of the taper, the side weight, the front fall, the shortest finish and the neckline. Bring front, left, right and back photos, and ask the barber to check the part before the clippers start.
“I want a middle part with enough length at the front to fall on both sides. Keep the taper below this point on my temple, and leave enough side weight above my ears that the curtains stay connected. Finish the sideburns and nape at a shadow. Can we check the part before you start?”
Swap “a shadow” for skin or a longer guarded length if that is your finish. Then confirm four things before any hair comes off:
- The part: the barber finds your split and shows it to you in the mirror.
- The side weight: you point to the upper side panel and agree what stays.
- The highest point of the taper: you touch the temple landmark.
- The shortest finish and neckline: you name the finish and the neckline shape.
Your photos do different jobs. The front view shows the part and where the curtains fall. The left and right views show where the curtain meets the upper side panel and where the taper starts. The back view shows the nape and neckline.
A photo shows the result, not the guard, blade or lever behind it, and guard numbers differ by clipper brand. Ask which settings the barber used and write them down for next time. The taper fade barber brief works for any taper if you want a general version.
Style the part without flattening it
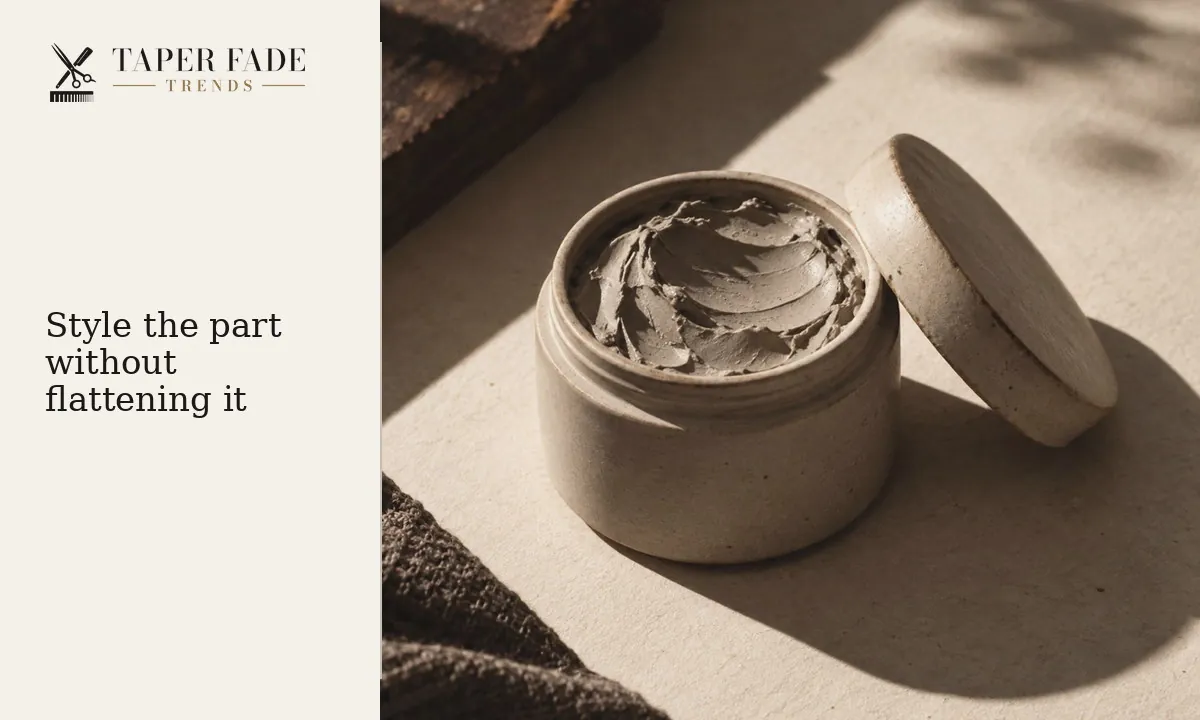
Start with damp hair and find the split before you style the lengths. Move each curtain away from the part with your fingers or a wide-tooth comb, then direct the roots with a dryer on its lowest heat setting if they need it. Add a small amount of product only if the shape needs hold.
The American Academy of Dermatology recommends air-drying when possible and using the lowest heat setting when you do use a dryer. It also suggests letting straight hair dry a little before combing, while textured or tightly curled hair is best combed damp.
Curl pattern and density change how long this takes, so time yourself for a week before deciding the cut suits your mornings. Styling shapes the top only. It cannot fix a perimeter that has grown out.
Grow out the top without losing the sides
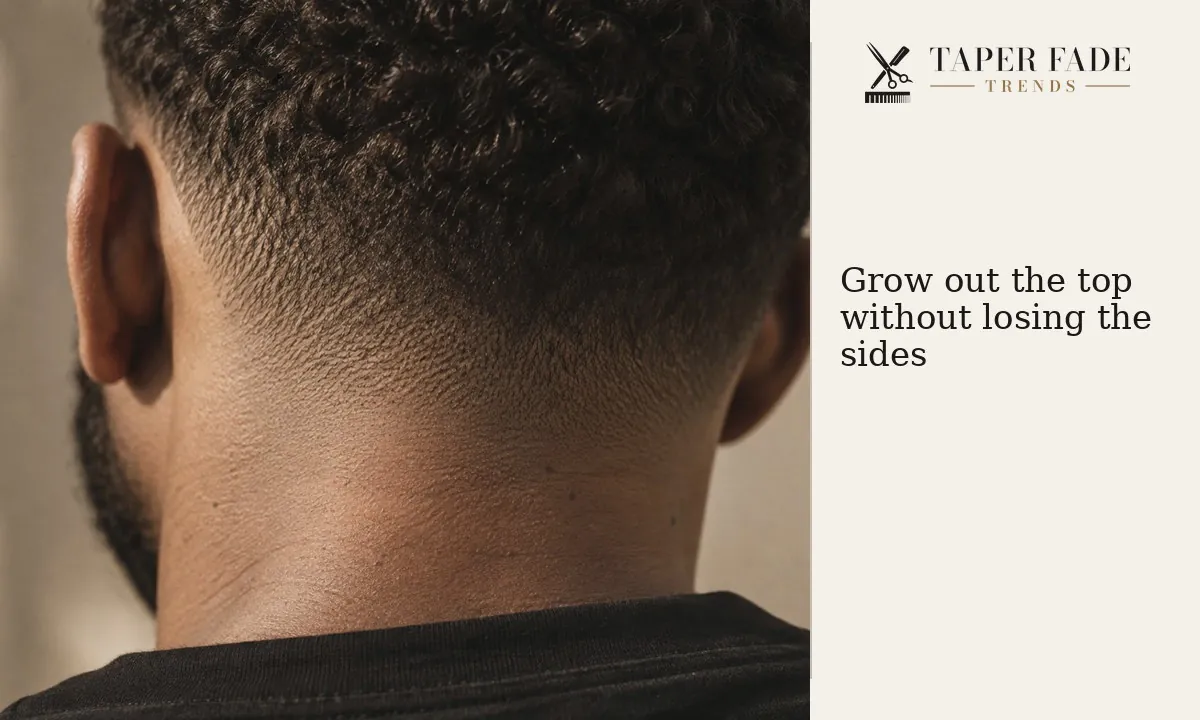
While you grow the top toward curtains, you can tidy the sideburns, the hair around the ears and the nape without shortening the front each visit. Leave the upper side panel long if you want connected curtains later, and ask the barber to shape only what needs controlling.
| Area | During grow-out | Why |
|---|---|---|
| Sideburns, ears and nape | Tidy as needed | Keeps the outline clean without touching the front |
| Upper side panel | Leave long for connected curtains | It is the hair the curtains need to meet |
| Front and curtains | Avoid repeated trims | Each trim resets the length you are growing |
| Highest point of the taper | Keep it where it is | Raising it removes side weight |
To see whether the sides are catching up, photograph the same side profile in the same light and at the same distance at each visit, and date every shot. Compare them to see whether the gap between curtain and upper side panel is closing.
Rebook when the perimeter loses its edge
No single rebooking interval fits a mid taper fade middle part. The close-cut perimeter loses its edge as new growth comes in, while the longer top needs reshaping on a slower, separate schedule. Rebook when the sideburns and nape no longer match the shortest finish you chose, and judge the top on its own.
Published guides disagree on the numbers. BarberLaunch and Midtaprfade suggest refreshing the taper every two to three weeks, barber.style says a mid taper can last three to five weeks, and BarberLaunch puts top reshaping at six to ten weeks. Faster growth, a skin finish and a lined-up neckline all shorten the wait. The guide to how long a taper fade lasts helps you find your own cycle.
When a different cut makes more sense
Pick another cut when your priority is something this one gives up. A lower start keeps more side flow, a full mid fade gives contrast across the side and back, and scissor-cut curtains drop the clipped edge entirely.
| Option | Choose it if | What changes |
|---|---|---|
| Low taper | Side flow matters most | The taper starts lower, so more side weight stays |
| Full mid fade | You want contrast across most of the side and back | Coverage widens to most of the side and back |
| Scissor-cut curtains | You want no clipped perimeter | There is no taper edge to maintain |
If the front cannot yet separate and fall where you want when dry, no taper will make the curtains work. Grow the top first, or choose a cut that does not need the split. A mid taper Edgar or a mid taper with locs puts a different top over the same perimeter, so treat either as its own haircut. For every taper height and finish side by side, see taper fade heights and finishes.
Method, credits and next haircut check
Taper Fade Trends Editorial wrote this guide to help readers specify a mid taper fade middle part before a haircut. It compares how BarberLaunch, Midtaprfade and barber.style describe the cut with the definitions in this site’s own taper guides, and uses the American Academy of Dermatology for skin and heat advice.
Every figure on this page is a labeled illustration. No photographed client cut, measured guard or lever setting, timed styling test or barber review is claimed. “Mid taper,” “mid fade” and “curtains” are not standardized terms, so this guide uses the definitions stated above. Sources were checked on October 22, 2026. To report an error, see the editorial policy.
Sources:
- Mid Taper Fade Middle Part: Curtains and Flow Haircuts, BarberLaunch
- 10 Best Mid Taper Fade Middle Part Styles for Men, Midtaprfade
- Mid Fade vs Mid Taper: Placement, Contrast and Barber Wording, barber.style
- 10 hair care habits that can damage your hair, American Academy of Dermatology
- Acne keloidalis nuchae: Self-care, American Academy of Dermatology
Check the side connection at your next cut
Before you leave the chair, hold a hand mirror to each side and look at where the curtain meets the upper side panel. If it steps when you wanted a blend, say so while the barber can still adjust it. Then save dated front, left, right and back photos, so your next appointment starts from the cut you actually got.
If this is not the cut you want, all haircut guides lists the other taper and fade pages.
Keep reading
All guides
Mid taper fade: what it is and what to ask your barber
What a mid taper fade is, how it differs from a full mid fade, why skin is optional, and the four specs to give your barber before the cut starts.
How to ask for a taper fade: a five-part barber brief
How to ask for a taper fade: say where it may reach, how short the base goes, how much side weight stays and what to do on top, then check the plan first.
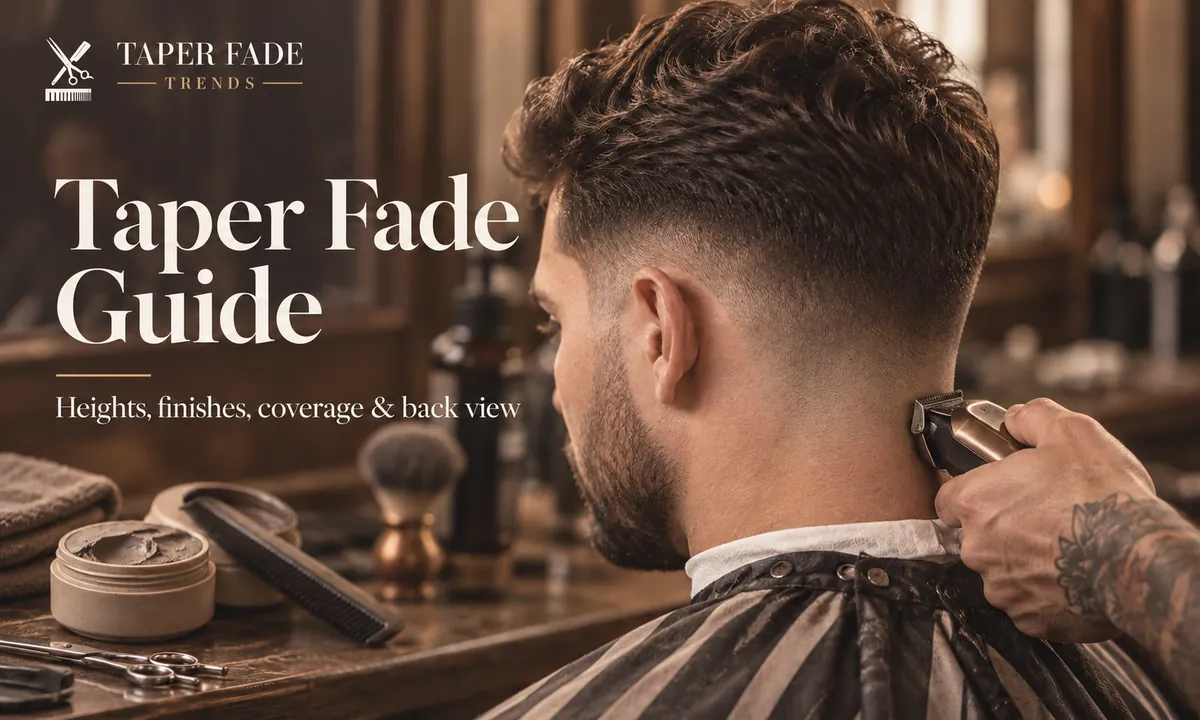
Taper fade: a visual guide to heights, finishes and top styles
Where a taper fade sits from the front, side and back, how low, mid and high differ, and how to ask for side coverage and a finish with or without skin.
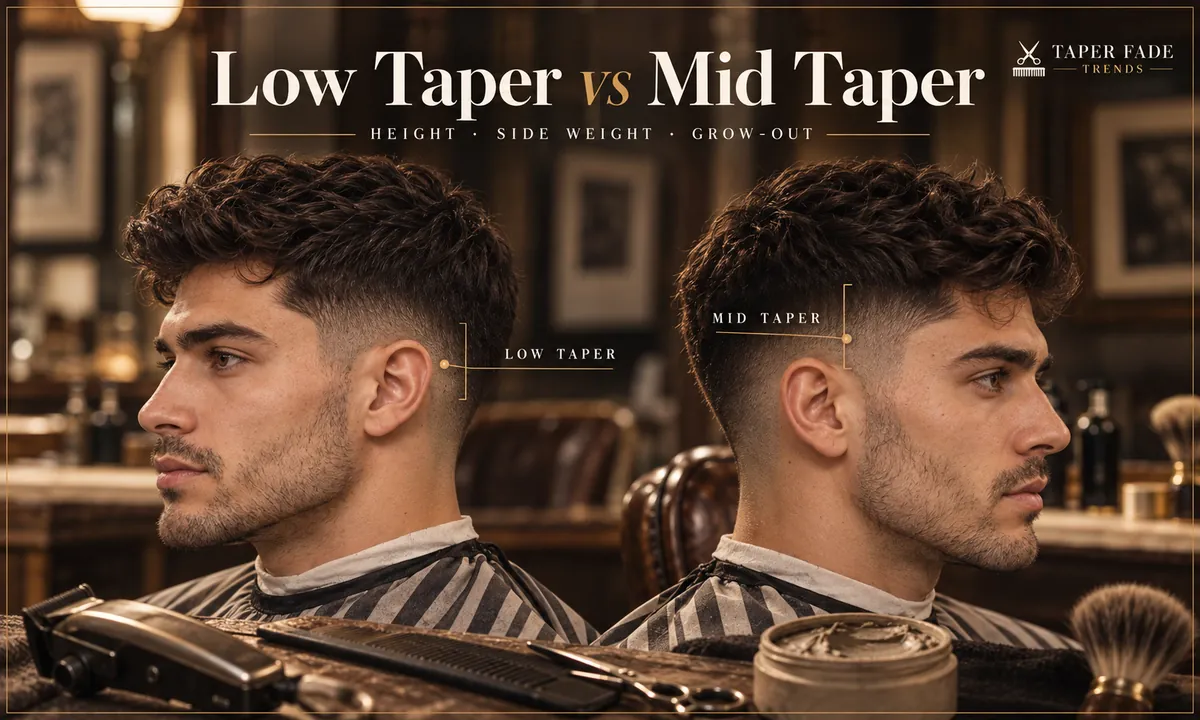
Low taper vs mid taper: what changes when only the height moves
Low taper vs mid taper compared on height, side weight, shortest finish and grow-out, why switching mid to low takes time, and what to tell your barber.
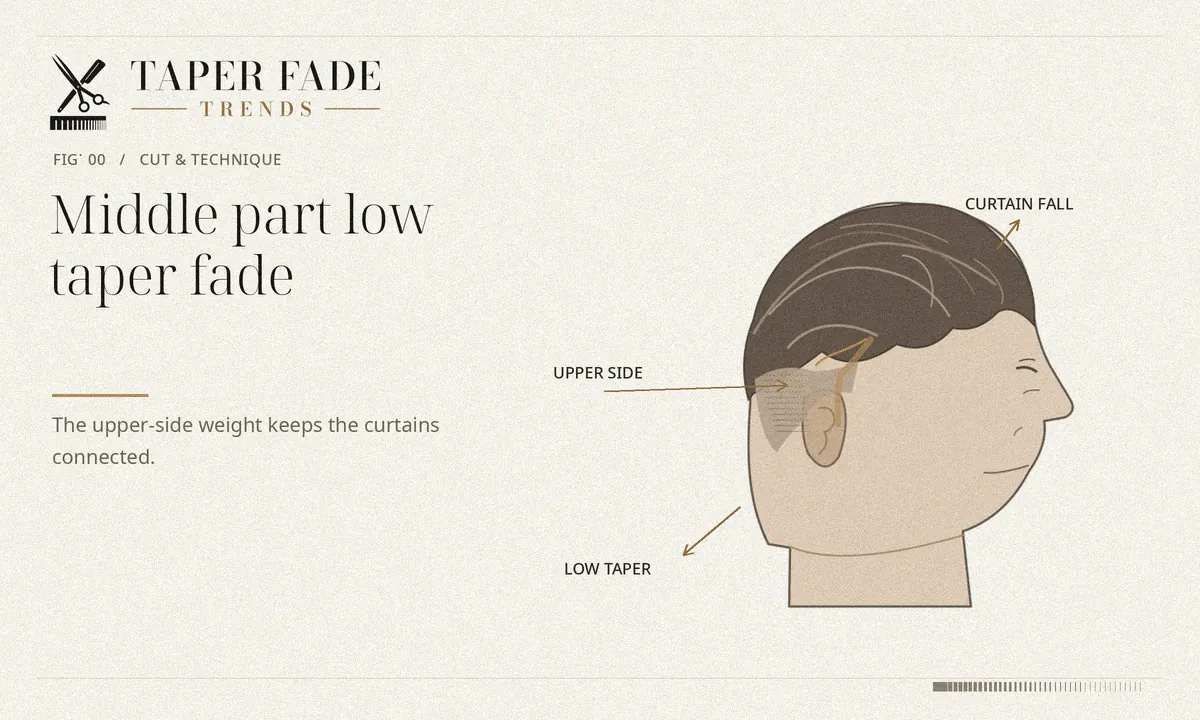
Middle part low taper fade: keep the curtains connected
Middle part low taper fade guide: how much side weight keeps the curtains connected, how long the top needs to be, and what to tell your barber.
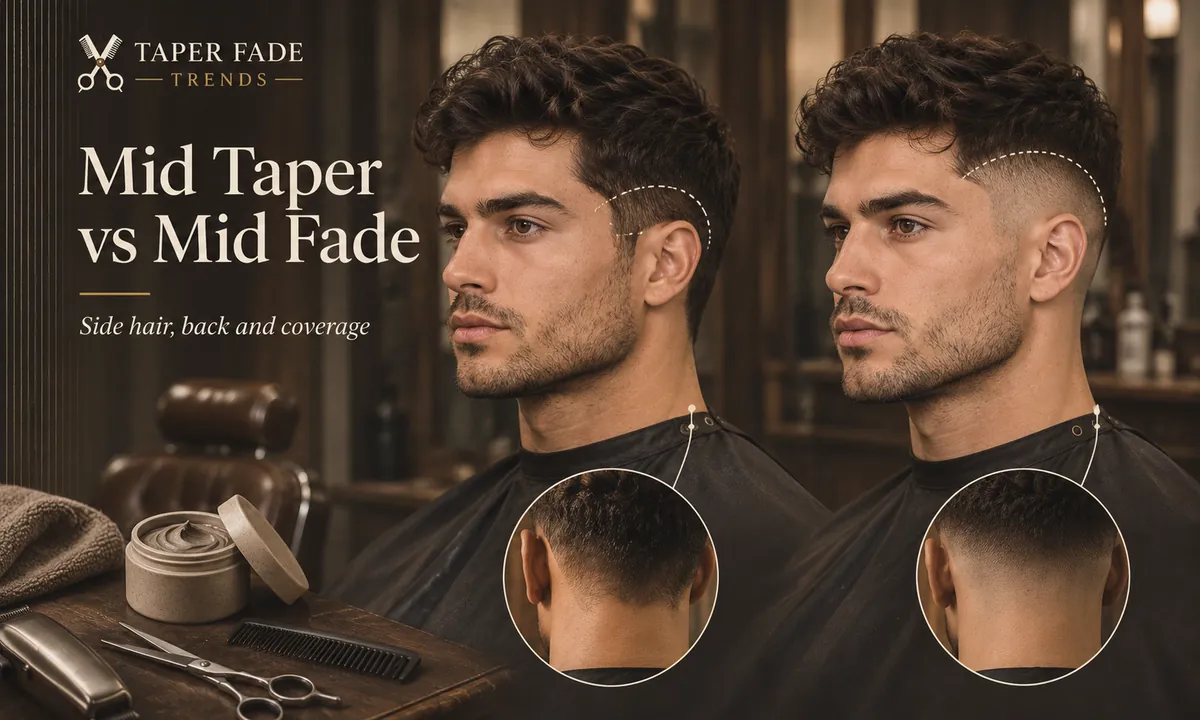
Mid taper vs mid fade: how much side hair comes off
Mid taper vs mid fade compared by side weight, back coverage and finish, why barbers use the names two ways, and exactly what to ask your barber for.
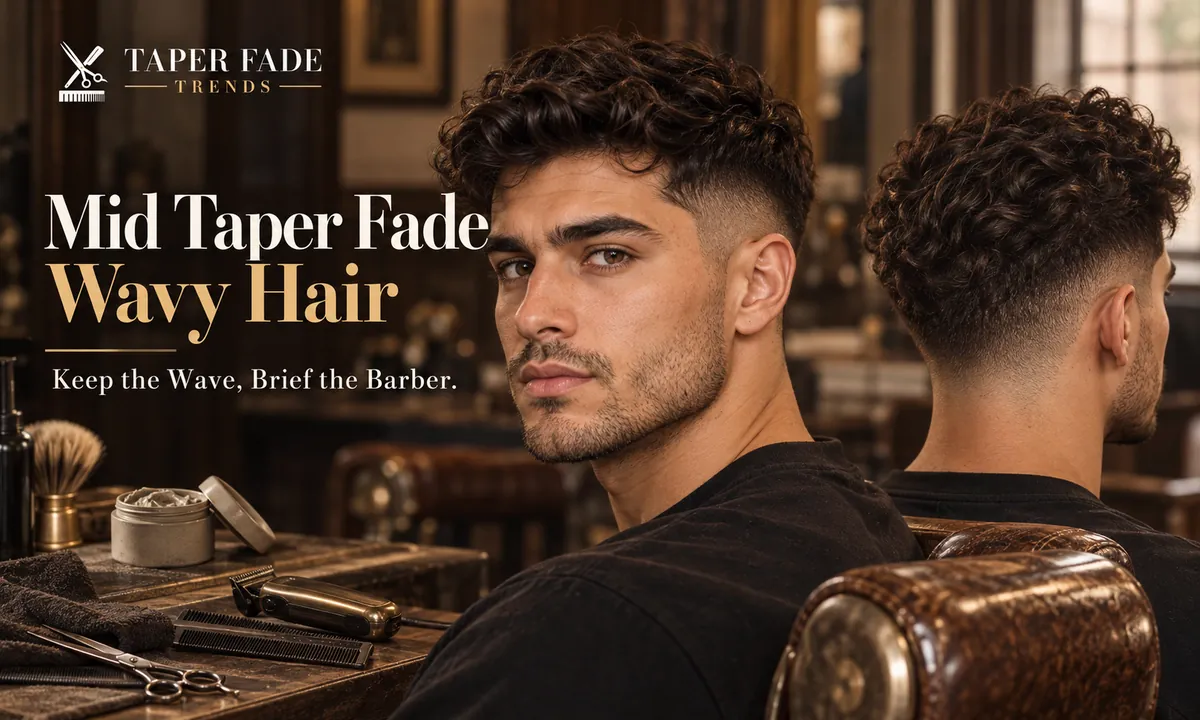
Mid taper fade wavy hair: work with the natural bend
Mid taper fade wavy hair guide: where the taper starts, how much side weight to keep, why top-length advice conflicts, and what to tell your barber.
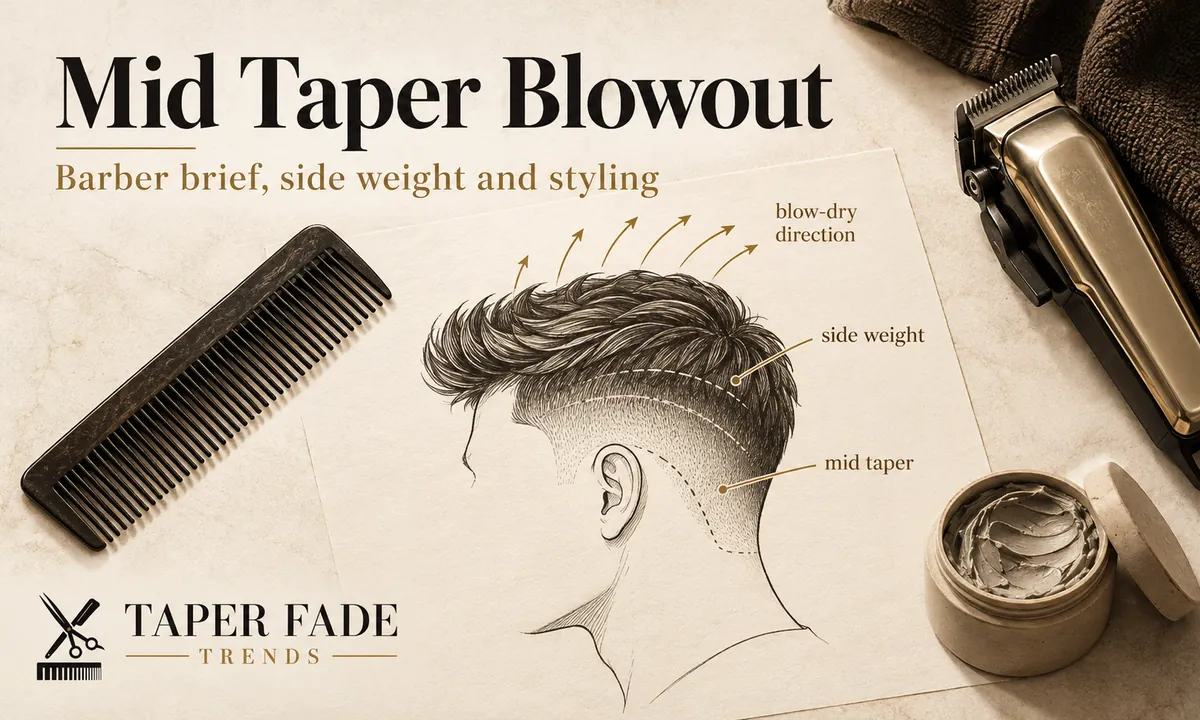
Mid taper blowout: keep volume without flattening the sides
A mid taper blowout is a temple-height taper plus enough top and upper-side length to dry up and out. What to tell your barber and how to style it.
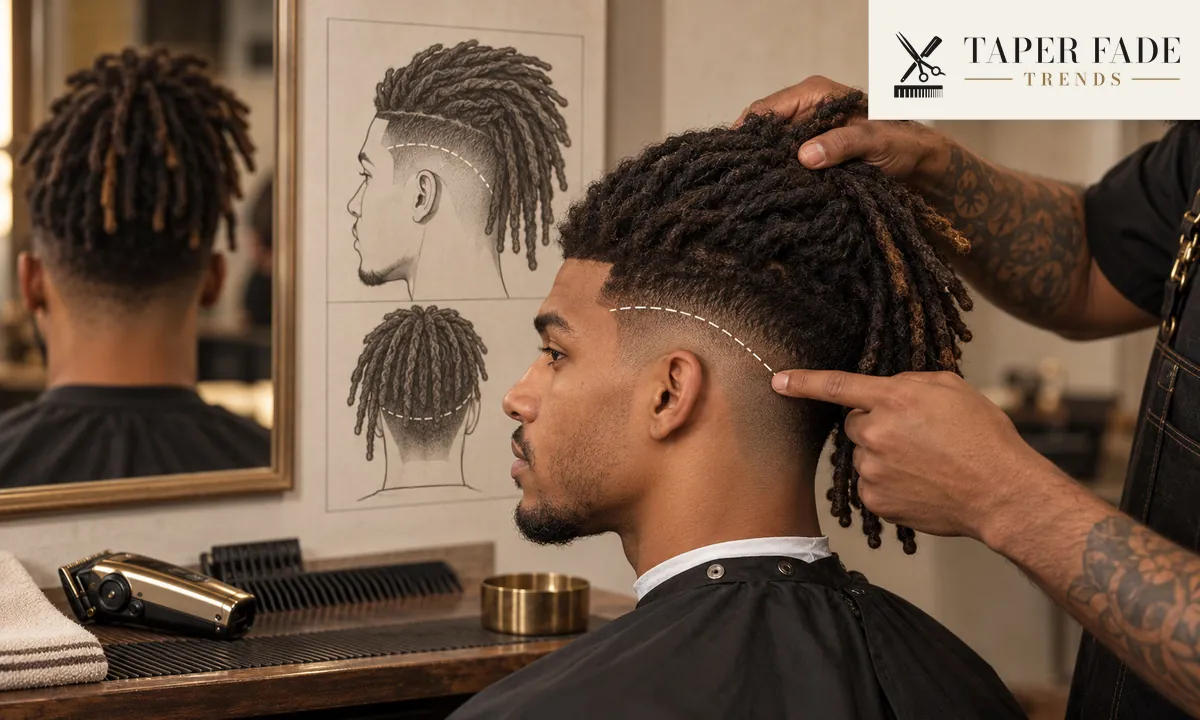
Mid taper with dreads: where the clippers stop and your locs begin
A mid taper with dreads shortens only the loose hair at the temples and nape. See where the clippers stop, what to tell your barber and when to go lower.
More in mid taper fades
Mid taper fades: all 15- Mid taper fade: what it is and what to ask your barber12 min
- Mid taper blowout: keep volume without flattening the sides11 min
- Mid taper fade curly hair: choose dry length, side width and finish9 min
- Mid taper fade straight hair: fine, flat and outward-growing sides11 min
- Mid taper fade Black male guide: what stays and what to ask for13 min
- Mid taper fade wavy hair: work with the natural bend12 min
- Mid taper fade buzz cut: top length, coverage and finish8 min
- Mid taper fade with beard: how the sideburn blend works13 min
- Mid taper fade middle part: set the part, then the taperYou are here
- Mid taper with dreads: where the clippers stop and your locs begin8 min
- Mid taper fade Afro: choose a rounded or squared top10 min
- Mid taper fade waves: preserve 360-wave connections11 min
- Low taper vs mid taper: what changes when only the height moves10 min
- Mid taper vs mid fade: how much side hair comes off10 min
- How to choose taper height using side weight12 min